SonicWALL NSA 240 Getting Started Guide Page 21
Initial Setup
This section provides initial configuration instructions for
connecting your SonicWALL NSA 240. Follow these steps if you
are setting up Scenario A.
This section contains the following subsections:
• Applying Power - page 18
• Connecting the WAN Port - page 21
• Connecting the LAN Port - page 21
• Accessing the Management Interface - page 21
• Troubleshooting Initial Setup - page 22
• Connecting to Your Network - page 23
• Testing Your Connection - page 23
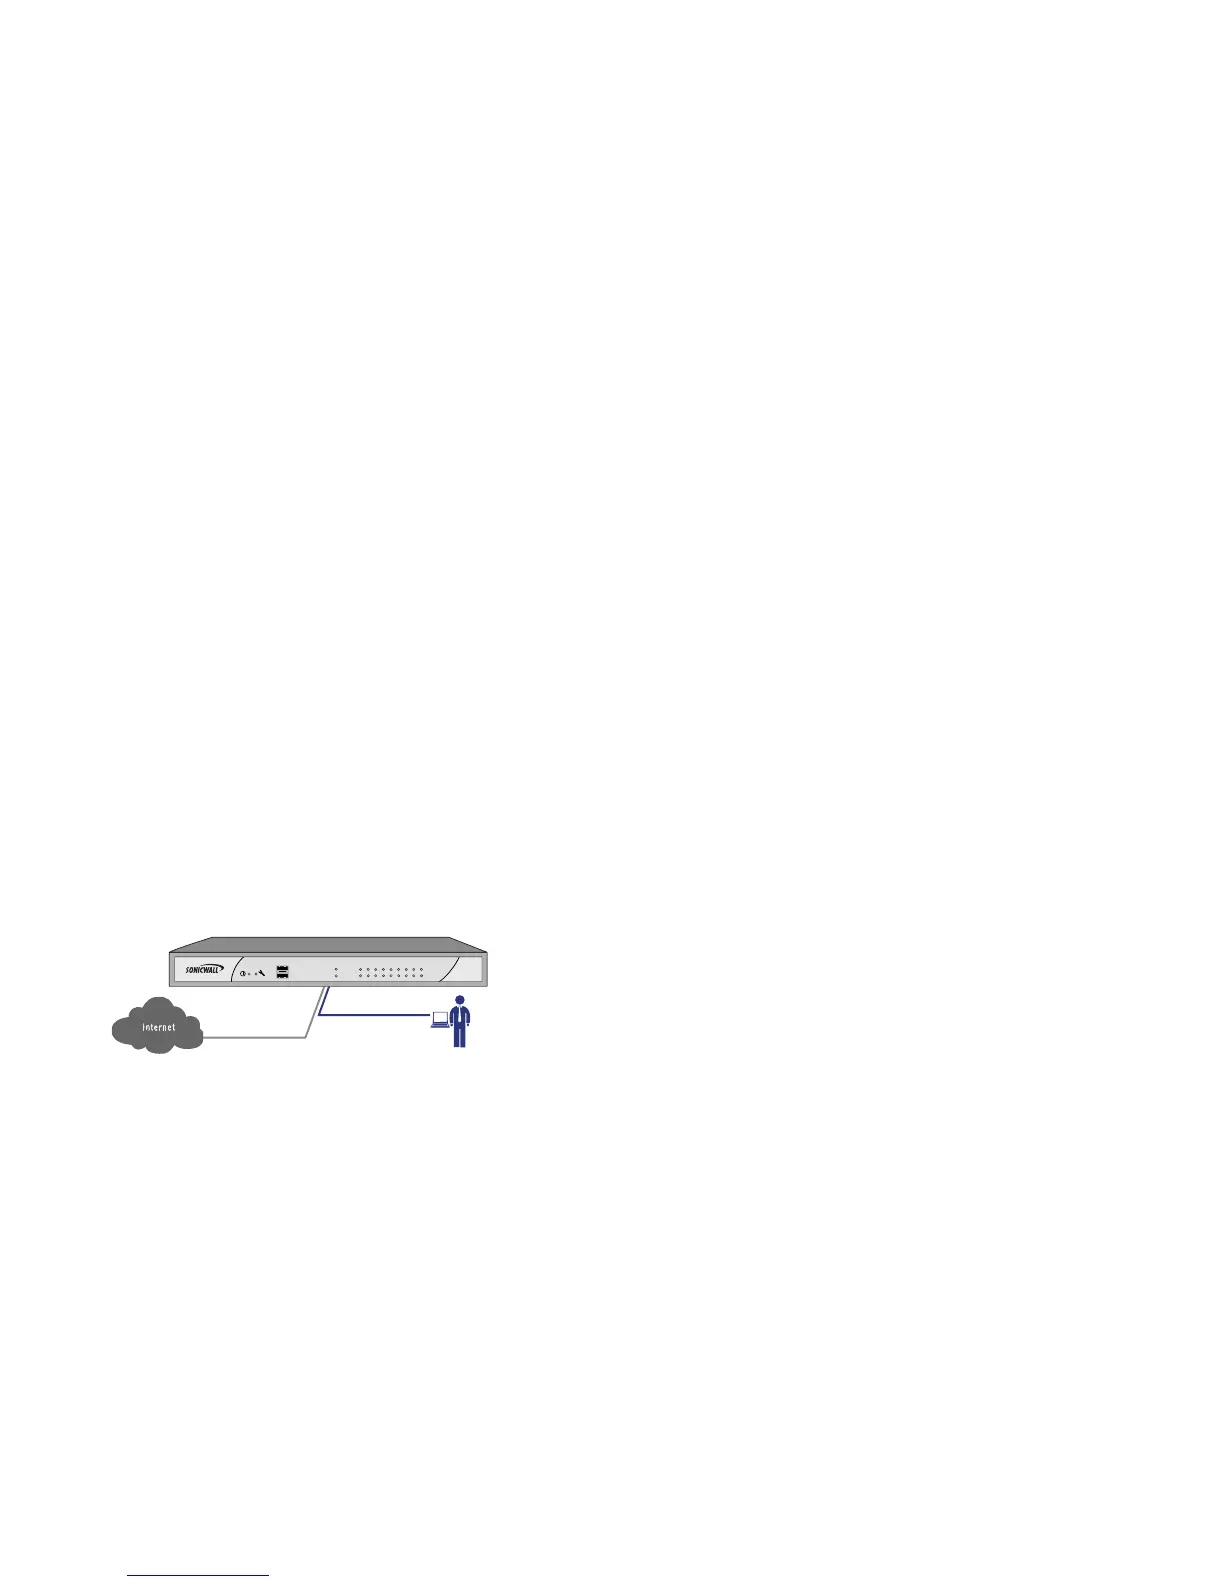
Connecting the WAN Port
1. Connect one end of an Ethernet cable to your Internet
connection.
2. Connect the other end of the cable to the X1 (WAN) port on
your SonicWALL NSA Series appliance.
Connecting the LAN Port
1. Connect one end of the provided Ethernet cable to the
computer you are using to manage the
SonicWALL NSA Series.
2. Connect the other end of the cable to the X0 port on your
SonicWALL NSA Series.
The Link LED above the X0 (LAN) port will light up in green
or amber depending on the link throughput speed,
indicating an active connection:
- Amber indicates 1 Gbps
- Green indicates 100 Mbps
- Unlit while the right (activity) LED is illuminated
indicates 10 Mbps
Accessing the Management Interface
The computer you use to manage the SonicWALL NSA Series
must be set up to have an unused IP address on the
192.168.168.x/24 subnet, such as 192.168.168.20.
To access the SonicOS Enhanced Web-based management
interface:
1. Start your Web browser. Remember to disable pop-up
blocking software or add the management IP address
http://192.168.168.168 to your pop-up blocker’s allow list.
2. Enter http://192.168.168.168 (the default LAN
management IP address) in the Location or Address field.
 Loading...