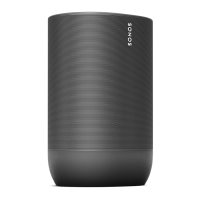
Product Guide
4
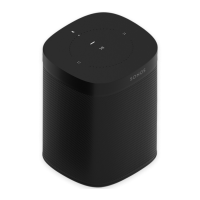
Select a location
You can put your speaker just about anywhere. For maximum enjoyment, we have a few guidelines:
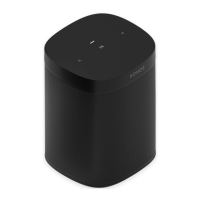
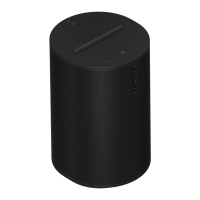
• Sonos One is designed to work well even when placed next to a wall or other surface. For best
performance, we recommend maintaining more than 1 inch (2.5 cm) clearance around the back of the
unit.
•It’s humidity-resistant so you can use it in the bathroom; however it is not water-resistant so don’t
position the Sonos One near water or leave it outside during a rain storm.
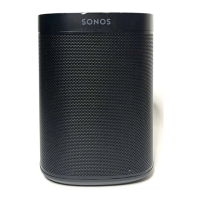
Add to an existing Sonos system
Once you’ve got your Sonos system set up, you can easily add more speakers any time (up to 32).
1. Attach the power cord and plug it in. Be sure to push the power cord all the way in until it’s flush with the
bottom of the unit.
2. Choose one of the following options:
• On a mobile device, open the Sonos app and tap > Settings -> Add a Player or SUB.
• On a Mac or PC, open the Sonos app and go to Manage > Add a Player or SUB.
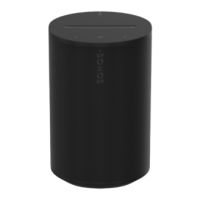
Microphone indicator Touch to turn the microphone on and off.
• When the light is on, voice control is on and you can use voice
commands.
• When the light is off, voice control is off.
• When the light is off, you can still use voice commands. Just press
and hold the mic button to talk to Alexa. When you release, voice
control turns off again.
Play/Pause Toggles between playing and pausing the audio (restarts the same
music source unless a different source is selected.
• Press once to start or stop streaming audio
• Press and hold to add the music that’s playing in another room.
Next track
Previous track
Swipe left to right across the touch controls to get to the next track;
swipe right to left to hear the previous track.
(Next/Previous touch controls don’t work when you’re listening to a
radio station.)
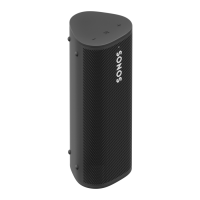
Join button Press the round Join button on the back of the unit to connect.
Ethernet port You can use an Ethernet cable (supplied) to connect the Sonos One to a
router, computer, or additional network device such as a network-
attached storage (NAS) device.
AC power (mains) input
(100 - 240 VAC, 50/60 Hz)
Use only the supplied power cord to connect to a power outlet (using a
third-party power cord will void your warranty).
Insert the power cord firmly until it is flush with the bottom of the
unit.
 Loading...