15
Instruction for use | Supercal 739
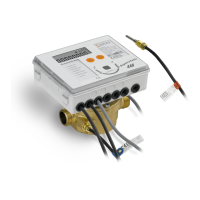
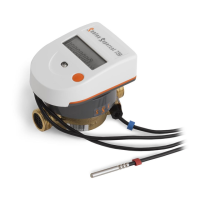
6.9 EAS base with integrated ball valves for coaxial multi jet meter with
G 2’’ connection
To prevent that the counter mound on the nut of the ball valve, replace the original nut on the
EAS base with a nut with thinner head.
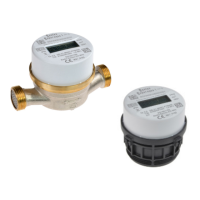
Coaxial multi jet meter with G 2’’
connection
The location of the temperature
sensor bump against the nut from the
EAS
The original nut of the EAS base must
be replace by the nut with thinner
head 0714P089.
EAS base with integrated ball valve
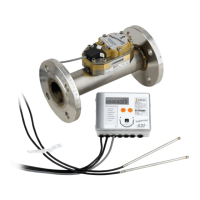
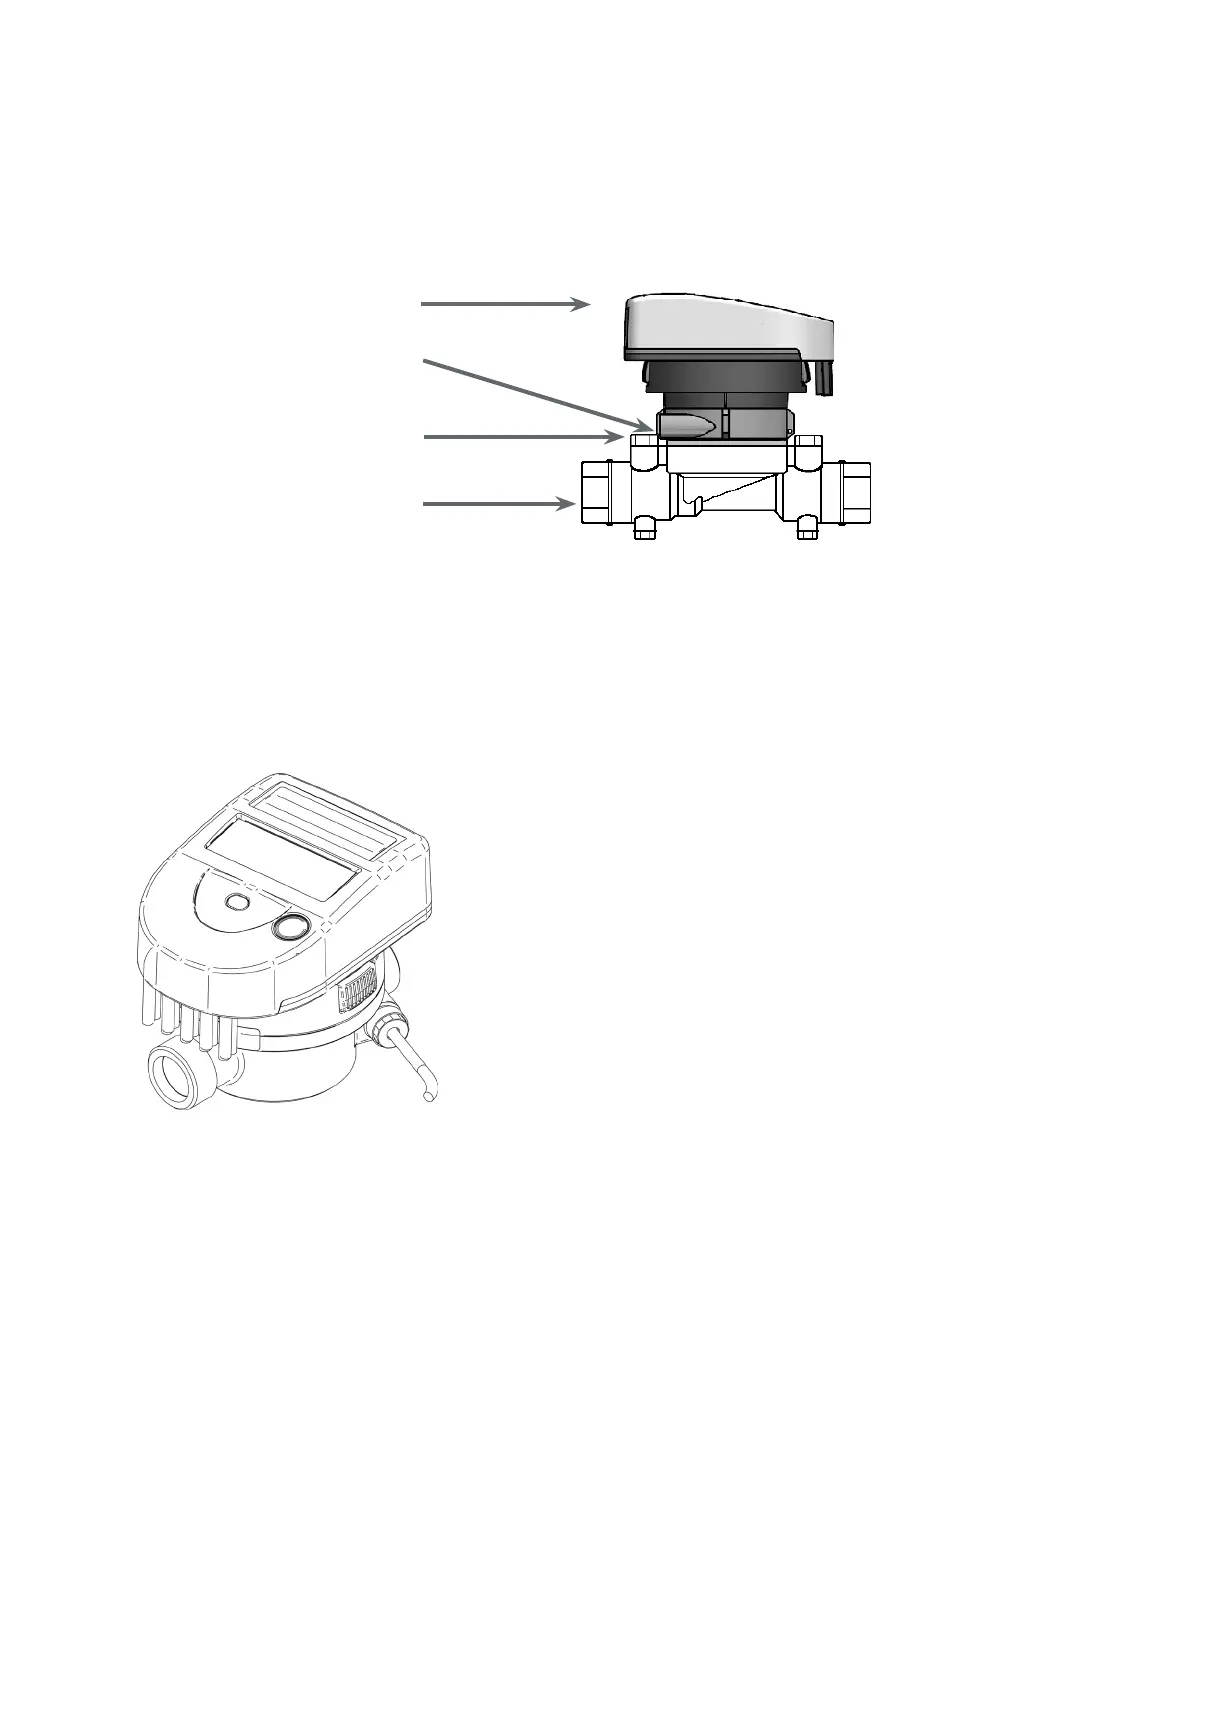
7. Installation of the thermal energy meter
7.1 Single jet ow sensor
To install the Supercal 739 single jet, the following steps must be respected:
Flush out the installation pipes carefully in compliance with the
DIN/EN standard specication.
Close the shutoff valves before and behind the meter.
Open the drainage valve to reduce the pressure and discharge the
water contained in the pipe between the two shutoff valves.
Consider the direction of ow circulation. Check the ow direction
with the arrow guring on the ow meter.
Place a gasket on each side of the ow meter. Only use appropriate
new gaskets.
Make sure that the gaskets are carefully positioned in relation to the
water pipe and ow meter unions.
Tighten the xing nuts rmly by hand. Then tighten up to the
mechanical end stop using a mounting tool.
Install the temperature sensor.
Turn the display into the desired position for reading.
Check the waterproof of the meter placed under pressure.
Seal the ow meter and the temperature sensors.
 Loading...