2
2
3
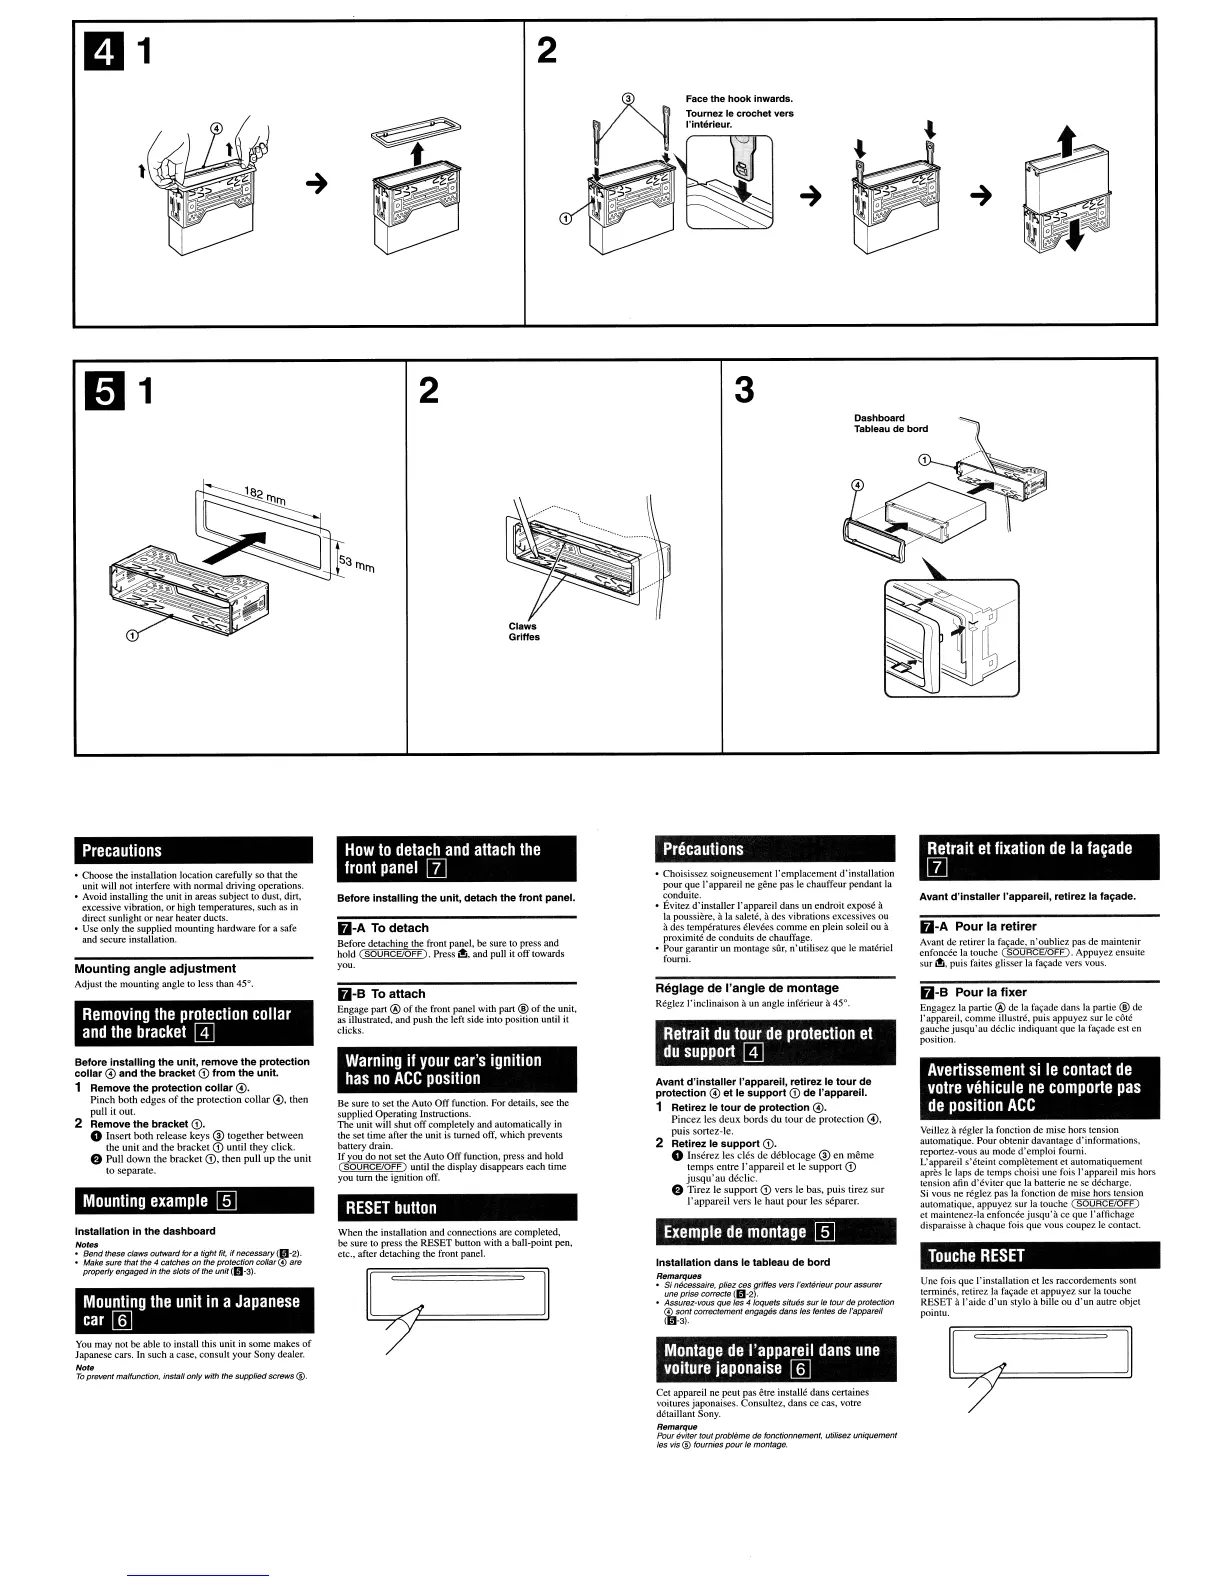
Dashboard
Tableau
de
bord
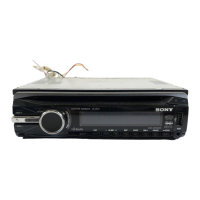
Claws
Griffes
Precautions
• Choose the instaUation location
carefully
so
that the
unil will not interfere with
nannal
driving operalions.
• Avoid installing the unit
in
areas
subject
to dust. dirt.
excessive vibration,
or
high temperatures, such as
in
direct sunlight
or
ncar healerducts.
• Usc only the supplied mounting hardware for a safe
and
secure installation.
Mounting
angle
adjustment
Adjust the mounting angle
10
less Ihan 45".
Removing
the
protection
collar
and
the
bracket
@]
Before
installing
the unit, remove
the
protection
collar
@ and the
bracket
<D
from
the
unit.
1 Remove
the
protection
collar
@.
Pinch both edges
of
the protection
collar@.then
pull
it
out.
2 Remove the bracket (D.
o Insert born release keys ® together between
the unit and the bracket
<D
until they click.
f)
Pull down
!.he
bracket (D, then pull up the unit
to
separate.
Mounting
example
lID
Installation In
the
dashboard
Note.
:
:'::Z::::'':eo::':,::/ttpm,;,=:Zr~~%
properly
engaged
in the slots
of
the unit (1)-3).
Mounting
the
unit
in
a
Japanese
car
[ill
You
may not be able
10
install this unit in
some
makes
of
Japanese cars. In such a case. consult
your
Sony
dealer.
Note
To
prevent
malfunction.
Install
only
wirh
the
supplied
screws@.
How
to
detach
and
attach
the
front
panel
m
Before
installing
the
unit, detach
the
front
panel.
6-A To
detach
Before
detachin the front panel,
be
sure to press and
hold
SOURCE/OFF Press i!i, and pull it
off
towards
you.
6-B To
attach
Engage
part @
of
the front panel with part @
of
the
unit,
as illustrated, and push the left side into position until it
clicks.
Warning
if
your
car's
ignition
has
no
ACC
position
Be sure to set the
Auto
Off
function.
For
details, see
the
supplied
Operating
Instructions.
The
unit will shut
orr
completely and automatically in
the set
time
after
the unit is turned off,
which
prevents
battery drain.
If
you
do
not set the
Auto
Off
function,
press
and hold
( SOURCE/OFF ) until
the
display disappears
each
time
you turn
the
ignition
ofT.
RESET
button
When
the installation and
connections
are
complcted,
be
sure to press the
RESET
button with a ball-point pen,
elC., after
detaching
the
front panel.
Precautions
• Choisissez
soigneusemenll'cmplacemcnt
d'installation
pour
que I'appareil ne gene pas
Ie
chauffeur
pendant la
conduite.
• Evitez
d'installer
I'appareil
dans
un
endroit
expose a
la poussiere, a la salete, a
des
vibrations excessives ou
a
dcs
temperatures elevees
comme
en plein soleiI ou a
proximite de
conduits
de chauffage.
• Pour garantir un montage silr,
n'utiliscz
que
Ie
matcriel
foumi,
Reglage
de
I'angle
de
montage
Reglez l'inclinaison aun angle iitfcrieur a45°.
Retrait
du
tour
de
protection
et
du
support
@]
Avant
d'installer
I'apparell. retirez Ie
tour
de
protection
@
et
Ie
support
CD
de
I'apparel!.
1 Retirez Ie
tour
de
protection
@,
Pincez
les
deux
bords
du
tour
de
protection
@,
puis
sortez-Ie.
2 Retirez Ie
support
CD,
o
[nserez
les
des
de
deblocage
®
en
merne
temps
entre
I'appareil
etle
support
CD
jusqu'au
dedic.
e
Tirez
Ie
support
CD
vers
Ie
bas,
puis
tirez
sur
I'appareil
vers
Ie
haut
pour
les
separer.
Exemple
de
montage
lID
Installation
dans
Ie tableau de
bord
Remllrques
•
Si
ndcessaire,
pNez
ces
griffes
10'81$
l'eJdf)rieur
pour
assurer
une prise correcte
(R-2).
•
Assurez-\>UUS
que Ies 410quetssifues
sur
18
tour
de
protection
~~~t
correctement
engages
dans
Ies
fenfes
de
I'sppareil
Montage
de
I'appareil
dans
une
voiture
japonaise
[ill
Cet
appareil ne
peUi
pas
etre installe
dans
certaines
voitures japonaises.
Consuhez,
dans
cc
cas,
votre
detaillant Sony.
Remarque
Pour
eviter
tout
probleme
de
fonctionnement,
utilisez
un;quement
les
vis@
foumies
pour
Ie
montage.
Retrait
et
fixation
de
la
fa~ade
m
Avant
d'installer
I'appareil, retlrez
18
fa~ade.
6-A
Pour
la
retlrer
Avant de retirer la fa ade.
n'oublicz
pas
dc maintcnir
enfoncee la touche
SOURCE/OFF
.
Appuyez
ensuite
sur
i!i, puis faites glisser la facade vers vous.
6-B
Pour
la
fixer
Engagezla
partie ®
de
la facade
dans
la partie ® de
rapparcil,
comme
illustre, puis
appuyez
sur
Ie
c6tc
gauche
jusqu'au
dedic
indiquant que la faCade est en
position.
Avertissement
si
Ie
contact
de
votre
vehicule
ne
com
porte
pas
de
position
ACC
Veillez aregler la fonction de
mise
hors tension
aUlomatique.
Pour
oblenir
davanlage
d'informations.
reportez·vous
au mode
d'emploi
fourni.
L'appareil
s'eteint
completement
et
aUlomatiquemcnt
apres
Ie
laps de
temps
choisi une fois ]'appareil mis hors
tension atin
d'cviter
que
la
bauerie
ne
se
decharge,
Si vous ne reglez
pas
la fonclion
de
mise hors tension
automatique,
appuyez
sur
la touche
(SOURCEIOFF)
CI mainlenez-Ia
enfoncee
jusqu'a
cc
quc
I'affiehage
disparaisse a
chaque
fois que vous
coupcz
Ie
contact.
Touche
RESET
Une fois
que
I'inslallation
ct
Ics
raccordemcnts
som
termines, retirez
1a
falJade
et
appuyez
sur
la touche
RESET
it
raide
d'un
slylo abille
ou
d'un
autre
objet
poinlu.