75
Using a Computer
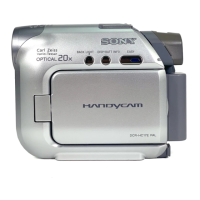
DCR-HC32/HC42 2-584-906-11(1)
The computer turns off once, then starts
up again automatically (Restart). The
short-cut icons for [Picture Package
Menu] and [Picture Package Menu
destination Folder] (and “First Step
Guide”, if installed by steps 11-12)
appear on the desktop.
15 Remove the CD-ROM from the
disc drive of your computer.
• If you have any questions about Picture
Package, contact information is listed on page
76.
Installing on a Macintosh
computer
1 Confirm that your camcorder is
not connected to the computer.
2 Turn on the computer.
Close all applications running on the
computer before installing the software.
3 Place the CD-ROM in the disc
drive of your computer.
4 Double-click CD-ROM icon.
5 Copy [FirstStepGuide.pdf], stored
in the desired language in the
[FirstStepGuide] folder, to your
computer.
6 Then, install ImageMixer VCD2.
7 Copy [IMXINST.SIT] in the [MAC]
folder of the CD-ROM to a folder
of your choice.
8 Double-click [IMXINST.SIT] in the
folder it was copied to.
9 Double-click the unzipped
[ImageMixerVCD2_Install].
10 When the user acceptance
screen is displayed, enter your
name and password.
The installation of ImageMixer VCD2
starts.
• For details on how to use ImageMixer VCD2,
refer to software’s on-line help.