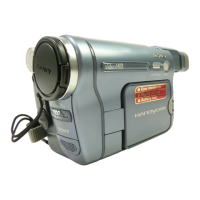
Connecting to a Windows computer
8
Step 1: Installing the
USB driver on a
computer
You need to install the USB driver on your
computer to connect your camcorder via a
USB cable (supplied). The installation is
required only for the first time. From the
second time on, you only need to connect the
USB cable.
To transfer pictures with more precision, use
an i.LINK cable (optional) instead of the
USB cable (DV format models only).
In that case, operations in Step 1 are not
necessary.
For Windows 2000/Windows XP
Log on as Administrators.
b Note
• Do not connect the USB cable (supplied) before
installing the driver.
1 Start up the computer.
Close down all applications running on the
computer before installing the USB driver.
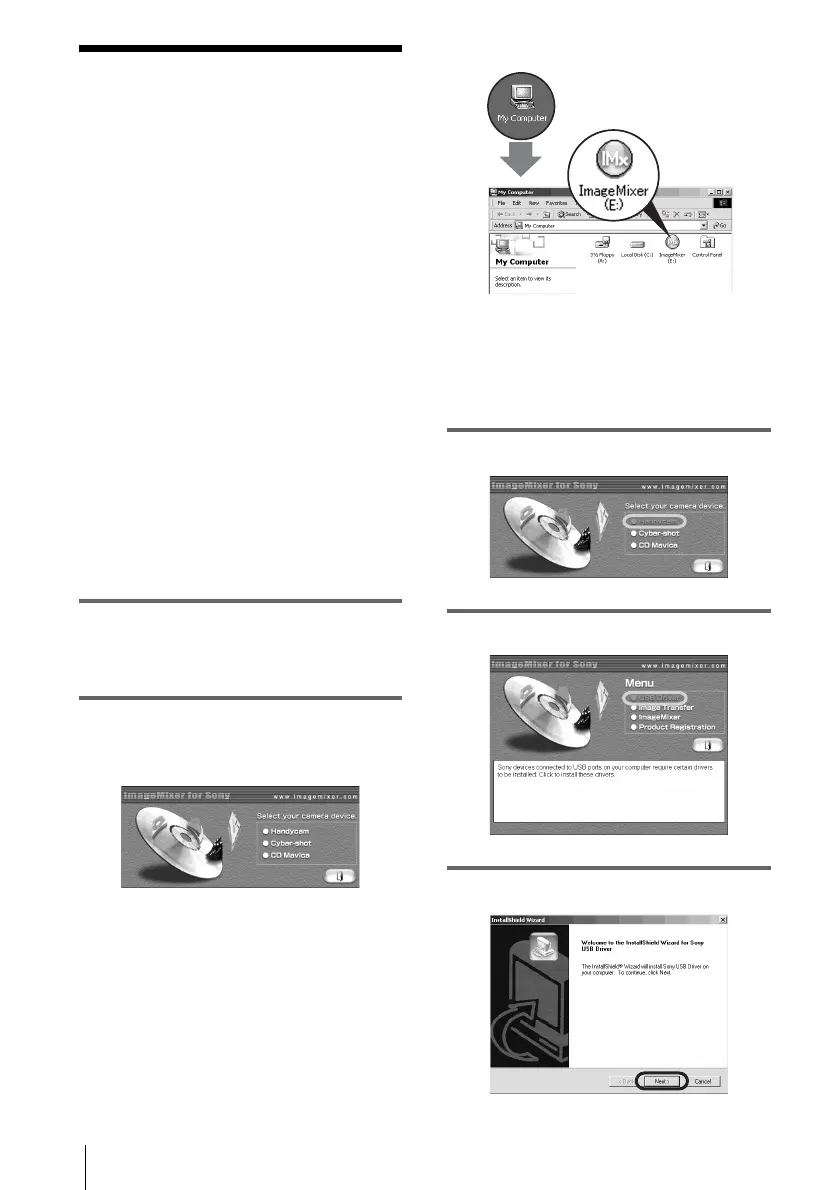
2 Place the supplied CD-ROM in the
disc drive of your computer.
The application software starts up.
If the screen does not appear
1 Double-click [My Computer].
2 Double-click [ImageMixer] (Disc
drive)*.
* Drive names (such as (E:)) may vary
depending on the computer.
3 Click [Handycam].
4 Click [USB Driver].
5 Click [Next].
 Loading...