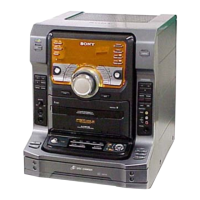
FST-GTK11iP/GTK33iP/RDH-GTK11iP/GTK33iP
13
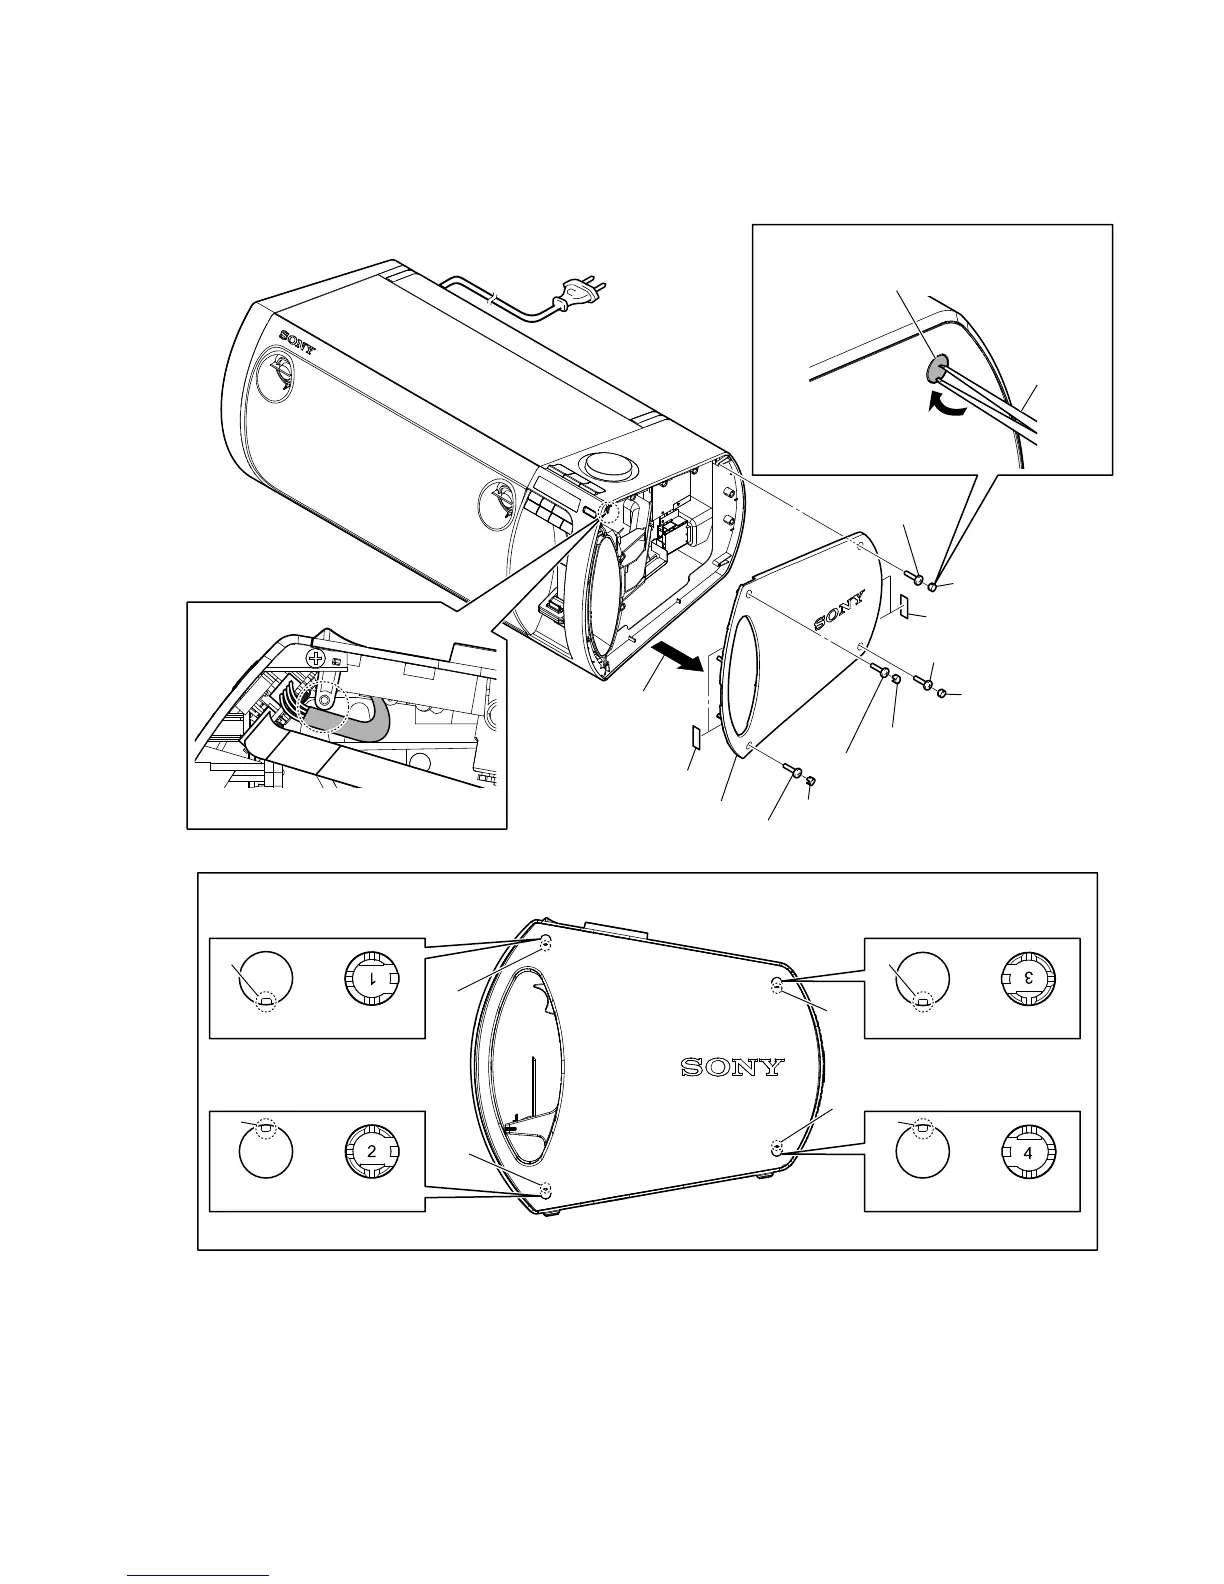
Note: Follow the disassembly procedure in the numerical order given.
2-2. SIDE PANEL (R)
2 cover screw
tweezers etc.
6 side panel (R)
5 two cushions (E)
5 two cushions (E)
slot
slot
slot
slot
slot
slot
2 cover screw
2 cover screw
2 cover screw
3 screw
(BVTP3 u 10)
3 screw
(BVTP3 u 10)
3 screw
(BVTP3 u 10)
3 screw
(BVTP3 u 10)
&RYHUVFUHZVHWWLQJ
:LUHVHWWLQJ
slot
slot
1
Insert tweezers etc. in the slot on four cover
screws and remove so that it may hollow.
Note:
Do not damage cover screw.
–,QQHUYLHZ––2XWHUYLHZ–
–,QQHUYLHZ––2XWHUYLHZ– –,QQHUYLHZ––2XWHUYLHZ–
–,QQHUYLHZ––2XWHUYLHZ–
–5LJKWVLGHYLHZ–
–5LJKWVLGHYLHZ–
4 Remove the side
panel (R) block in
the direction of an
arrow.
 Loading...