Overview
Assigning the IP Address to the Camera
5
1 Camera list
Displays a list of the detected cameras.
2 IP configuration
Set the IP of the selected camera.
3 DNS configuration
Set the DNS of the selected camera.
4 Port configuration
Set the port of the selected camera.
5 Administrator configuration
Register the administrator of the selected camera.
6 Set/Cancel button
Set or cancel the configuration.
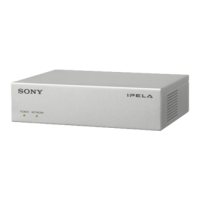
1 Camera list
MAC address
Displays the MAC address of the device.
Device address (IPv4)
Displays the IPv4 address of the device.
DHCP/Fixed IP (IPv4)
Displays the “DHCP” or “Fixed IP” address of the
device.
HTTP Port No.
Displays the HTTP port of the device.
Model
Displays the model name of the device.
Serial No.
Displays the serial number of the device.
Versi on No.
Displays the software version of the device.
IP address of NIC
Displays the IP address of the NIC (Network Interface
Card) detected.
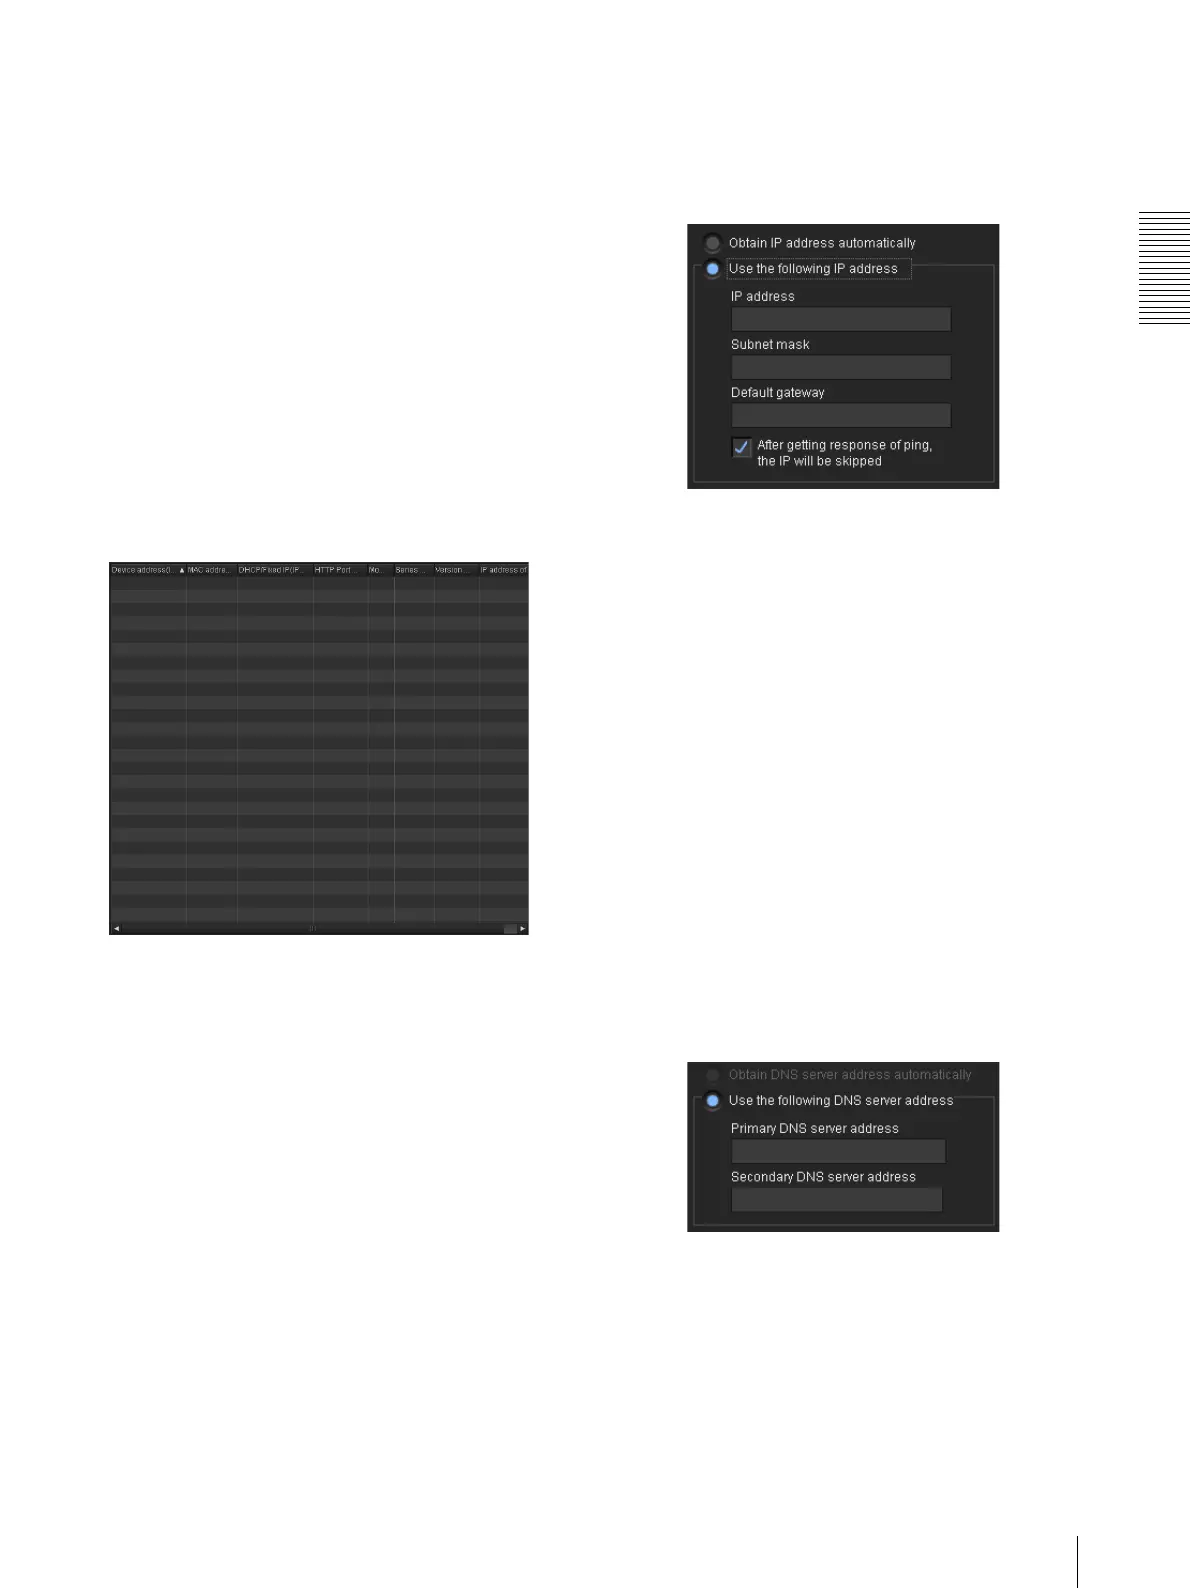
2 IP configuration
Obtain IP address automatically
Obtain the IP address automatically.
Use the following IP address
Use the following IP address.
IP address
Enter the IP address.
Subnet mask
Enter the subnet mask.
Default gateway
Enter the default gateway.
After getting response of ping, the IP will be skipped
You can check that the entered IP address is available. To
perform checking, select the checkbox.
If the specified IP address is already being used, IP
address configuration will be skipped.
3 DNS configuration
Obtain DNS server address automatically
Obtain the DNS server address automatically.
Use the following DNS server address
Use the following DNS server address.
Primary DNS server address
Enter the primary DNS server address.
 Loading...