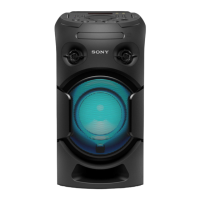
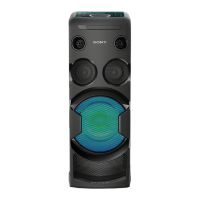
MHC-V3/V4D
19
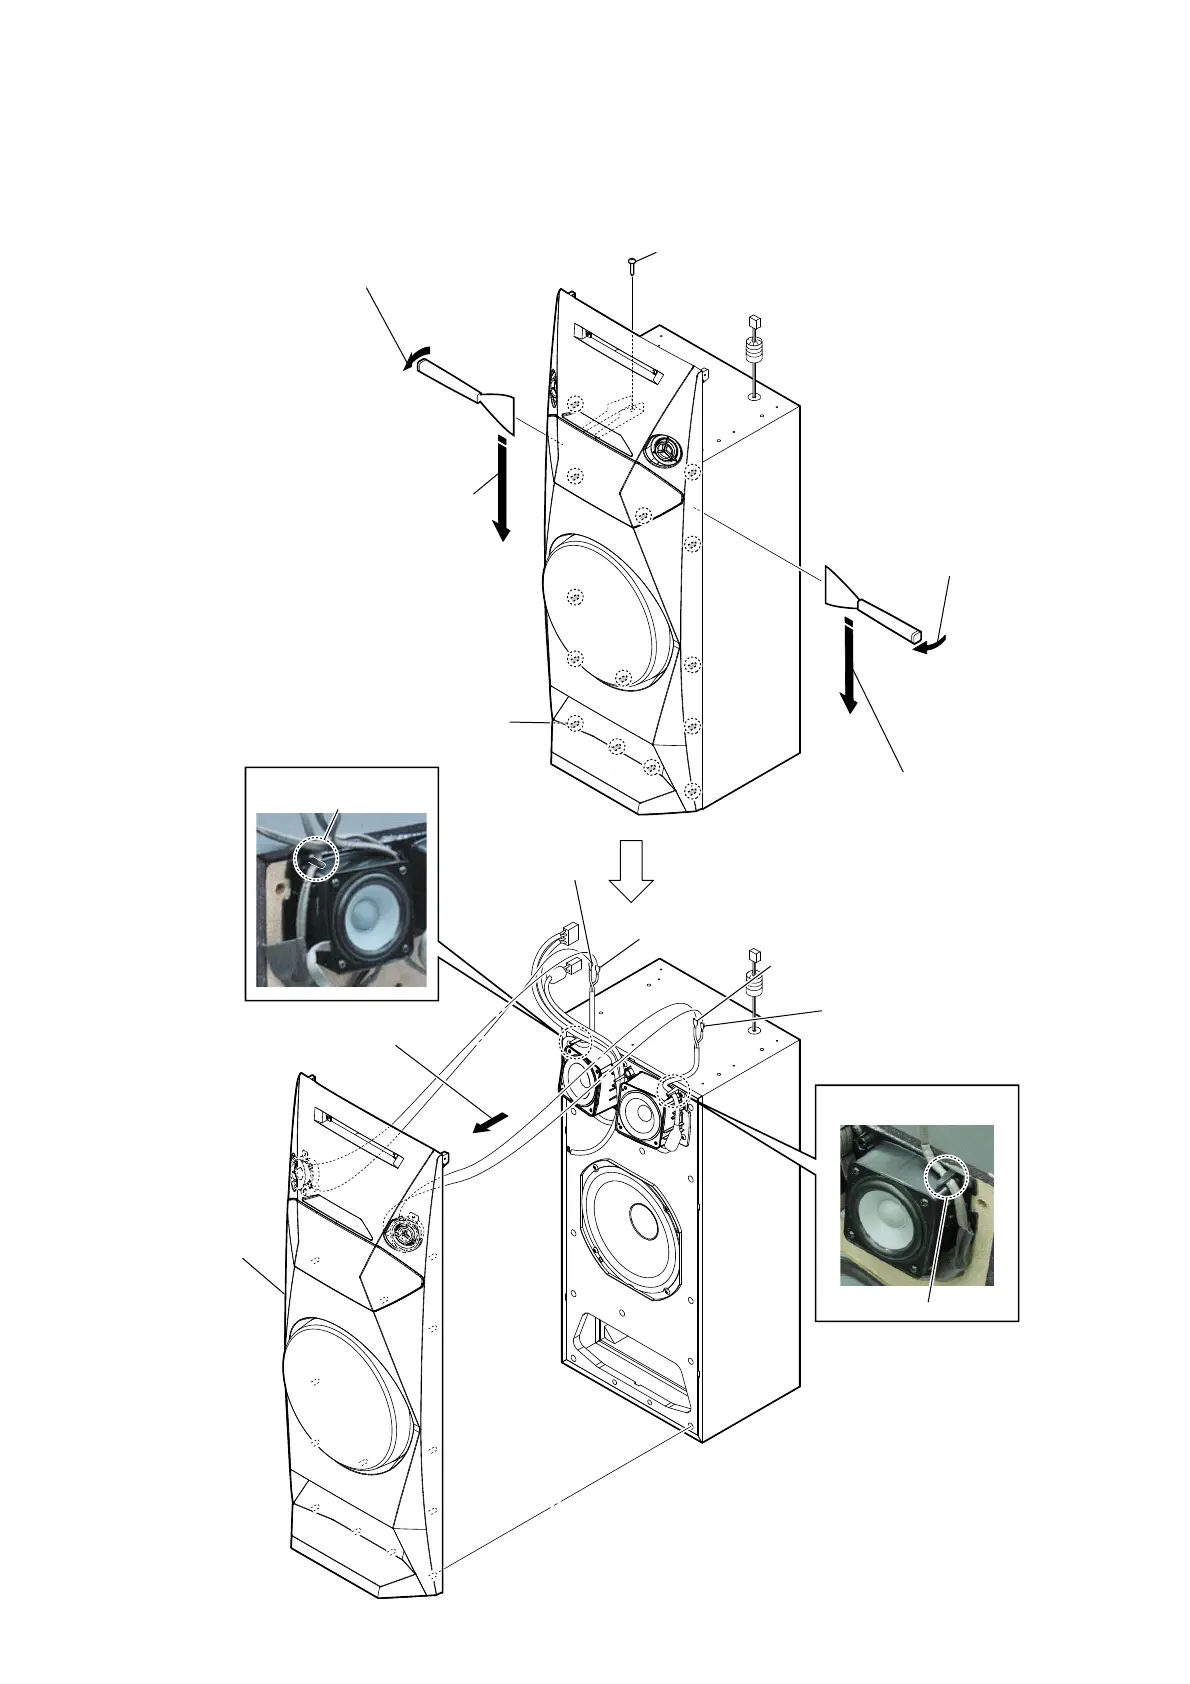
2-12. FRONT PANEL BLOCK
2 Insert the jig into a space and slowly
remove the panel, front block.
Note 1: When using a jig, please work
so as not to injure panel, front
block and speaker cabinet.
2 Insert the jig into a space and slowly
remove the panel, front block.
Note 1: When using a jig, please work
so as not to injure panel, front
block and speaker cabinet.
3 All bosses are removed while moving
jig in the direction of the arrow, and
panel, front block is removed.
3 All bosses are removed while moving
jig in the direction of the arrow, and
panel, front block is removed.
total fourteen bosses
1 one screw
((4 u 13) (TR-184A))
4 Remove the panel, front block
in the direction of an arrow.
6 panel,
front block
5 terminal (wide side)
[yellow]
5 terminal (wide side)
[yellow]
5 terminal (narrow)
[black/yellow]
5 terminal (narrow)
[black/yellow]
rib
:LUHVHWWLQJ
:LUHVHWWLQJ
rib
Ver. 1.1