1-16
Additional Operations
64
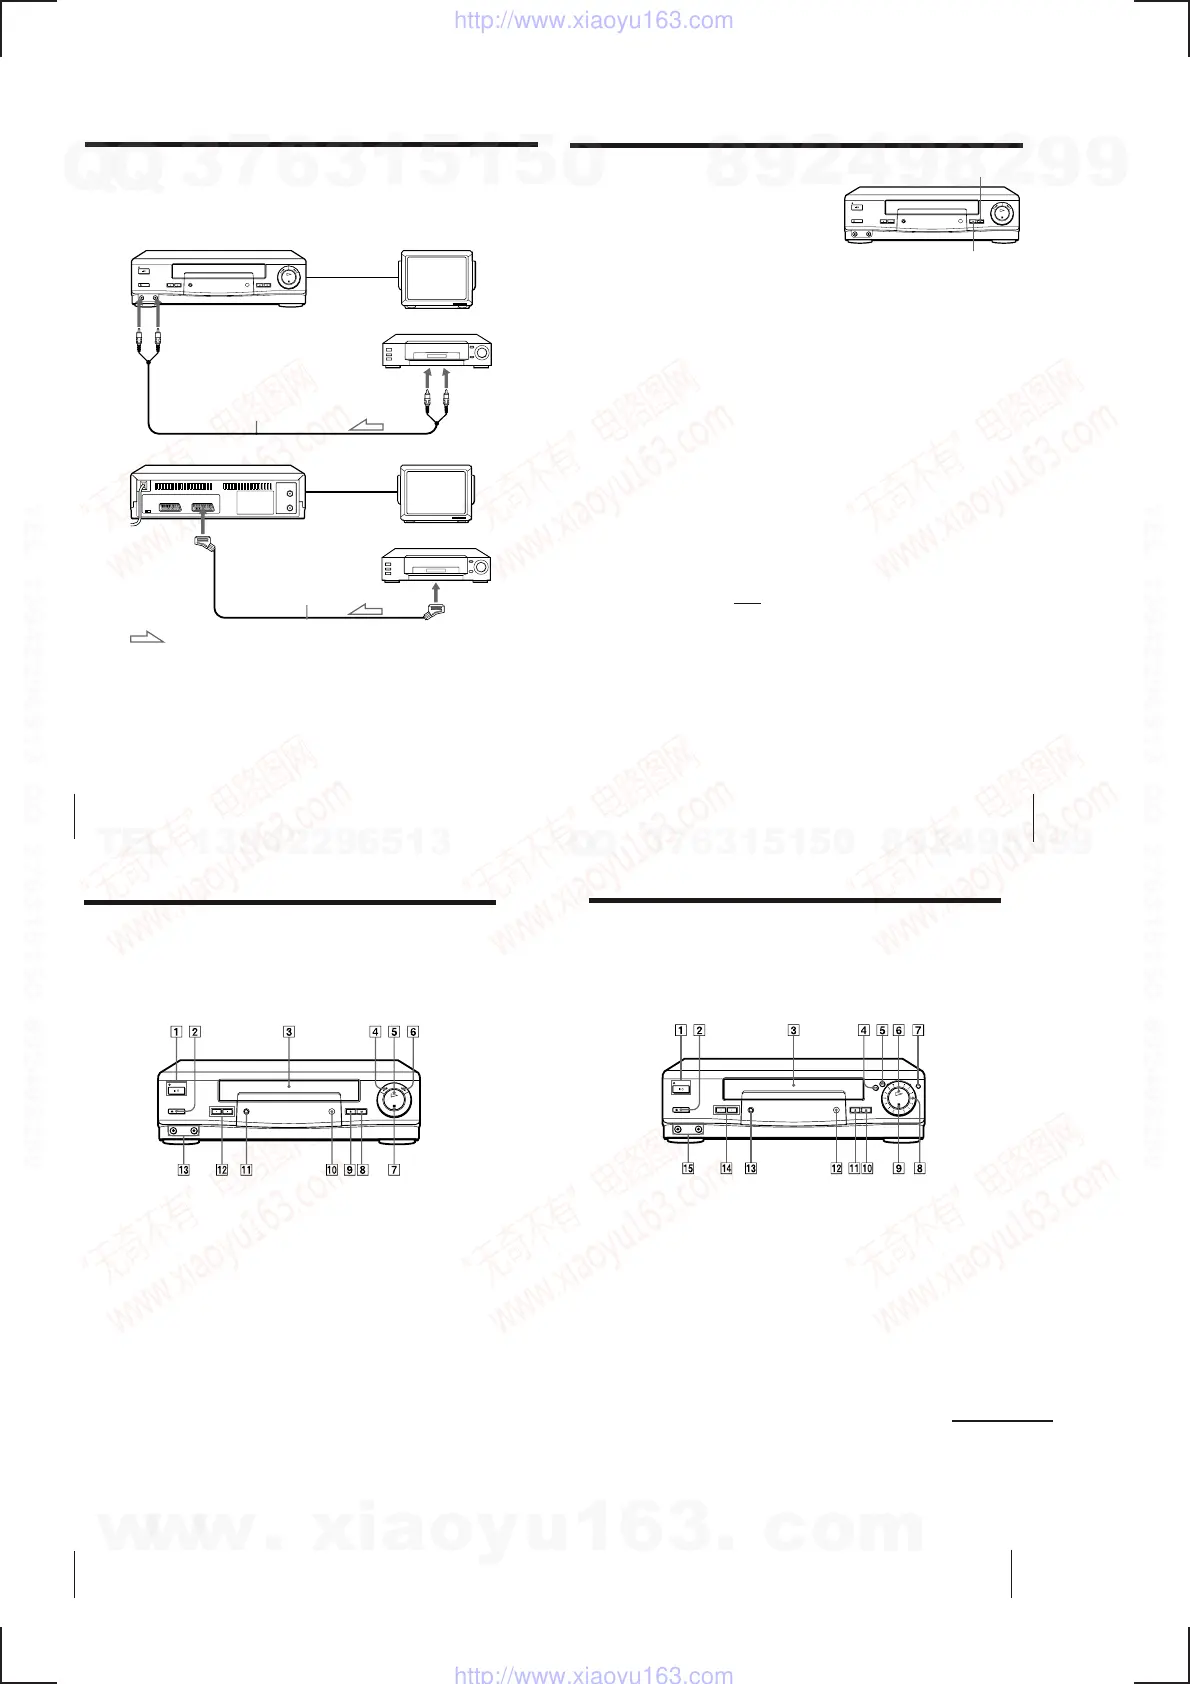
This VCR (Recorder)
LINE-2 IN
VIDEO/AUDIO
VMC-710HG/720HG audio/video
cable (not supplied)
TV
Other VCR (Player)
Editing with another VCR
How to connect to record on this VCR
Tip
• You can also use the LINE-1 (TV) connector instead.
Notes
• Make sure you connect the plugs to jacks of the same colour.
• If you connect this VCR to both the LINE IN and LINE OUT jacks of the other VCR,
select the input correctly to prevent a humming noise.
• If the other VCR doesn’t have a EURO-AV (Scart) connector, use the VMC-2106HG
cable instead and connect the cable to the line out jacks of the other VCR.
LINE OUT
This VCR (Recorder) TV
DECODER/
LINE-3 IN
Other VCR (Player)
VMC-2121HG EURO-AV
cable (not supplied)
: Signal flow
EURO-AV
(Scart)
…
65
Additional Operations
Operation
(when recording on this VCR)
Before you start editing
• Turn on your TV and set it to the
video channel.
• Press INPUT SELECT to display “L2”
(“L1” or “L3”) in the display window.
• Press SP/LP to select the tape speed, SP or LP.
1
Insert a source tape with its safety tab removed into the other
(playback) VCR. Search for the point to start playback and set it to
playback pause.
2
Insert a tape with its safety tab in place into this (recording) VCR.
Search for the point to start recording and press P PAUSE.
3
Press r REC on this VCR to set it to recording pause.
4
To start editing, press the P PAUSE buttons on both VCRs at the same
time.
To stop editing
Press the p STOP buttons on both VCRs.
Tip
• To cut out unwanted scenes while editing, press P PAUSE on this VCR when an
unwanted scene begins. When it ends, press P PAUSE again to resume recording.
Note
• If you start editing following the procedure above, the VCR won’t start recording
with the OPC function. To record a tape with the OPC function, press r REC again
during recording pause in step 3 so the VCR analyses the tape. Then, when you
start editing in step 4, press P PAUSE after the OPC indicator stops flashing. If you
press P PAUSE
before the OPC indicator stops flashing, the OPC function is
cancelled.
r REC
P PAUSE
70
Additional Information
Index to parts and controls
Refer to the pages indicated in parentheses ( ) for details.
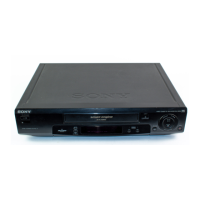
Front panel (SLV-SE30UX)
9 r REC (record) button (38, 53, 65)
0 Remote sensor (5)
AUTO SET UP/
RF (Radio Frequency) CHANNEL
button (13, 14)
PROGRAM/TRACKING +/–
buttons (52, 60)
LINE-2 IN VIDEO/AUDIO jacks
(64)
1 1/u ON/STANDBY switch/
indicator ( 32)
2 EJECT button (35, 55)
3 Tape compar tment
4 03 REW (rewind) button (35, 50)
5 PLAY button (35, 51)
6 )# FF (fast-for war d) button (35,
50)
7 p STOP button (35, 65)
8 P PAUSE button (32, 35, 65)
·
§
!£
!™
!¡
71
Additional Information
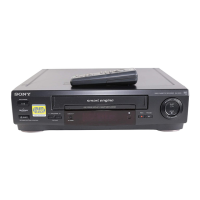
Front panel (SLV-SE45UX)
p STOP button (35, 65)
P PAUSE button (32, 35, 65)
r REC (recor d) button (38, 53, 65)
Remote sensor (5)
AUTO SET UP/
RF (Radio Frequency) CHANNEL
button (13, 14)
PROGRAM/TRACKING +/–
buttons (52, 60)
LINE-2 IN VIDEO/AUDIO jacks
(64)
1/u ON/STANDBY switch/
indicator (32)
EJECT button (35, 55)
Tape compar tment
0 REW (rewind) button (35, 50)
) FF (fast-for ward) button (35, 50)
PLAY button (35, 51)
JOG button (52)
Shuttle ring (51)
continued
·
2
3
4
5
6
7
8
9
!º
!¡
!™
!£
!¢
!∞
1
§
w
w
w
.
x
i
a
o
y
u
1
6
3
.
c
o
m
Q
Q
3
7
6
3
1
5
1
5
0
9
9
2
8
9
4
2
9
8
T
E
L
1
3
9
4
2
2
9
6
5
1
3
9
9
2
8
9
4
2
9
8
0
5
1
5
1
3
6
7
3
Q
Q
TEL 13942296513 QQ 376315150 892498299
TEL 13942296513 QQ 376315150 892498299
http://www.xiaoyu163.com
http://www.xiaoyu163.com
 Loading...