11
Projecting an Image
Projecting/Adjusting an Image
B Projecting/Adjusting an Image
Projecting an Image
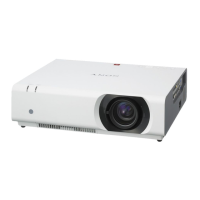
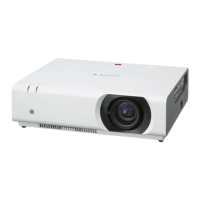
The size of a projected image depends on the distance between the projector and screen. Install
the projector so that the projected image fits the screen size. For details on projection distances
and projected image sizes, see
“Projection Distance and Lens Shift Range” (page 45).
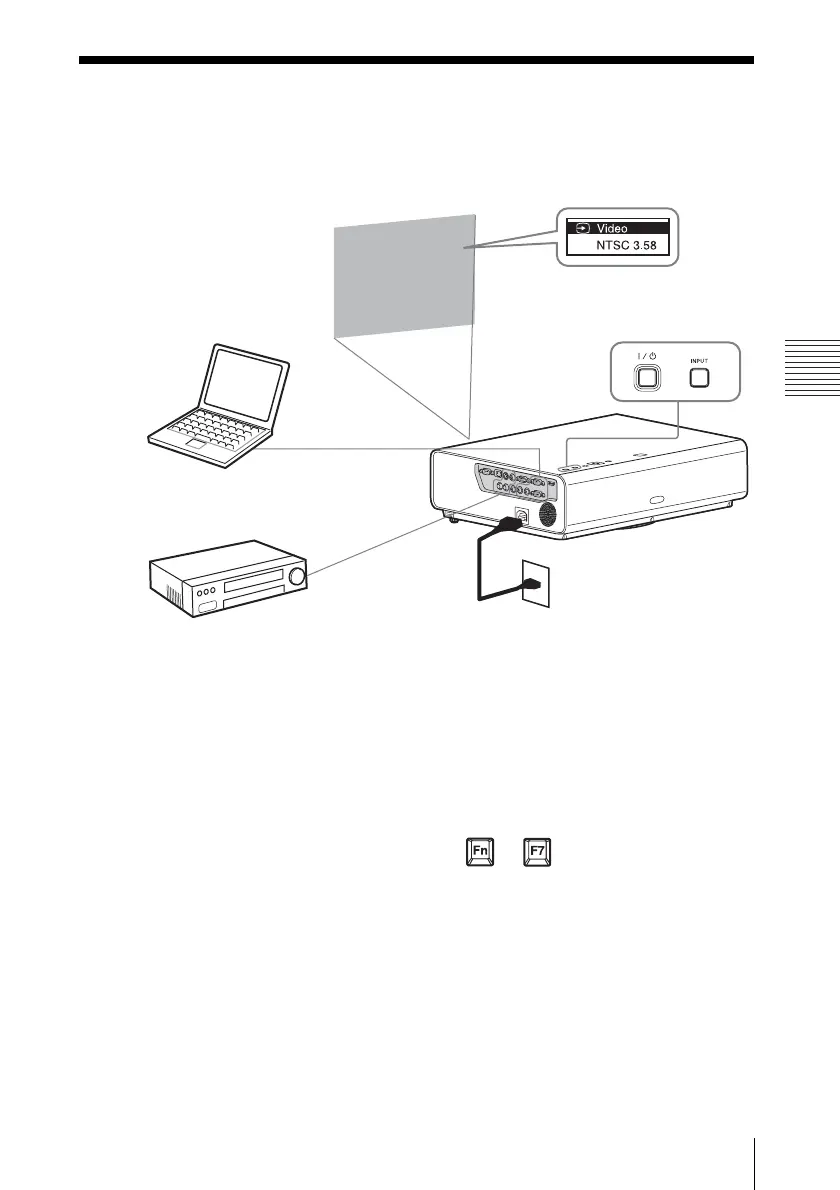
1 Plug the AC power cord into the wall
outlet.
2 Connect all equipment to the projector
(page 7).
3 Press ?/1 to turn on the unit.
4 Turn on the connected equipment.
5 Select the input source.
Each time you press the INPUT key on
the projector, the input signal switches.
Press the INPUT key repeatedly to select
an image to be projected.
6 To project an image from a computer,
set your computer to output to external
display.
How to switch the computer to output to
the projector varies, depending on the
type of computer.
(Example)
7 Adjust the focus and position of the
projected image (page 12).
Computer
Video equipment
Projector
Wall outlet
1
2
35
4
5
6
+
 Loading...