


A
Anthony KellySep 3, 2025
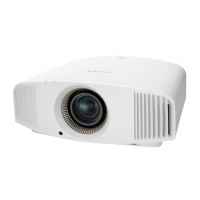
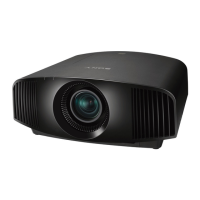
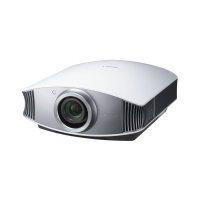
How do I fix the 'Please replace the Lamp/ Filter' message on my Sony VPL-VW50?
- JJennifer AndersonSep 4, 2025
If your Sony Projector displays the message 'Please replace the Lamp/ Filter', replace the lamp and the air filter. You may also want to check the lamp replacement process.