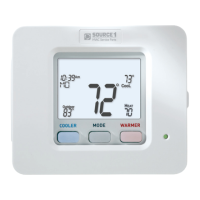
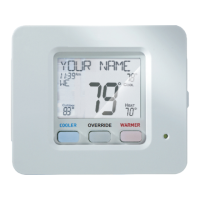
Selecting your desired temperature
AUTO-CHANGEOVER MODE - Pressing the WARMER or COOLER buttons
in Auto mode will adjust both the heat and cool setpoints simultaneously.
To adjust heat and cool setpoints individually, choose HEAT mode to
adjust the heat setpoint and COOL mode to adjust the cool setpoint, then
return to AUTO mode.
HEAT OR COOL MODE - Pressing the WARMER or COOLER buttons
in Heat or Cool mode will adjust only the heat or cool setpoints
individually displayed.
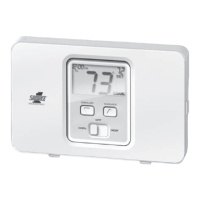
Using the Fan Button
FAN ON indicates constant fan operation. You may turn the fan on
even if the thermostat is in the OFF mode. Pressing the FAN button
toggles this feature on or off. If you don’t see “Fan On”, the fan is in
auto mode and will only turn on during a heat or cool demand.
Quick Start
7
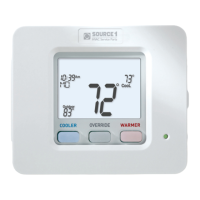
Viewing the Temperature Sensors
OUTDOOR TEMP - Press the OUTDOOR button to view the
current outdoor temperature. The high and low temperatures
for the day will also be displayed. The high and low
temperatures reset at 12:00 am. Press the OUTDOOR
button again to return to normal operation.
If the thermostat is connected to Skyport; upon pressing the OUTDOOR
button the scrolling display will read “Forecast”. The forecasted high and
low temperatures for the day will be displayed.
Press the OUTDOOR button again to view any connected wired sensor
(remote or SUPPLY).
Note: If no outdoor sensor is connected, and there isn’t outdoor temperature
via Wi-Fi, then 2 dashes [- -] will appear with the first button press.
REMOTE/SUPPLY TEMP - Press the Accessory Status button to
view linked wireless/wired sensors and other accessories.
Press the Accessory Status button to return to the main screen.
Setup step 41 selects the use of the wired temperature sensor.
FAN ON/AUTO
OUTDOOR˚
ACCESRY
STATUS
 Loading...