10
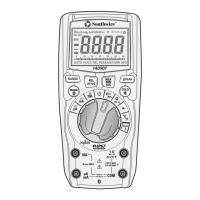
Operation cont.
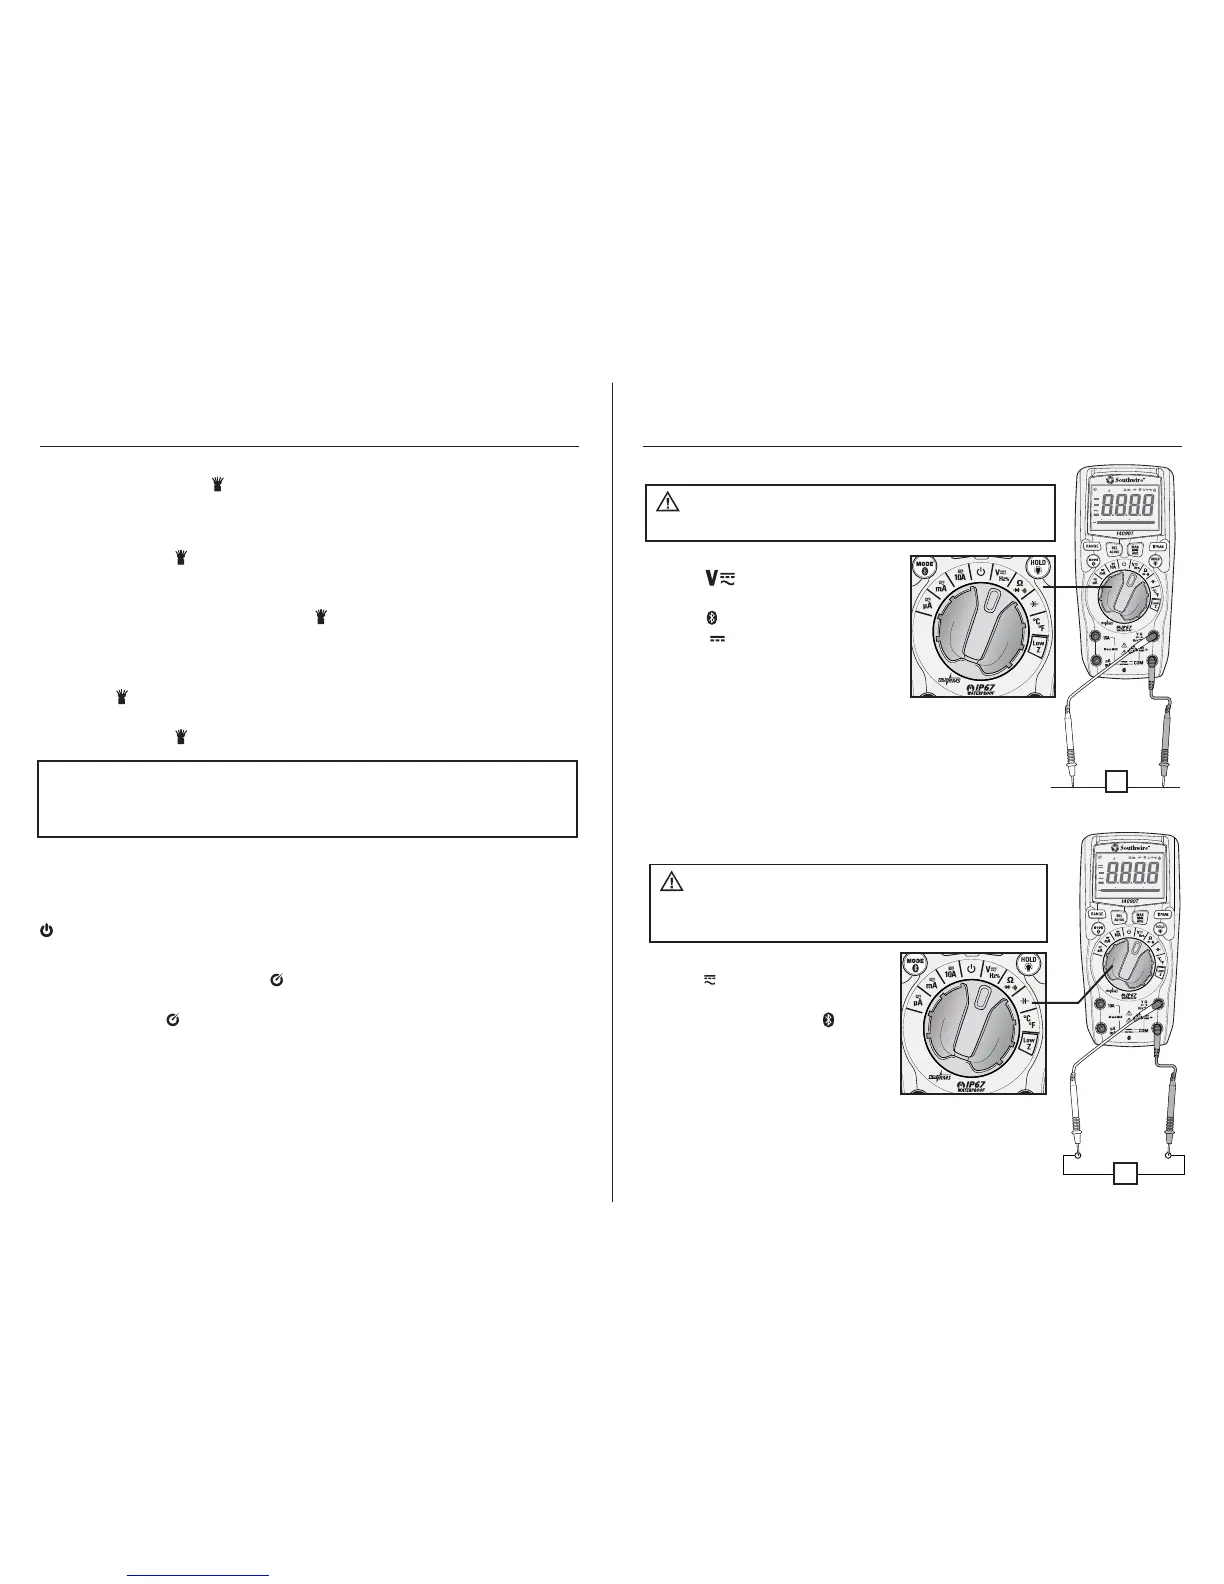
1. Set the rotary function switch to
the V HZ % position.
2. To select Frequency or % Duty
Cycle, press the MODE button
until the “Hz” or “%” symbol
appears on the LCD display.
3. Insert the black test lead into
the COM input jack and the red
test lead into the V input jack.
4. Touch the test lead probes to the circuit under test.
5. Read the frequency or % duty cycle on the LCD display.
Frequency and % Duty Cycle Measurements
Observe all safety precautions
when working on live voltages. Do not measure
frequency or duty cycle on circuits that exceed 600V.
WARNING:
Hz
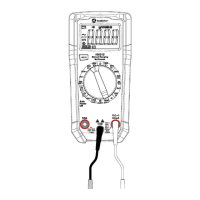
1. Set the rotary function switch
to the HZ% position.
2. To select AC or DC, press the
MODE button until the AC “~”
or DC “ ” symbol appears on
the LCD display.
3. Insert the black test lead into the
COM input jack and the red test
lead into the V input jack.
4. Touch the test lead probes to the circuit under test.
If measuring DC voltage, touch the red test lead to
the positive side of the circuit and the black test lead
to the negative side of the circuit.
5. Read the voltage on the LCD display.
AC/DC Voltage Measurements
V
-+
Observe all safety precautions
when working on live voltages.
WARNING:
9
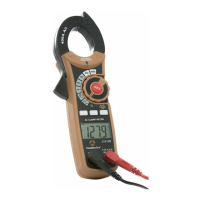
Operation
NOTE: The meter does not Autorange when the PEAK mode is active. The
display will read OL if the reading exceeds the range. When this occurs, exit
PEAK and use the RANGE button to select a higher range.
Flashlight/PEAK Button
Momentarily press and the PEAK button to turn the flashlight on and off.
The PEAK function is accessible when measuring AC Voltage or Current. It captures and
displays the highest positive peak and the highest negative peak of the AC waveform.
1. Press and hold the PEAK button until “Peak MAX” appears on the LCD display.
The meter will display the highest reading and will update the reading when
a higher positive peak occurs.
2. To view highest negative peak, press the PEAK button for approximately one
second. “Peak MIN” will appear on the LCD display and the meter will display
and hold the highest reading. The meter will update the reading when a higher
negative peak occurs.
3. Press the PEAK button for approximately one second to switch between Peak
MAX and Peak MIN readings.
4. Press and hold the PEAK button to exit PEAK and return to normal operation.
Auto Power Off
To conserve battery power, the meter automatically turns off after approximately
15 minutes. To disable Auto Power Off, set the rotary function switch to the Off
position. Press and hold the MODE button while setting the rotary
function switch to the desired function.
Release the MODE button when the symbol no longer appears on the LCD display.
Auto Power Off can be restored by turning the meter off. As soon as the meter is
turned back on, the symbol will reappear indicating Auto Power Off is active.
 Loading...