Report Number : TEC135
Issue : Two
Date : Mar 2006
Page : 4
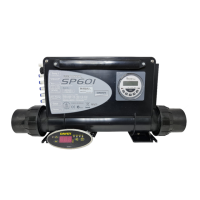
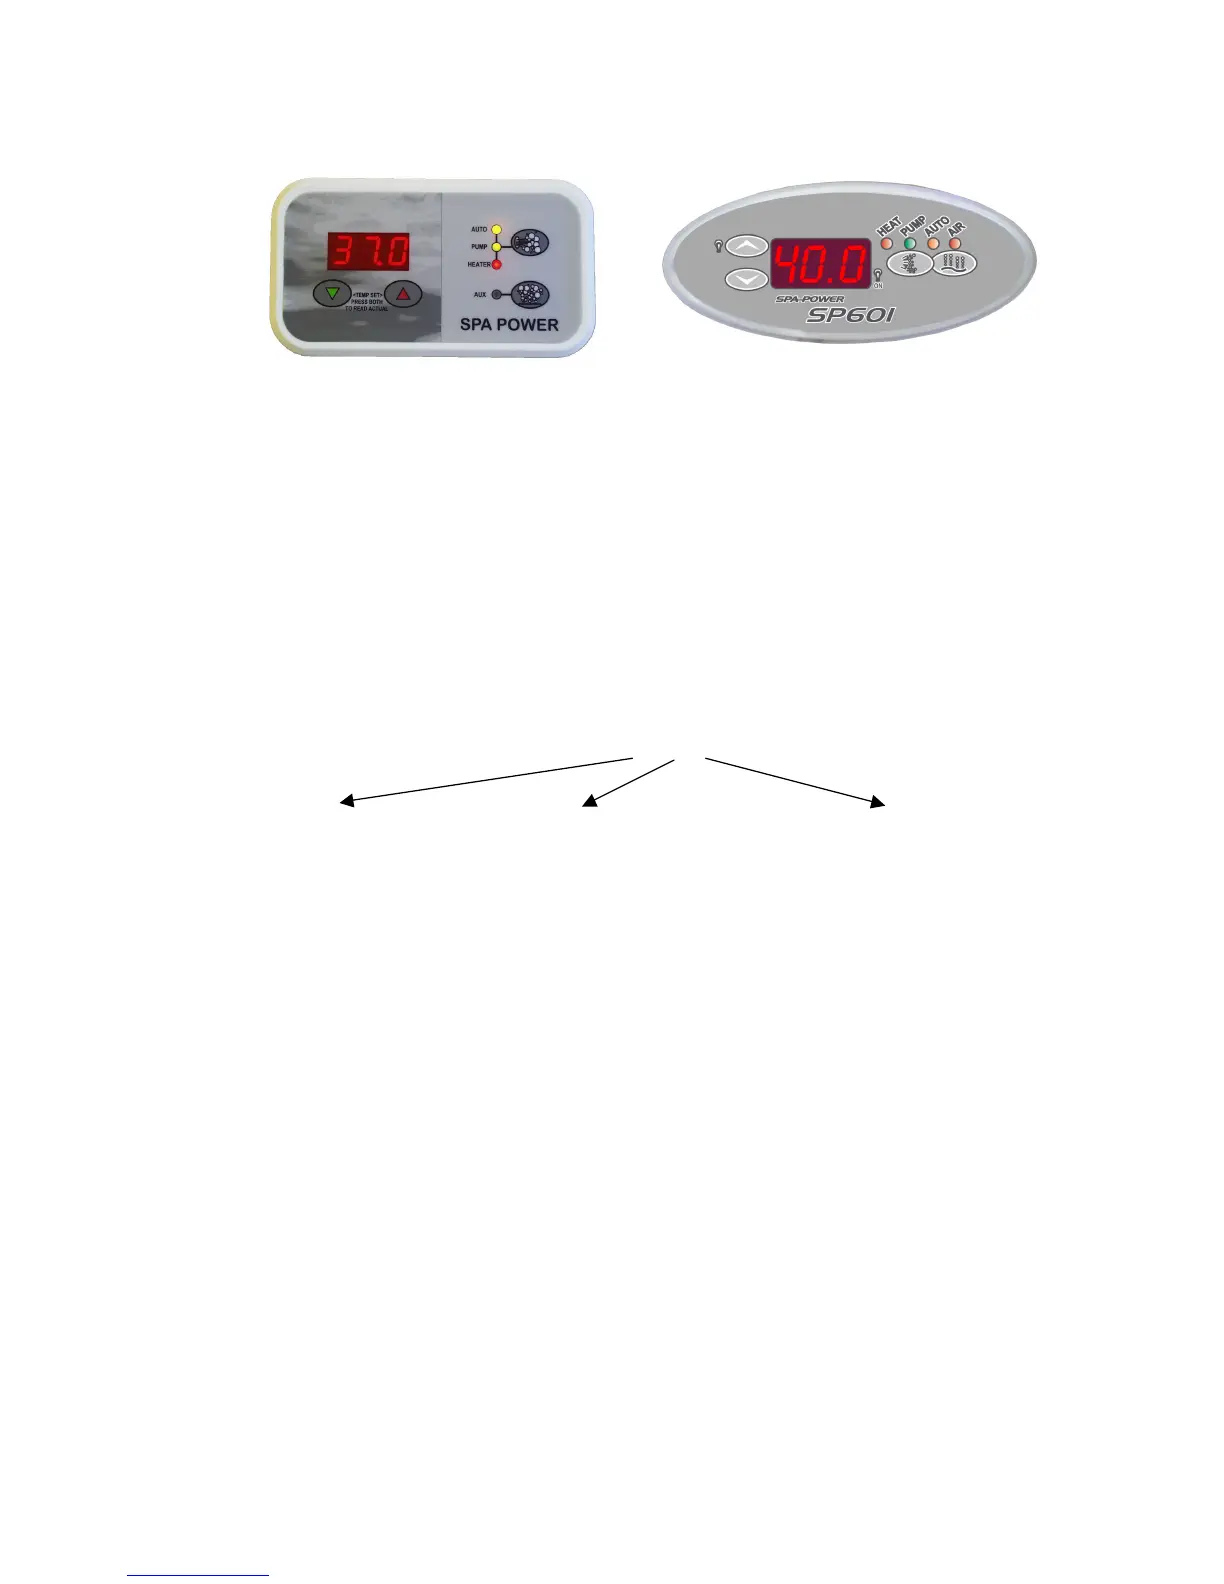
The water resistant poolside control panel features a moulded or webbed waterproof
membrane and a polycarbonate overlay that is resistant to pool chemicals. It contains an
alarm beeper, soft touch keys and a three digit LED temperature display. All user
controls are on this panel except sleep time adjustments, which can be done using the
optional sleep control clock that may be fitted to the control box itself.
Model Variations
The improved design of the SP601 means that all the output sockets are included in
every model. The model numbers are explained below.
Q601XX-XX
601 Controller
The output sockets are described below, please note that not all outputs can be used at
the same time.
Pump 1 This pump is normally used to power the pool’s jets and circulate water through
the filter and heater. The controller will run this pump automatically as required when in
auto mode. Alternatively, this pump can also be run manually using the touch pad.
Either a 1 speed pump or a 2 speed pump can be connected to this socket, either pump
will use the same AMP plug. Use the DIP switch settings to set the main pump outlet for
a 1 or 2 speed pump. If a circulation pump is installed, Pump 1 will revert back to a
simple on/off or high/low/off pump under user control.
Aux or Ozone (2spd pump) The options for an auxiliary load will depend on Pump 1. If
a 2psd pump is installed (without a circ pump) this socket will be used to run an
ozonator. If a 1spd pump is used and no SPVSB is fitted, then this output can be
switched, allowing the installation of an auxiliary on/off pump or blower, etc.
 Loading...