MAINTENANCE26
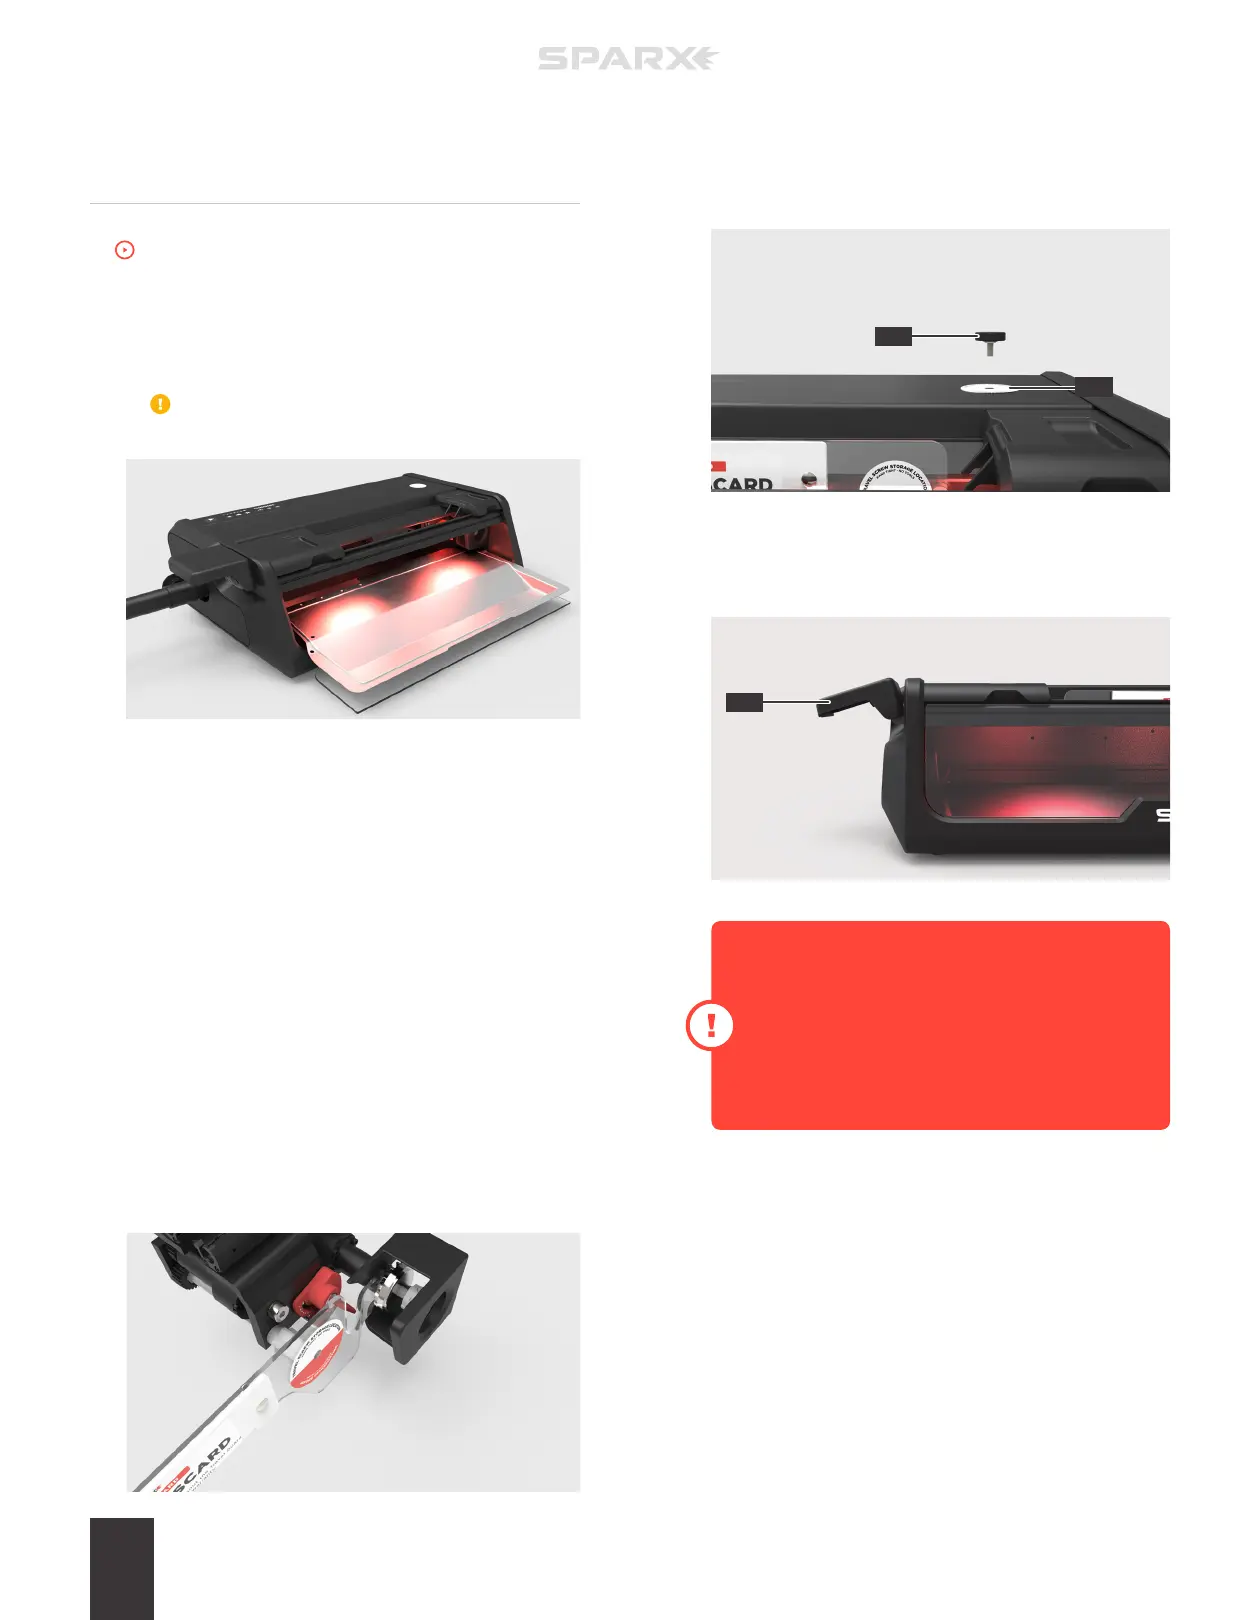
5 INSTALL THE TRAVEL SCREW
Install the Travel Screw (A) into the Screw Slot (B) by turning
clockwise until hand-tight.
6 REMOVE THE CLAMP LEVER
Slide the Clamp Lever (A) o of the Lever Dock.
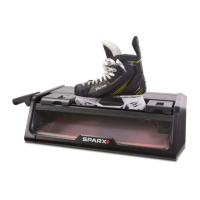
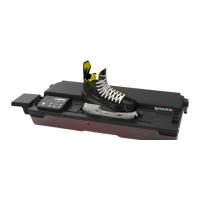
TRAVELING WITH THE
SHARPENER
To watch the How-To video, visit sparxhockey.com/travel.
1 REMOVE AND EMPTY THE DUST TRAY
Open the Glass Door and remove the Dust Tray. To empty Dust
Tray—wipe completely clean with a damp cloth (water).
Do not use any solvents or cleaning chemicals in and
around the Skate Sharpener.
2 VACUUM SHARPENER
After removing the tray, vacuum throughly around the inside of
the sharpener. Detach the vacuum hose from the port on the side
of the machine and use the supplied attachments for this purpose.
3 REPLACE THE DUST TRAY
Slide the Dust Tray back into the machine. Close
the Glass Door.
4 INSTALL THE TRAVEL GUARD
Open the Skate Clamp by pressing and holding down the
Clamp Lever. Install the Travel Guard by placing the claw of
the Travel Guard behind the Grinding Ring Shaft’s impeller as
shown below. Release the Clamp Lever. Ensure that the
middle section of the Travel Guard is held securely in
the Skate Clamp.
When setting up the Sparx Sharpener after travel,
wipe down the Grinding Ring Shaft’s face and
threaded arbor to remove any unwanted steel
shavings that may have gathered during transit.
This will ensure a proper fit between the Grinding
When setting up the Sparx sharpener after travel,
wipe down the Grinding Ring Shaft’s face and
threaded arbor to remove any unwanted steel
shavings that may have gathered during transit. This
will ensure a proper fit between the Grinding Ring
Shaft and the Grinding Ring.
A
A
B