Getting Started
Procedure 8: Set the Chassis IP Address
Getting Started with Spirent TestCenter | 41
You can also use this connection to configure the chassis’ netmask and gateway values.
Refer to “Setting the Netmask and Gateway Values (all chassis)” on page 46.
Refer to “Setting the Netmask and Gateway Values (all chassis)” on page 46
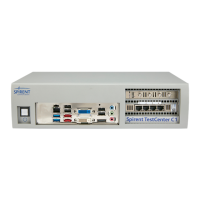
SPT-C50
For the SPT-C50, set a unique IP address by using either of these methods:
• Attach a USB keyboard and VGA monitor to the appliance
• Use a communication program to SSH (secure shell) over the Ethernet administration
port to the SPT-C50 default IP address
See “Setting the SPT-C50 Addressing mode, IP Address, Netmask and Gateway”.
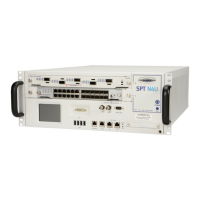
Setting the IP Address using the SPT-N4U or SPT-N11U Front Panel Touchscreen
The built-in touch screen interface allows reconfiguring of the chassis IP address settings.
To set the IP address using the SPT-N4U or SPT-N11U touch screen:
1 Use your finger to press the Configure button on the We l come screen.
2 Press on the IP Address text box to bring up a keyboard for entering the address.
3 Enter the address and press Go.
4 Repeat Step 2 to enter the IP Gateway Address and IP Netmask, if necessary.
5 Press the Submit button.
The settings will be applied and the controller will automatically reboot.