Maintenance Waukesha Cherry-Burrell
®
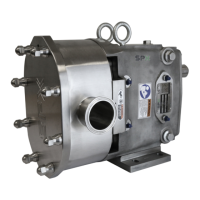
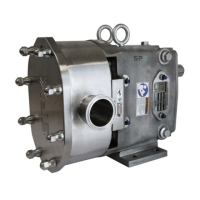
Brand Universal 3 Pump
Page 34 95-03103 11/2018
Fluid Head Disassembly -
Cover and Rotors
NOTE: SPX FLOW recommends
replacing elastomers every time the
pump is serviced.
The pump contains internal moving parts. DO NOT put hands or
fingers into the pump body ports or drive area at any time during
operation. To avoid serious injury, DO NOT install, clean, service,
or repair the pump unless all power is off and locked out and the
pump is de-pressurized. Shut off and drain product from the
pump prior to disconnecting the piping.
The pump components and piping may contain sharp edges.
Handle the rotors carefully because edges may be sharp. Wear
gloves while installing and servicing the pump to help avoid
injuries from these hazards.
Make sure the pump is securely bolted or clamped down prior to
performing any maintenance work. The pump center of gravity
changes as parts are added or removed, and could result in
tipping of an unsecured pump.
Remove Cover
1. Remove the cover nuts from the cover. Using a soft hammer,
tap the cover off the body studs and dowel pins.
2. Place the cover on a protected surface with the finished
surfaces facing up.
To lift the cover on a 210 or 320-U3, attach an eye bolt to the
threaded hole in the cover and attach lifting straps or chains to
the eye bolt.
3. Remove and inspect the cover gasket.
Table 4: Cover Nuts Wrench Size
Model U3
Wrench
Size
006, 015, 018, 030, 040 5/8"
045, 060, 130, 180, 220 7/8"
210, 320 1"
Figure 36 - Remove cover
Figure 37 - Remove cover gasket
 Loading...