Waukesha Cherry-Burrell
®
Brand Universal 3 Pump Maintenance
11/2018 95-03103 Page 77
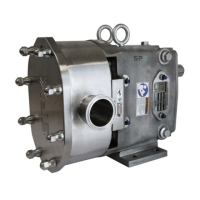
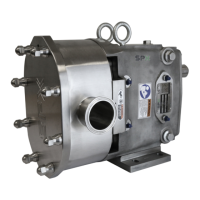
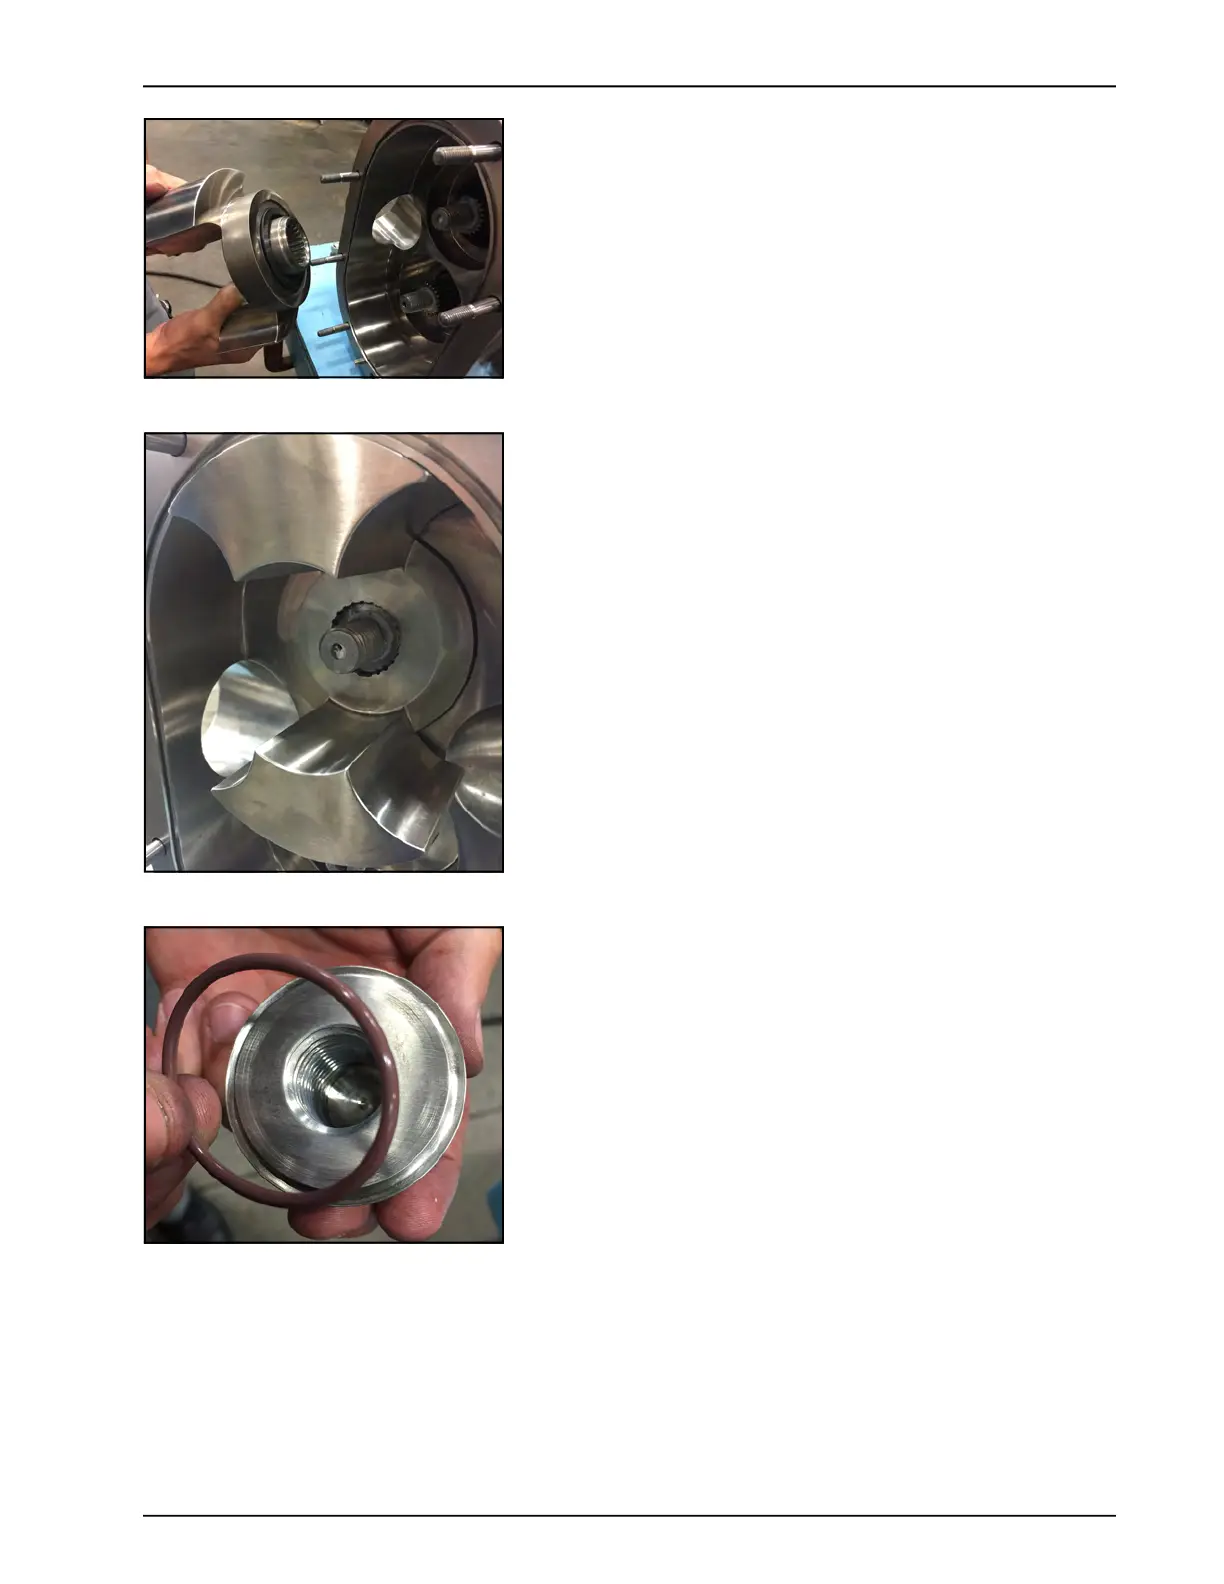
3. Push the rotor onto the shaft.
NOTE: When you push on the rotor, you should feel pressure
from the seal spring. (With the O-ring seal, you should feel a
little pressure from the spring, but not as much as from the
mechanical seal.)
NOTE: Mechanical seal shown.
4. Figure 181 shows the rotor installed. Repeat these steps to
install the second rotor.
Install Rotor Nuts
1. Install the lubricated rotor nut O-ring onto the rotor nut.
Figure 180 - Push rotor on shaft
Figure 181 - Rotor installed
Figure 182 - Install O-ring