14
Installation & Mounting bracket
INSTALLATION
Recommended installation height:
The camera should be installed at the same height as the animal’s mid-body.
Ideal installation for quality pictures & videos:
The targeted animal should be 25 feet / 7.5m away from the camera for a
better eld of view.
To get brighter pictures at night , you should have elements in the
background to reect back the IR ash to the camera. (e.g. Trees or fence)
Make sure the front of the camera is free of any obstructions. The area of
installation should be cleared from branches or bushes. These could be res-
ponsible for triggering false detections when combined with heat, reections
and/or wind. Setting the sensitivity level of the camera too high can also
result in false detections by unwanted movement.
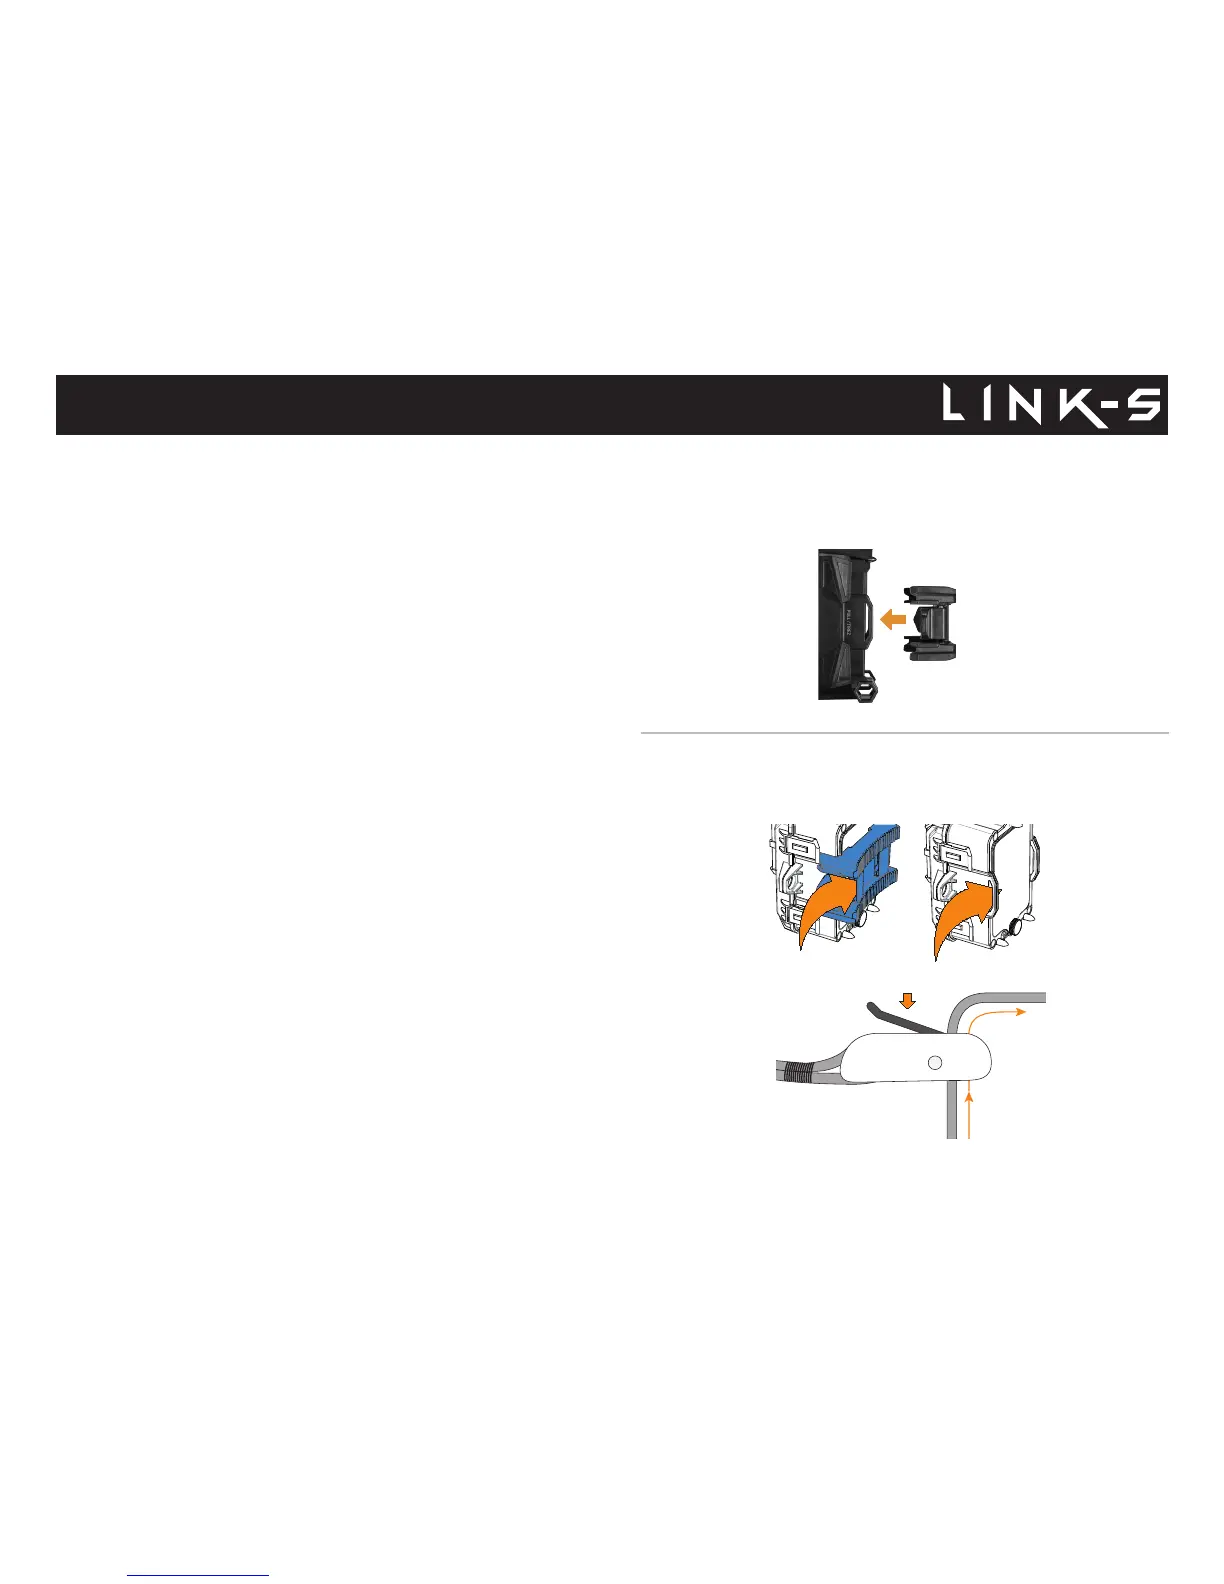
MOUNTING BRACKET
To remove the camera from the mounting bracket:
1. Push the tab to release the camera from the mounting bracket.
2. Remove the camera.
INSTALLATION WITH THE SUPPLIED STRAP
Use the mounting bracket or the camera slot for installation strap to x the
camera. The dimensions of the strap (included) is 1" X 60".