Single speed pumps Installation and User’s Guide
EnglishEnglish
9
PUMP INFORMATION
FITTINGS AND VALVES
1. Do not install 90° elbows directly into pump inlet.
2. Flooded suction systems should have gate valves
installed on suction and discharge pipes for main-
tenance, however, the suction gate valve should
be no closer than ve times the suction pipe di-
ameter as described in this section.
3. Use a check valve (non-return valve) in the dis-
charge line when using this pump for any appli-
cation where there is significant height to the
plumbing after the pump.
4. Be sure to install check valves when plumbing in
parallel with another pump. This helps prevent
reverse rotation of the impeller and motor.
ELECTRICAL REQUIREMENTS
1. Install all equipment in accordance with
the National Electrical code and all ap-
plicable local codes and ordinances.
Sufficient equipotential bonding (min. 4.5mm²
recommended), in accordance with local regula-
tion, is required on all metal components of the
pool including the pool pump. It is required for
electrical safety as well as to reduce the risk of
corrosion.
2. A means for disconnection must be incorporated
in the fixed wiring in accordance with the wiring
rules.
3. Do not mount electrical controls directly over
pump.
3.4 - START / OPERATION
Starting the pump
• Fill pump strainer with water to suction pipe level.
• Lubricate the lid Oring with lubricant each time it
is removed.
• Make sure the strainer lid is properly closed before
turning on the pump.
• Energize the motor, the pump will prime. The prim-
ing time depends on the suction lift and distance to
the pool. Five minutes is a reasonable time.
• Pump will not lift more than 2,5 meter. If pump does
not prime, see troubleshooting guide.
• Avoid damage on your pool products by installing
water treatment produts (chlorine/ph/pumps/...)
behind other equipment.
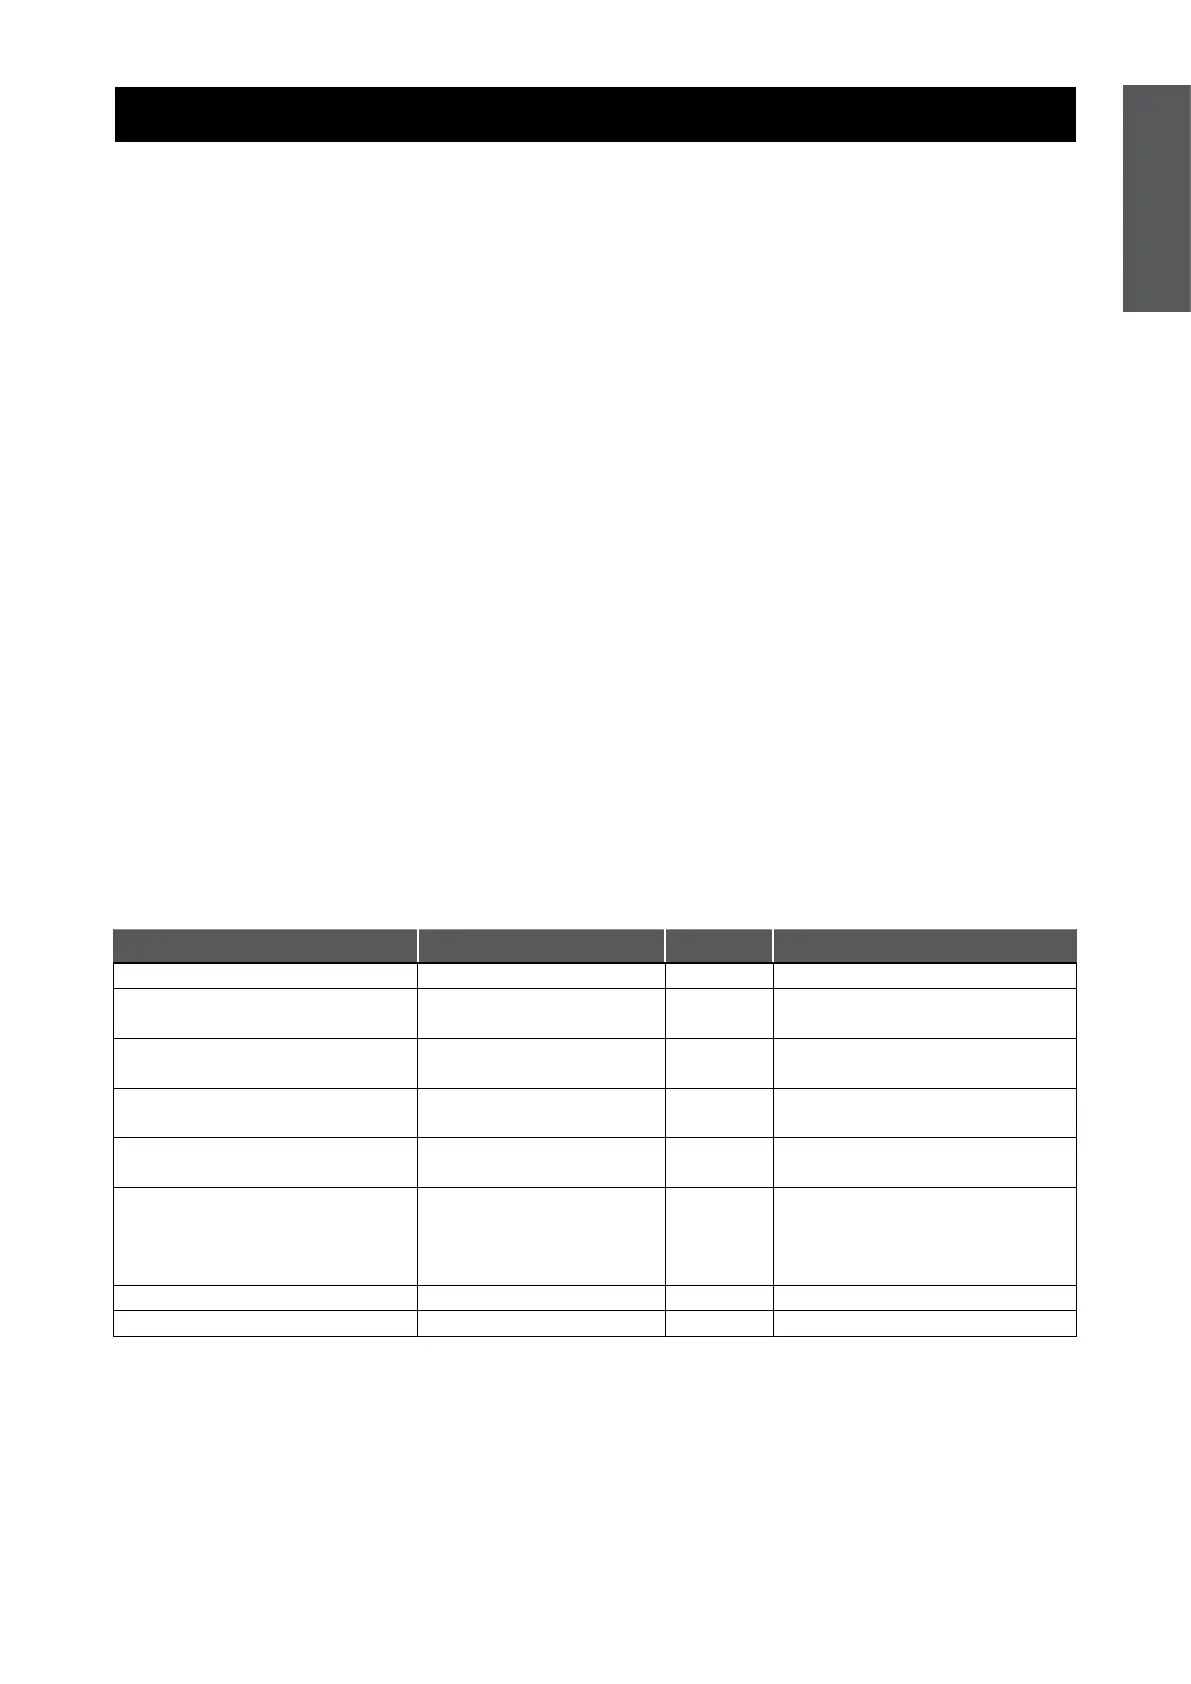
Maintenance
The strainer basket should be weekly removed and cleaned. Never operate the pump without its strainer basket.
Component Check Interval Remarks
Warning pictograms Visual check Monthly Replace if necessary
Water supply
Check lines and
connections
Monthly Replace any damage immediately
Safety devices Visual check Monthly
Ensure correct installation /
retting
Gerneral condition of the pump Visual check Half-yearly
Look out for any corrosion or
damage
Cooling ribs of electric motors
Clean the colling ribs to
maintain the colling effect
Half-yearly -
Electrical equipment Check Monthly
Rectify loose connections or
singed cables immediately. Have
all faults repaired by a qualied
electrician
Preliminary lter housing Check housing for dirt Weekly Remove all dirt thoroughly
O-Ring in preliminary lter cover Visual check Half-yearly -
Winterizing
• Protect the pump from freezing.
• Remove all plugs and drain the pump and all piping.
• Store drains and plugs in the strainer basket.
• Remove the pump to a dry and warm room.
• Do not wrap the motor with plastic covering as con-
densation may damage the pump.
• In installations where the pump can not be drained,
a 40% propyleneglycol, 60% water solution will pro-
tect to -46°C.
• Do not use other anti-freeze solutions, these are all
highly toxic and will damage the pump.