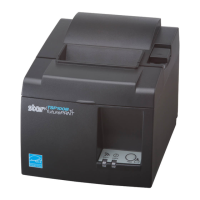
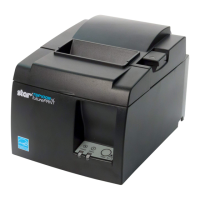
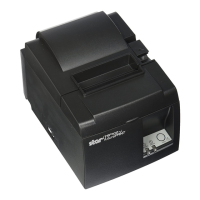
e following accessories are necessary when mounting the printer to a wall.
• Holder plate and two angeless screws
e following accessories do not necessarily have to be attached. Attach it if necessary.
• Cable cover
• Switch cover
4-1. Attaching the Holder Plate
<Precoutions>
n e holder plate is attached to the printer using the included screws and is hooked onto screws that are installed
into the wall.
n e screws on the wall are not included.
Use commercially available screws (4 mm diameter) that are suitable for the wall material (wood, steel beam,
concrete, etc.).
n e printer’s weight is approximately 2.4 kg when the largest diameter roll paper is loaded.
Use screws on the wall that have both shear strength and pulling-out strength to withstand a force of at least
12 kgf (118 N).
(1) Attach the sha to the printer.
(2) Wipe the area into which the rubber feet will be axed in order to remove any grime; then, ax the roll stoppers.
e positions for axing them will vary depending on the paper width.
-
24
-
82.5 or 79.5 mm width
57.5 mm width
Push in the left and right
ends of the shaft.
Shaft
4. Attaching the Accessories
 Loading...

