Do you have a question about the Star TSP100III Series and is the answer not in the manual?
Device complies with FCC Rules and Industry Canada license-exempt RSS standards.
Unauthorized modifications can void user authority to operate the equipment.
Specifies need for shielded cables and ferrite core for RF interference suppression.
Adheres to RF exposure limits, recommends minimum 20cm distance from body.
Lists conformity declarations in multiple languages for regulatory compliance.
Warns about potential harmful interference in commercial environments for Class A devices.
Details warning symbols for hot print head, cutter, and peripheral connectors.
Lists registered trademarks associated with the product and its software.
Outlines copyright, manual update policy, and error reporting.
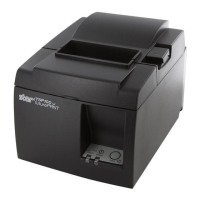
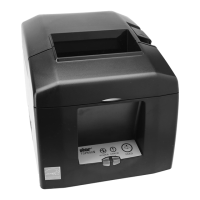
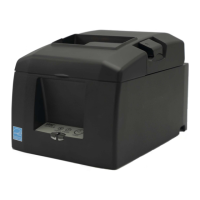
Guide to check all necessary accessories are included after unpacking the printer unit.
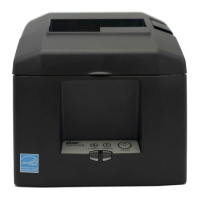
Key considerations for selecting a suitable location and environment for printer installation.
Instructions for connecting various interface cables (Parallel, RS-232C, USB, Ethernet) to a PC.
Steps for connecting interface cables to the printer, including ferrite core installation.
Procedure for connecting the optional AC adapter to the printer for power.
How to turn on the printer and indications from the POWER lamp on the control panel.
Instructions for connecting peripheral devices like cash drawers using a modular plug.
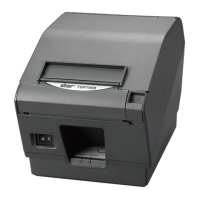
Step-by-step guide on how to correctly load a paper roll into the printer.
Procedure for removing the tension bar unit, dependent on paper thickness and type.
Instructions for installing the paper roll holder for specific paper widths, noting limitations.
Guide for configuring Bluetooth settings and pairing the printer with a master device.
Steps for pairing the printer using a PIN code when SSP is not supported.
Explains the auto connection feature for iOS devices and its confirmation process.
Procedure to enable or disable the Auto Connection function via the main unit or software.
Instructions to initialize all changed Bluetooth settings back to factory defaults.
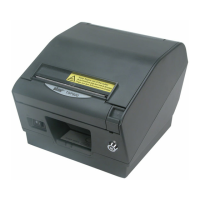
Important safety warnings and precautions for printer setup, including electrical and physical hazards.
Details specifications for thermal paper rolls, including width, diameter, and thickness.
Specifies requirements for thermal label paper rolls, including backing paper and thickness.
Explains the components of the control panel: POWER lamp, ERROR lamp, and FEED button.
Lists recoverable and non-recoverable errors, their indicators, and conditions for recovery.
Guide to adjust the near-end sensor for optimal detection of paper end based on roll size.
Recommendations to avoid paper jams by not touching paper during ejection or cutting.
Step-by-step instructions for safely removing jammed paper and resetting the printer.
Procedure for cleaning the thermal head with alcohol to ensure print quality.
Instructions for cleaning the rubber roller with a dry cloth to remove dust.
Guide to clean sensors and surrounding areas from debris, dust, and paper particles.
How to clean the paper holder and adjacent areas of debris and dust.
| Print Method | Direct Thermal |
|---|---|
| Resolution | 203 dpi |
| Print Speed | 250 mm/sec |
| Connectivity | USB, Ethernet, Bluetooth |
| Cutter | Auto Cutter |
| Paper Thickness | 0.053 – 0.085 mm |
| Power Consumption | Approx. 1.8A (average) |
| Paper Width | 80mm (3.15") or 58mm (2.28") with paper guide |
| Dimensions | 142 x 204 x 132 mm (5.59 x 8.03 x 5.20 inches) |