Do you have a question about the Star TSP650 and is the answer not in the manual?
Checks necessary accessories after unpacking the printer to ensure all parts are included.
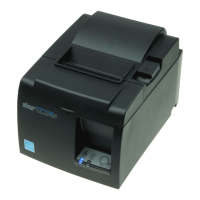
Provides guidelines for selecting an optimal location for the printer considering vibration, power, and environment.
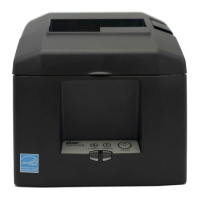
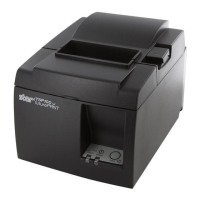
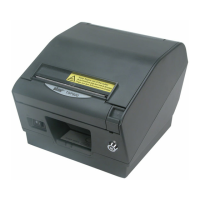
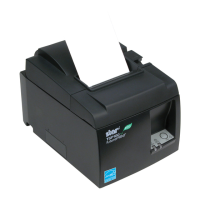
Identifies and labels the components of the printer's Cutter Model.
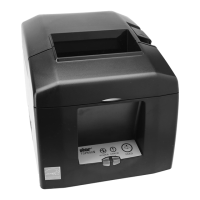
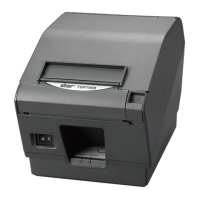
Identifies and labels the components of the printer's Tear Bar Model.
Details connecting various interface cables (Parallel, RS-232C, USB, Ethernet) to the PC.
Provides instructions for connecting interface cables to the printer's rear panel.
Guides users through installing printer driver and utility software from the provided CD-ROM.
Explains the procedure for connecting the AC adapter to power the printer.
Details the steps for turning the printer on using the power switch.
Describes connecting peripheral units like cash drawers via the modular plug connector.
Instructs on properly loading different widths of paper rolls into the printer.
Explains how to attach the holder plate for wall mounting the printer securely.
Details the procedure for attaching the rubber feet for stable vertical printer positioning.
Describes installing the switch cover to prevent accidental operation of the power switch.
Specifies requirements and lists recommended types of thermal paper rolls for the printer.
Provides details on the optional AC adapter, including input and output specifications.
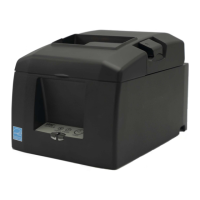
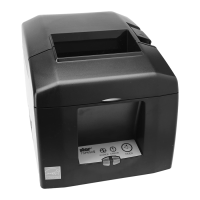
Identifies the printer's control panel components, including LEDs and the FEED button.
Lists recoverable and non-recoverable errors, indicators, and their respective recovery conditions.
Explains performing test prints and using Hexadecimal Dump Mode for diagnostics.
Offers advice on how to avoid paper jams during printer operation and paper ejection.
Details the step-by-step procedure to clear a paper jam from the printer.
Explains how to manually release a jammed auto cutter mechanism in the printer.
Instructs on cleaning the thermal print head to maintain print quality and prevent issues.
Guides on cleaning the rubber roller to remove accumulated dust and ensure smooth paper feeding.
Explains cleaning the paper holder and surrounding areas of debris, dust, and paper particles.
Lists the general technical specifications of the printer, including printing method, speed, and dimensions.
Details the specific cutting modes, duty, and paper thickness supported by the auto cutter.
Specifies the supported interface types, including RS-232C and Two-way parallel (IEEE1284).
Lists the input and output electrical characteristics for the printer's AC adapter.
Outlines the recommended operating and storage temperature and humidity ranges for the printer.
Provides details on the printer's mechanical life, MCBF, and auto cutter's lifespan.
Details DIP switch settings for the Parallel Interface Model, covering Star and ESC/POS modes.
Outlines DIP switch settings for the RS-232C Interface Model, including Star and ESC/POS modes.
Describes DIP switch settings for the USB Interface Model in Star and ESC/POS modes.
Details DIP switch configurations for the Ethernet Interface Model in Star and ESC/POS modes.
Details RS-232C transmission method, baud rate, word length, and signal polarity.
Lists pin assignments and functions for the RS-232C connector in STAR and ESC/POS modes.
Provides recommended interface cable connection diagrams for the RS-232C serial interface.
Lists general specifications, communication speed, method, power, and connector type for USB interface.
Outlines general specifications, media, speed, protocol, and connector for the Ethernet interface.
| Resolution | 203 dpi |
|---|---|
| Power Supply | External Power Supply |
| Print Method | Direct Thermal |
| Interface | USB, Ethernet, Serial |
| Paper Width | 80 mm |
| Cutter | Guillotine |
| Dimensions | 142 x 204 x 132 mm |