Software Installation
14 Getting Started
12 Follow the on-screen instructions in the Setup
window for Yamaha Steinberg FW Driver, Stein-
berg MR Editor and Steinberg MR Extension
appearing in order.
NOTE
· If the same version of each software component has already
been installed in your computer, the installation window of the
corresponding software will not appear.
· If a message “The software you are installing has not passed
Windows Logo Testing” appears, click [Continue Anyway]. You
do not need to abort the installation. If the message does not
appear, proceed to the next step.
13 When installation is complete, a message indi-
cating so appears. If restarting of the computer
is necessary following successful completion of
the installation, make sure that the radio button
to the left of “Yes, I want to restart my computer
now” is selected, then click [Finish] to restart the
computer. If restarting the computer is unneces-
sary, click [Finish] to exit the installation pro-
cess.
Initial settings of driver
After you’ve installed TOOLS for MR, perform the initial
settings of the driver.
NOTE
·A dialog box may appear asking you whether you wish to con-
nect to Windows Update. In this case, select the radio button to
the left of “Not at this time,” then click [Next].
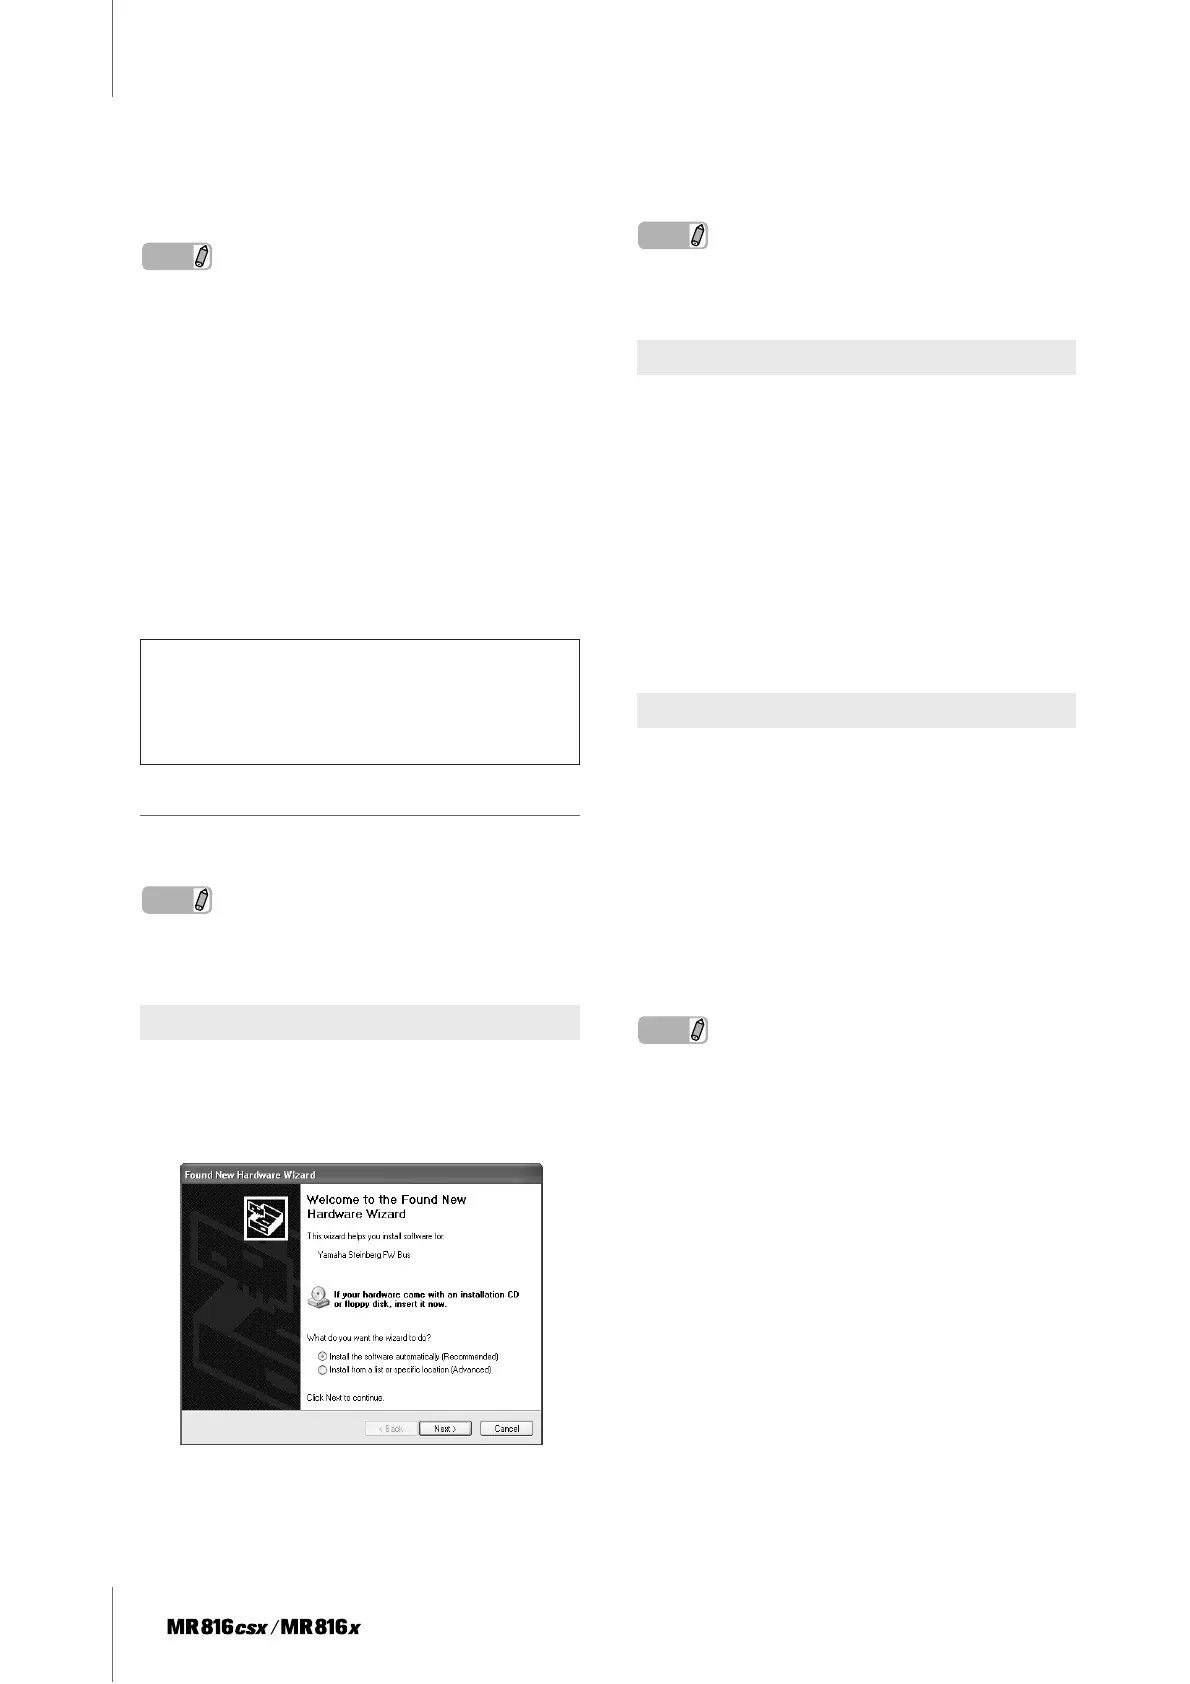
14 The “Found New Hardware Wizard” window
appears. Select the radio button next to “Install
the software automatically [Recommended],”
then click [Next].
15 When installation is complete, a message indi-
cating so appears.
Click [Finish].
NOTE
· If multiple IEEE1394 interfaces have been installed to the com-
puter, the wizard appears several times. Exit the wizard each
time.
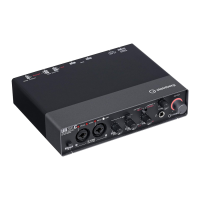
16 Connect the MR816 CSX/MR816 X to the com-
puter, then turn on the power to the MR816 CSX/
MR816 X.
The “Found New Hardware Wizard” window is dis-
played.
17 Select the radio button next to “Install the soft-
ware automatically [Recommended],” then click
[Next].
18 When installation is complete, a message indi-
cating so appears.
Click [Finish].
19 The “Found New Hardware Wizard” window
appears. Select the radio button next to “Install
the software automatically [Recommended],”
then click [Next].
20 When installation is complete, a message indi-
cating so appears.
Click [Finish].
The Clock Source lamps and the Sample Rate
lamps of the MR816 CSX/MR816 X flash sequen-
tially then the flashing stops indicating that the initial
settings have been completed.
NOTE
· When a new IEEE1394 interface is installed to the computer or
the second or later MR816 CSX/MR816 X is connected to the
computer, the “Found New Hardware Wizard” window will
appear. In that case, finish the wizard in the same way as
described here.
When canceling the installation:
If you’ve cancelled an installation before it is complete,
the software may not have been installed properly. To
install the software properly, resume the procedure
from Step 10.
Bus driver initial settings
Initial Settings of MR816 Series Driver
WDM Audio driver initial settings