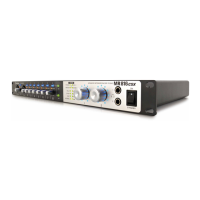
Software Installation
18 Getting Started
■ Macintosh:
Preparing to install
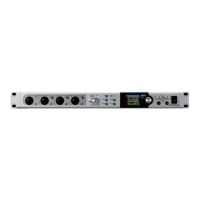
1 Make sure that the power to the MR816 CSX/
MR816 X is turned off.
2 Using an IEEE1394 (Firewire) cable, connect the
MR816 CSX/MR816 X directly to the computer
(without using a hub), and disconnect all other
IEEE1394 devices from the computer.
3 Start the computer and log in to the Administra-
tor account.
4 Exit any open applications and close all open
windows.
5 Insert the TOOLS for MR CD-ROM into the CD-
ROM drive of your computer.
Software Installation
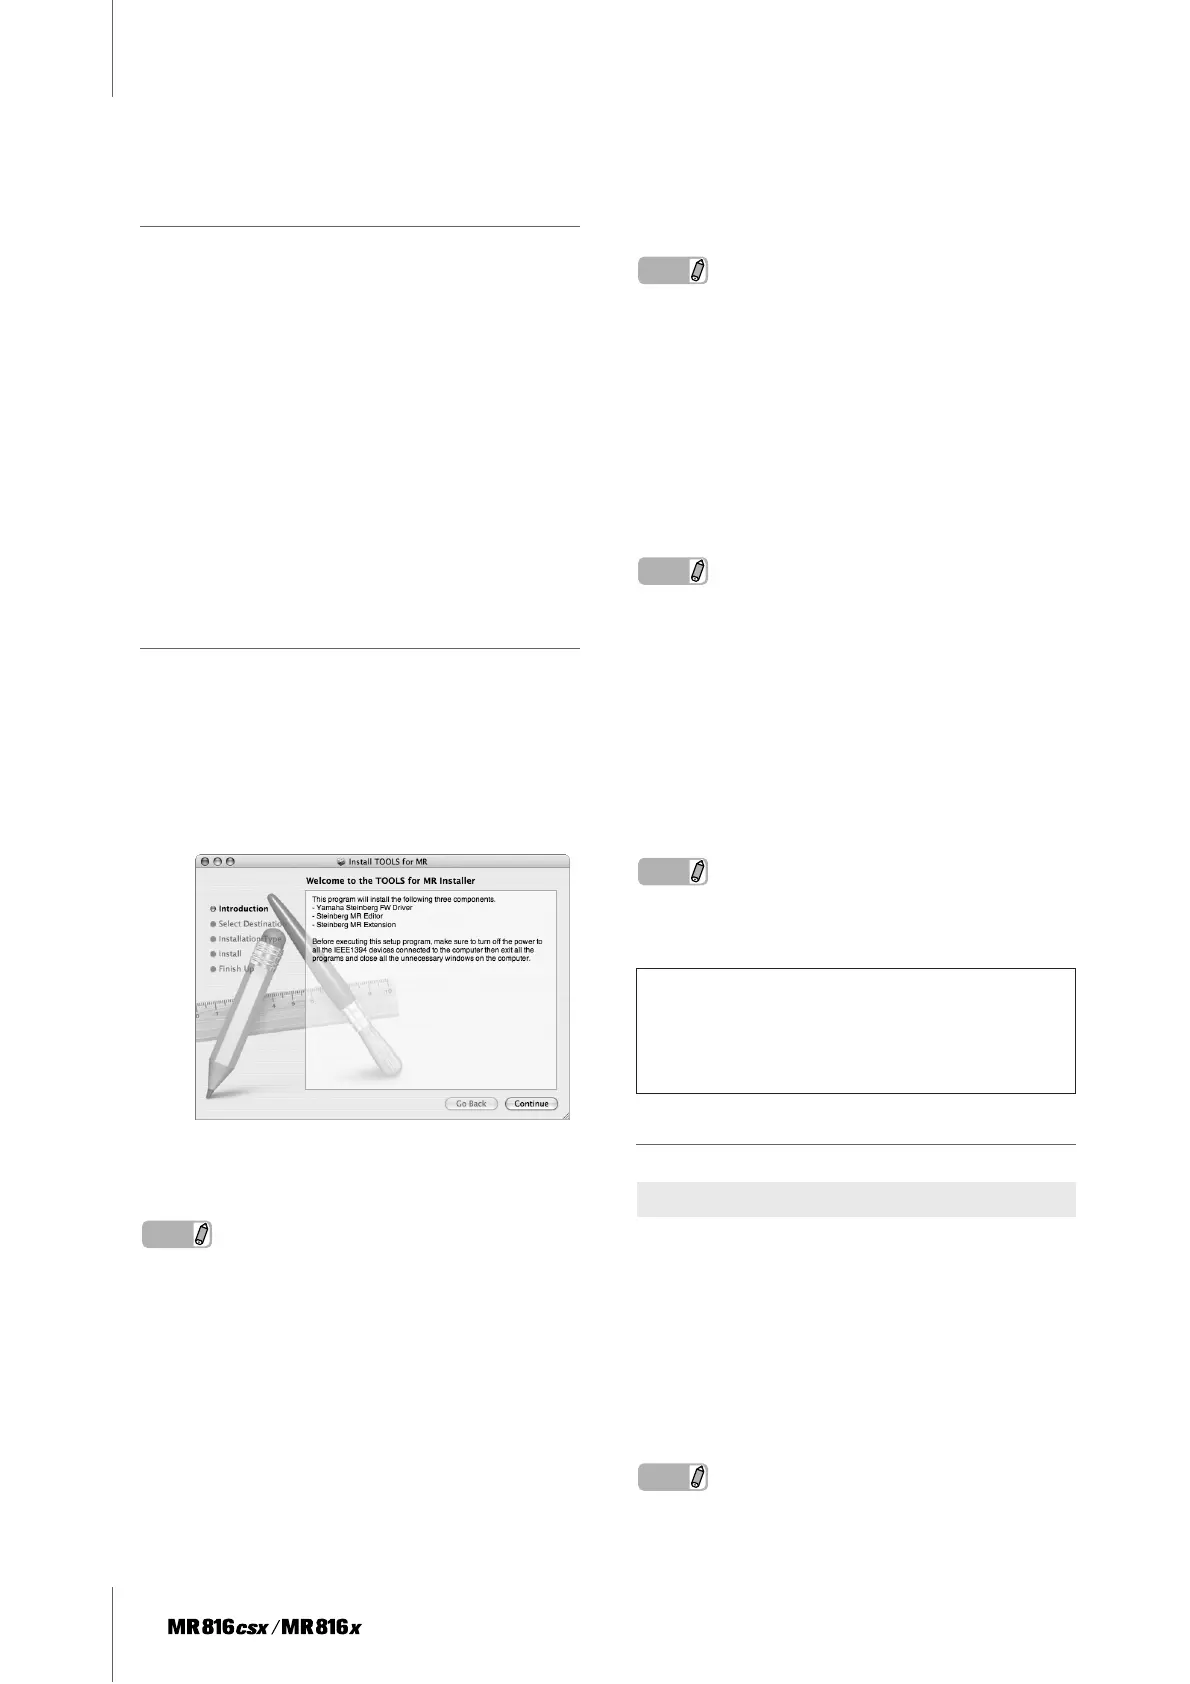
6 Open the CD-ROM, then double-click the file
“TOOLS for MR.mpkg.”
7 A dialog box appears asking if you want to install
the software. Click [Continue].
The “Welcome to the TOOLS for MR Installer” win-
dow appears.
8 Click [Continue].
The “Select Destination” window appears.
NOTE
· Only the boot disk can be selected for the installer.
· If you are using Mac OS X 10.5 (Leopard), click [Continue] to
call up the “Installation Type” window.
9 Click [Continue].
The “Installation Type” window appears.
10 Click [Install].
The “Authenticate” window appears.
NOTE
· If an older version of each software component has already
been installed in your computer, click [Update].
11 Enter the Administrator name and the password,
then click [OK].
A message appears prompting you to restart the
computer after the installation.
12 Click [Continue Installation].
The “Install” window appears indicating the installa-
tion progress. When the installation is complete, the
“Finish Up” window appears.
NOTE
· Installation cannot be canceled after clicking [Continue Instal-
lation].
13 Click [Restart] to restart the computer.
14 Connect the MR816 CSX/MR816 X to the com-
puter, then turn on the power to the MR816 CSX/
MR816 X.
The Word Clock Source lamps and Sample Rate
lamps of the MR816 CSX/MR816 X flash in order
then stop, indicating that the initial settings are com-
pleted.
NOTE
· If Word Clock Source lamps and Sample Rate lamps of the
MR816 CSX/MR816 X do not flash in order after waiting a while,
restart the computer.
Confirming the installation
1 From the hard disk to which the OS is installed
(usually Macintosh HD), click [Applications] ➝
[Utilities], then double-click [Audio MIDI Setup].
The “Audio MIDI Setup” window appears.
2 Click [Audio Devices], then select “Yamaha
Steinberg FW” from the pull-down menu in
[Properties For].
The current audio settings are shown in the [Audio
Input] and [Audio Output] fields.
NOTE
· By selecting “Yamaha Steinberg FW” for [Default Output] in
System Settings, you can output audio signals of the system
When canceling the installation
If you’ve cancelled an installation before it is complete,
the software may not have been installed properly. To
install the software properly, resume the procedure
from Step 6.
Audio MIDI Setup (Audio Devices)