16 | WPL E | WPL COOL WWW.STIEBEL-ELTRON.COM
INSTALLATION
APPLIANCE INSTALLATION
10.7.2 Internal installation
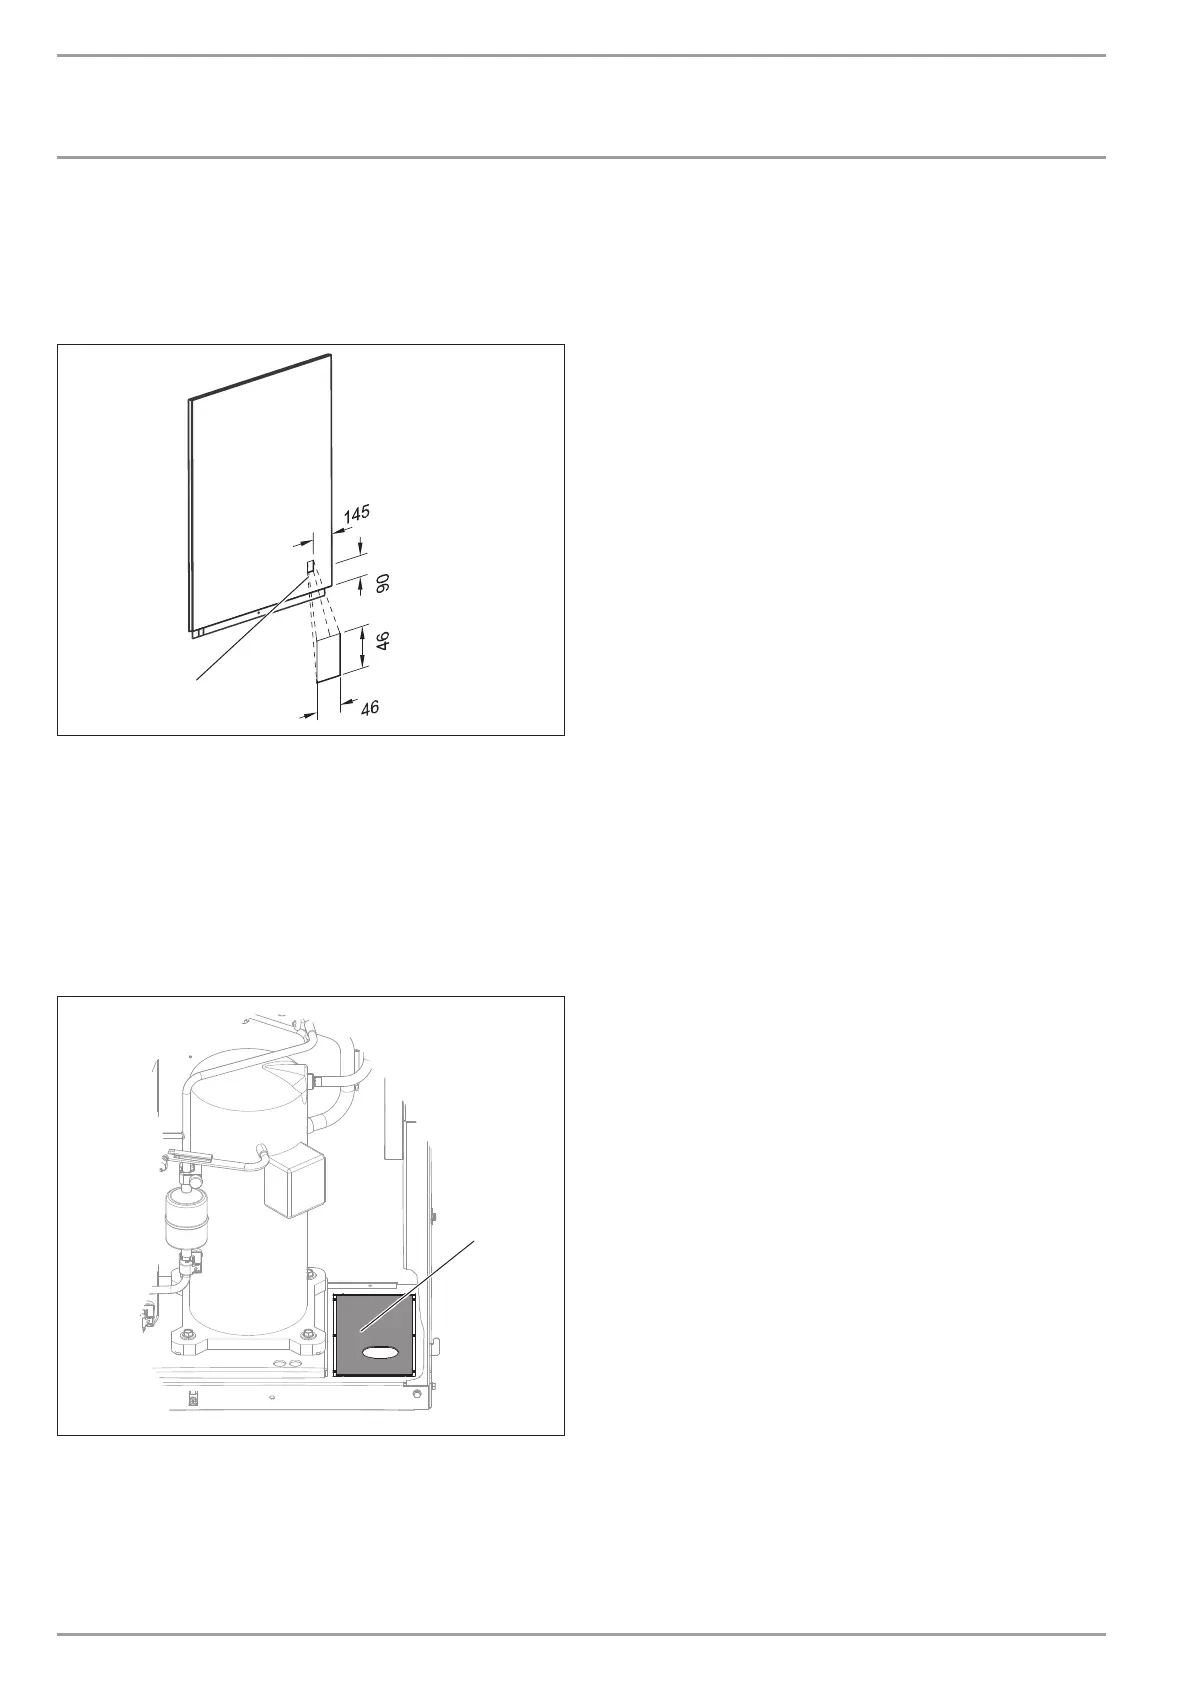
You can route the condensate drain hose to the left or right
through the knock-out "outlet for condensate drain" (see chapter
"Specification / Dimensions and connections / Internal installa-
tion") and out of the appliance.
26�03�01�0956
1
1 Knock-out "outlet for condensate drain"
Use pliers to break out the knock-out "outlet for condensate
drain" from the l.h. side panel.
Route the condensate drain hose to the left or right out of the
appliance.
Route the condensate into a drain.
If a bottom drain is to be used, you can drain the condensate
downwards through the "outlet for supply pipe/cable" in the bot-
tom of the appliance.
26�03�01�1728�
1
1 Knock-out "outlet for supply pipe/cable"
Route the condensate drain hose diagonally through the
knock-out aperture "outlet for supply pipe/cable".
Secure the condensate drain hose to ensure it does not slip
out of place.
Route the condensate into the bottom drain.
10.8 Checking the condensate drain
After routing the condensate drain hose, check that the condensate
can drain correctly. Proceed as follows:
Pour water onto the evaporator, which will then flow
into the defrost pan. Please note the maximum con-
densate drain capacity of 6 l/min.
Check whether the water is draining off via the con-
densate drain hose.

 Loading...


