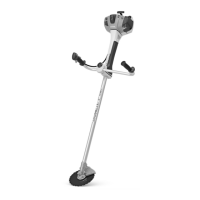
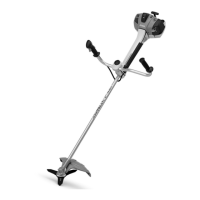
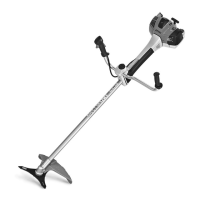
FS 510 C-M, FS 560 C-M
English
39
Replacing the Rewind Spring
The bits of the spring may still be under
tension and could fly apart when you
remove the rope rotor and spring
housing. To reduce the risk of injury,
wear face protection and work gloves.
N Take out the screws (11).
N Remove the spring housing and
spring or bits of the spring.
N Lubricate the new, ready-to-fit
replacement spring in the new
spring housing with a few drops of
resin-free oil.
N Fit the replacement spring with
spring housing – the bottom plate
must face up.
If the spring pops out of the housing
during installation: Wear face protection
and work gloves and refit the spring in
the spring housing – clockwise – from
the outside inwards.
N Fit the screws.
Installing the Rope Rotor
N Coat the whole starter post
uniformly – including the grooves
(arrow) – with STIHL gear lubricant
(special accessory).
N Slip the rotor over the starter post –
turn it back and forth to engage the
anchor loop of the rewind spring.
N Slip the carrier with pawls and
washer over the starter post – turn it
back and forth to engage the anchor
loop of the rewind spring in the
carrier.
N Fit the E-clip (7) in the groove in the
starter post.
N Push the spring clip (3) into position
– it must point counterclockwise as
shown and engage the pawl's peg.
Tensioning the Rewind Spring
N Pull the starter rope out of the
housing as far as stop and make a
loop.
N Fit the tensioning wrench on the
carrier.
N Use the tensioning wrench to rotate
the rotor six full turns
counterclockwise – the rope winds
itself around the tensioning wrench
in this process.
N Hold the tensioning wrench steady
and unwind the rope.
 Loading...