123MS 661, MS 661 C-M
14.5 Heating Element in Rear
Handle
– Remove the handle molding and
lockout lever, b 11.2
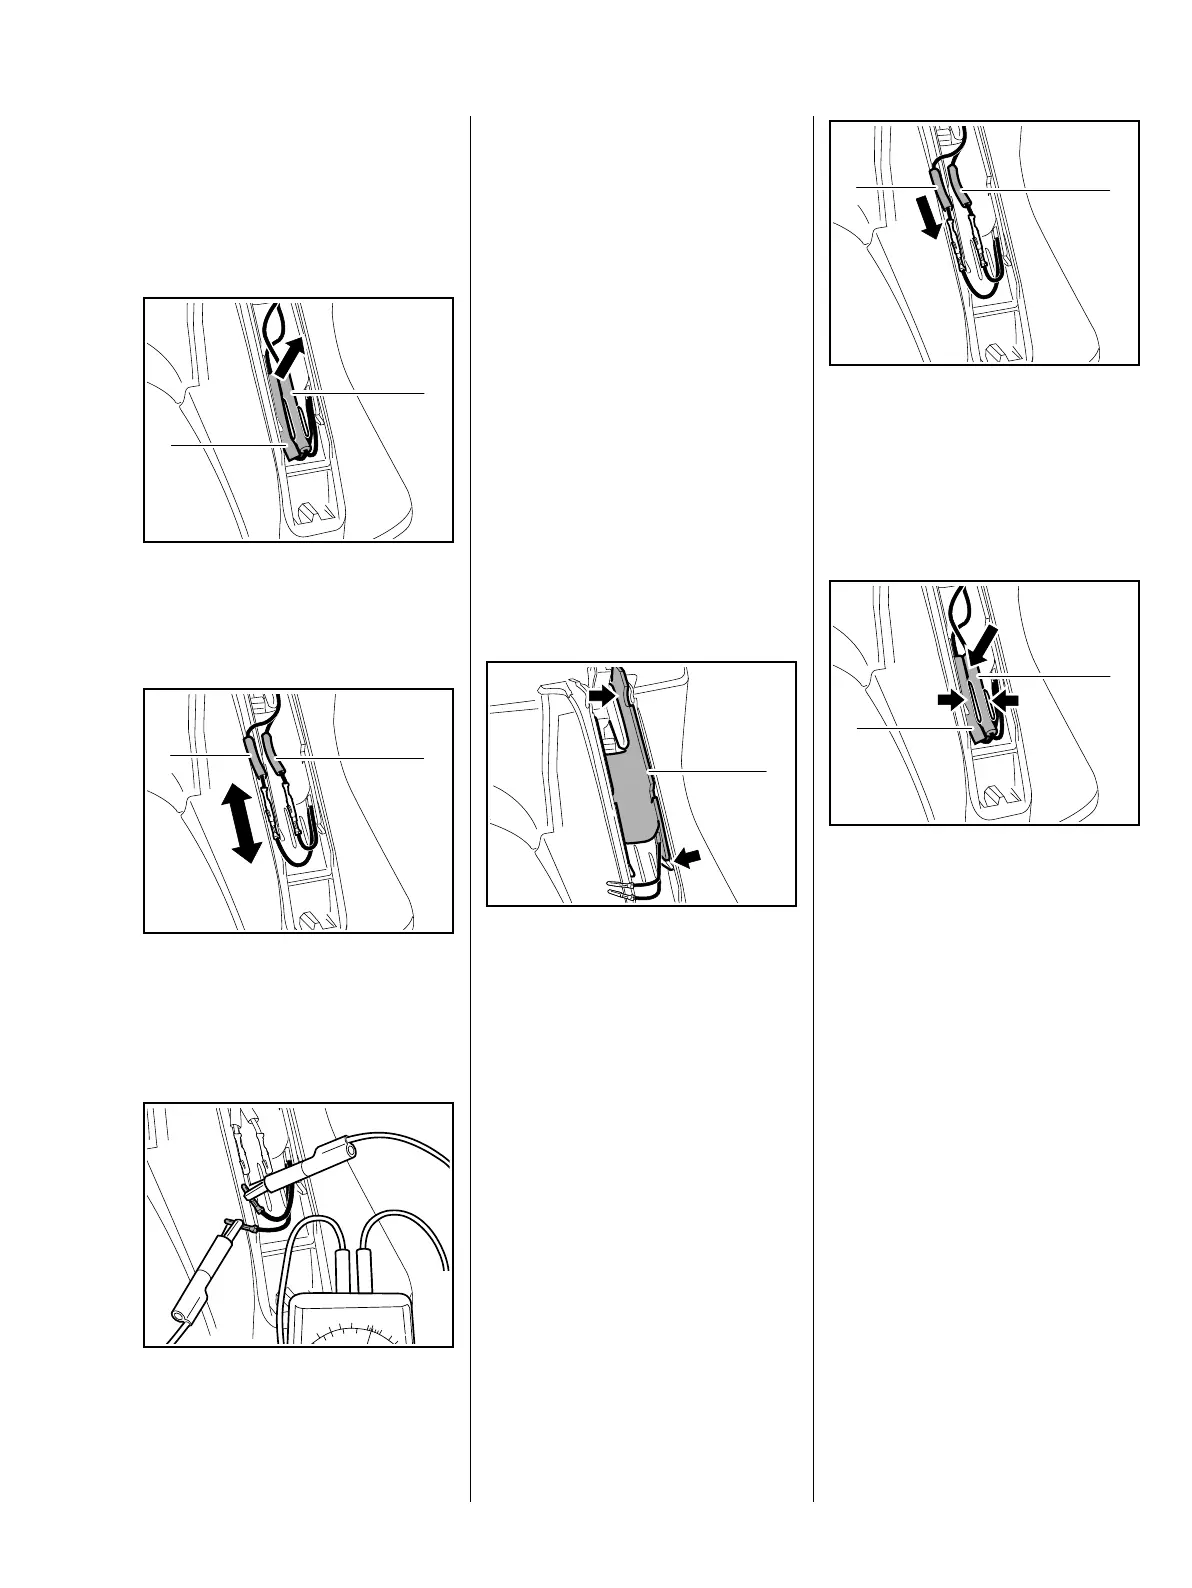
: Pull the insulating tubes (1, 2)
with pin and socket connectors
out of the guides.
: Push back the insulating
tubes (1) in the direction of the
connecting wires and separate
the pin and socket connectors.
: Test the heating element, replace
it if necessary.
1166RA381 TG
2
1
1166RA382 TG
1
1
100
50
30
20
10
5
0
20
10
1166RA383 TG
If the heating elements are in good
condition the ohmmeter will indicate
a value of about 1.6 Ω(measured
value 1.5 – 2.0 Ω) in measuring
range "Ω".
If the reading is outside this range,
install a new heating element.
Heating element does not operate
even though resistance
measurement is ok?
– Test the generator and heater
switch, b 14.7, b 14.4
– Check connecting wires to
handlebar heating and replace if
necessary, b 14.8
Installing
: Position the new heating
element (1) so that it butts
against the angled edge (arrow)
and locates in rear handle's slot
(arrow) – make sure it is
completely flat.
If the heating element is not fitted
perfectly flat, heat transfer to the
handle will be interrupted and the
element may fail as a result of
overheating.
1166RA384 TG
1
The connecting wires must not be
twisted.
: Connect the pins and sockets
and center the insulating
tubes (1) on the connectors.
: Push the insulating tubes (1, 2)
with connectors into the
guides (arrows).
1166RA385 TG
1
1
1166RA386 TG
2
1
 Loading...