50 MS 661, MS 661 C-M
– Use STIHL press fluid to make
installation easier, b 16
: Fit wiring harness through
opening in crankcase, push
grommet (1) home sideways and
press it into the opening in the
crankcase until it is properly
seated.
– Install the tank housing,
b 13.11.4
– Install the carburetor, b 13.4
– Install the contact spring and
retainer, b 7.12
– Install the switch shaft, b 11.1.1
– check its operation, b 7.12
1
1166RA436 TG
The grommet (1) must be properly
seated in the opening.
: Position the wiring harness in the
crankcase without any loops.
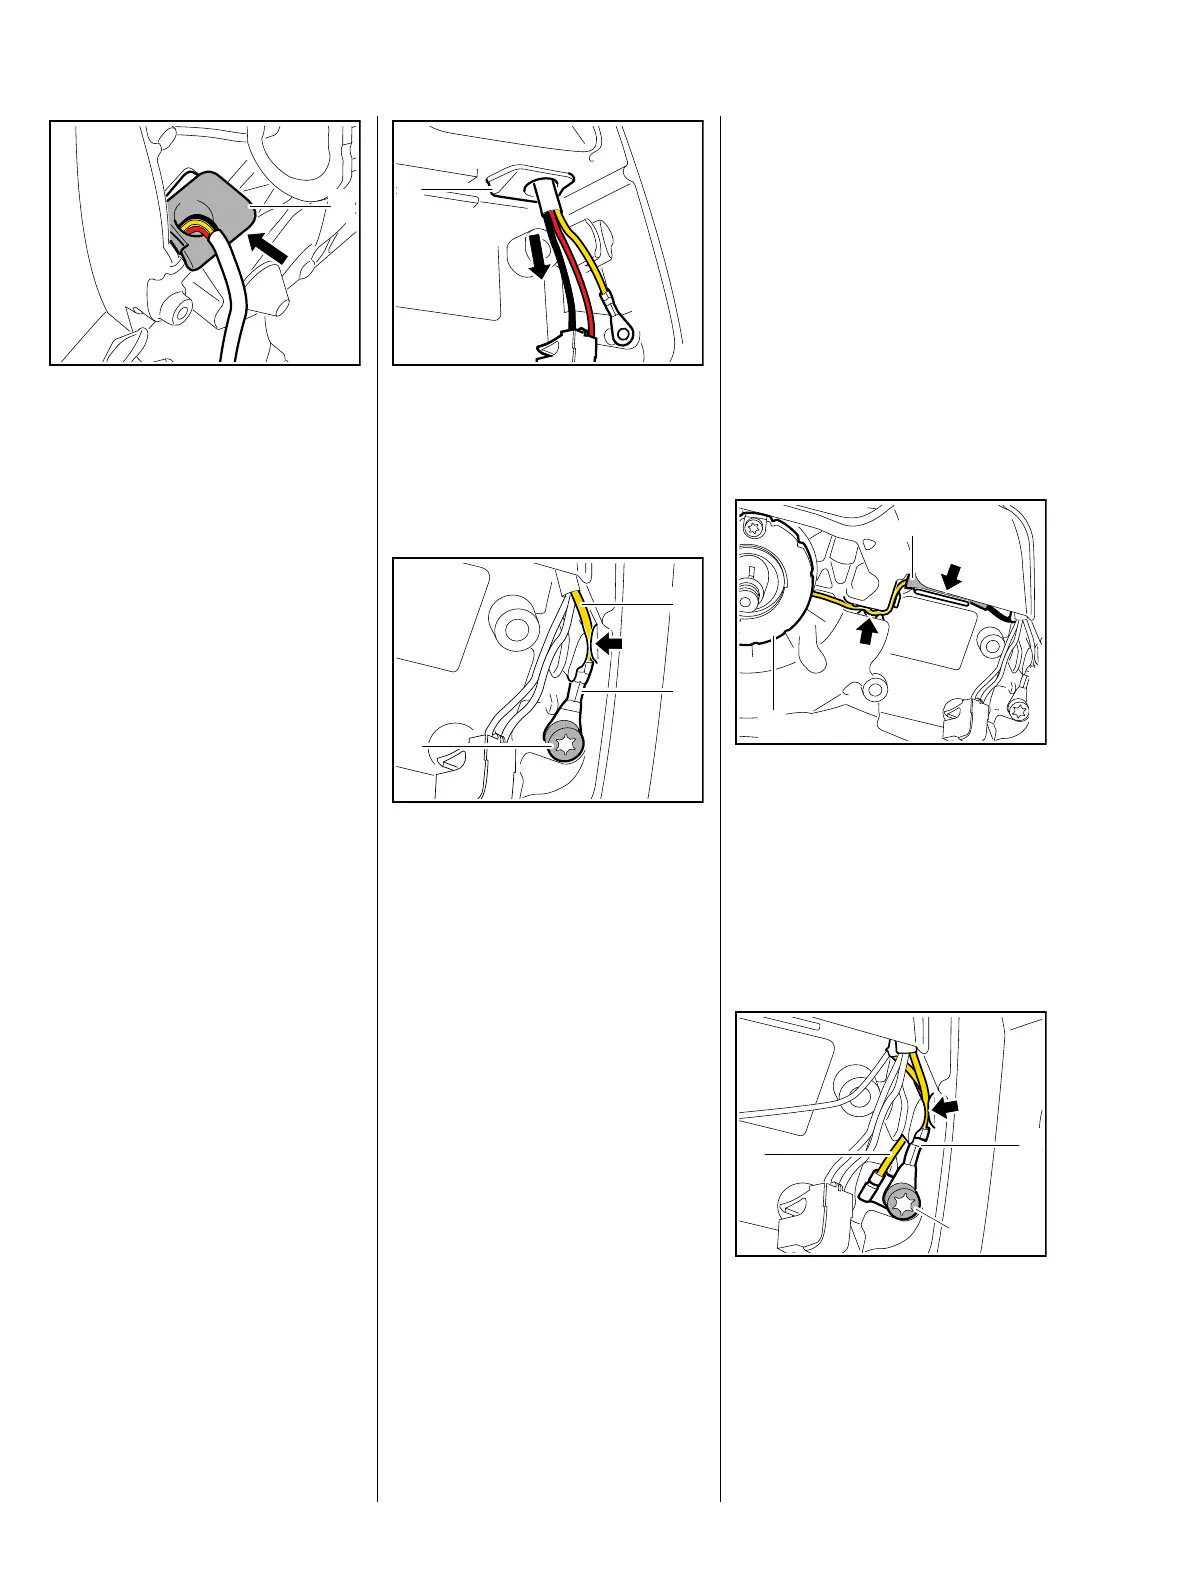
: Fit the cable lug (1) so that its
crimped side faces outwards and
then push the ground wire (2) into
the guide (arrow).
: Insert and tighten down the
screw (3) firmly.
– Install the control unit, b 7.2
– Reassemble all other parts in the
reverse sequence.
1
1166RA437 TG
3
1
2
1166RA438 TG
7.11 Short Circuit Wire /
with M-Tronic and
Heating
Removing and Installing
– Remove the shroud, b 6.4
– Remove the rewind starter,
b 9.2
– Remove the control unit, b 7.2
– Remove the flywheel, b 7.7
: Pull the connector with insulating
tube (1) and wire out of the
guides (arrows).
: Push back the insulating tube (1)
in the direction of generator (2)
and separate the pin and socket
connectors.
: Take out the screw (1) and pull
the ground wire (2, 3) out of the
guide (arrow).
1166RA132 TG
1
2
1166RA133 TG
3
2
1

 Loading...