EN
19
0478 131 8327 B - EN
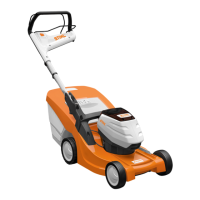
Inserting the battery:
● Insert battery (2) as shown into the
battery compartment as far as it will go
applying slight pressure – a clicking
sound will be heard.
8.4 Charging the battery
The charging time depends on various
influencing factors such as e.g. the
temperature of the battery and the ambient
temperature. The actual charging time
may differ from the specified charging
time. Please refer to
www.stihl.com/charging-times for
charging times.
● Remove the battery from the battery
compartment. (Ö 8.3)
● Connect the charger to the mains.
(Ö 8.2)
● Insert battery (1) into the guides on
charger (2) and push it in as far as it will
go.
The LED on charger (3) illuminates
green.
The LEDs on battery (4) illuminate
green to indicate the charge state.
● When the LED on charger (3) and the
LEDs on battery (4) no longer
illuminate, remove the mains plug from
the socket.
The battery is fully charged.
● Remove the battery from the charger
and insert it in the battery compartment.
(Ö 8.3)
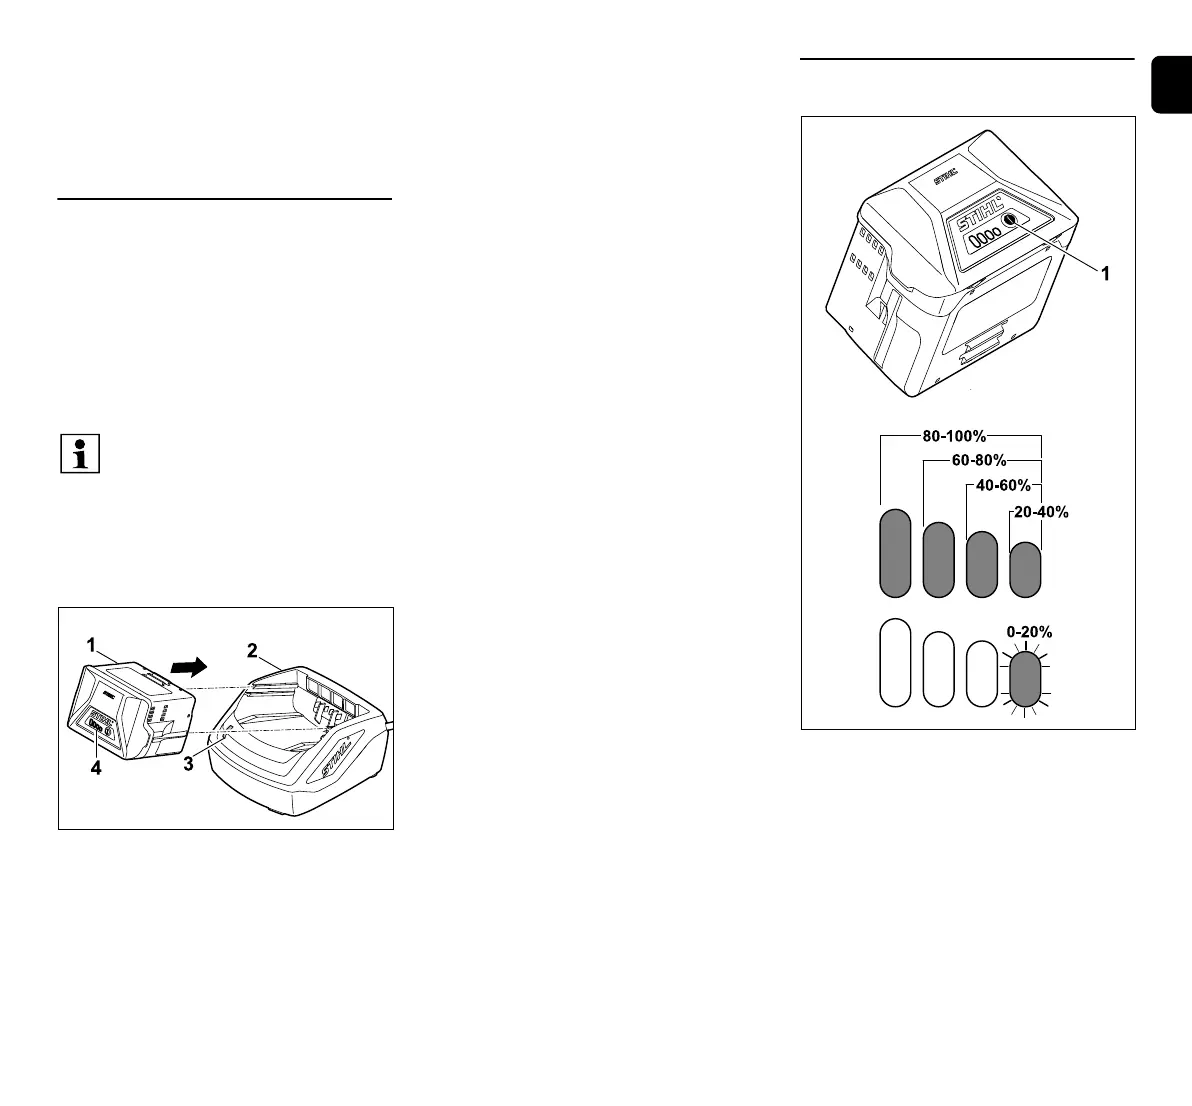
8.5 LEDs on the battery
Displaying the charge state:
● Press button (1). The LEDs illuminate
green for approx. 5 seconds to indicate
the charge state.
● If the right LED flashes green, charge
the battery. (Ö 8.4)
Faults:
The LEDs indicate lawn mower or battery
faults. They can illuminate or flash red for
this purpose.
Once the battery has been inserted
in the charger, charging starts
automatically. When the battery is
fully charged, the charger switches
off automatically.
The battery and the charger heat
up during charging.
 Loading...