8
Aufstellen und
Bedienungshinweise
Installation and operating
instructions
Montaje e instrucciones
operativas
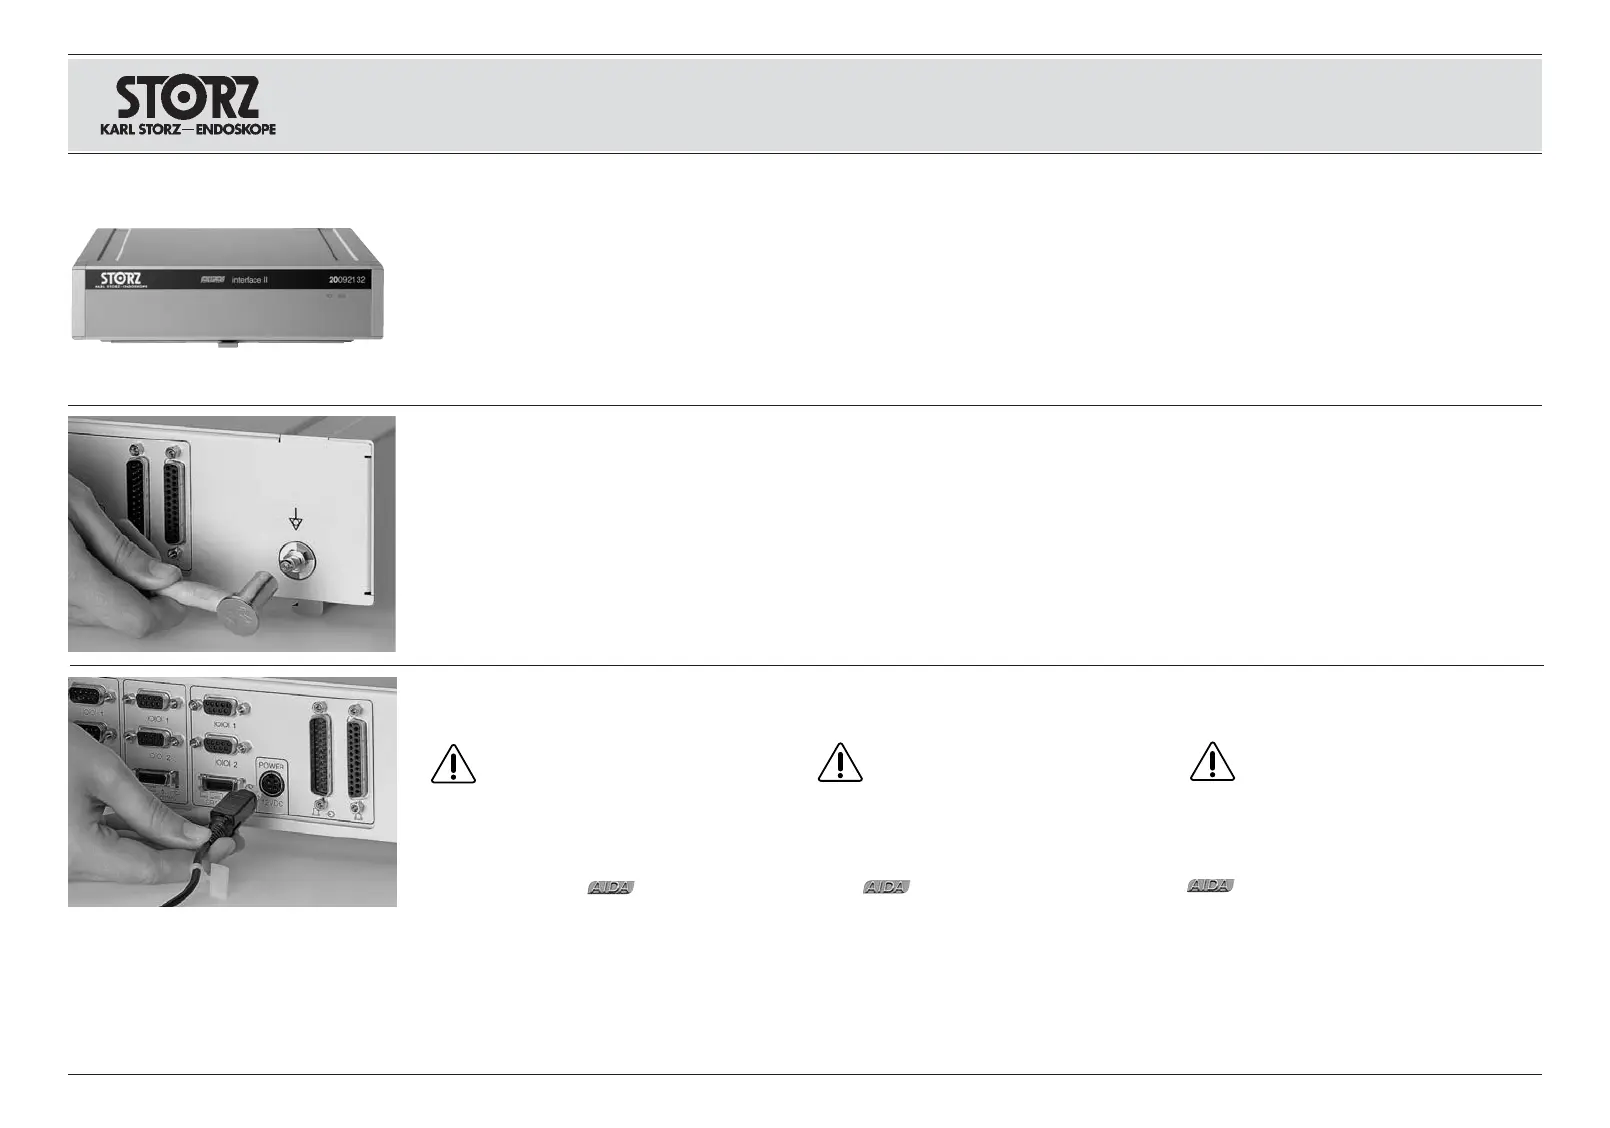
Gerät auf ebene Fläche stellen.
Das Gerät ist mit einer Steckvorrichtung für
den Potentialausgleich ausgerüstet.
Lassen Sie die Erdung ggf. durch sachkundiges
Personal durchführen.
Schließen Sie das Netzteil an die Buchse
und an das Stromnetz an.
Warnung:
Netzstecker nur außerhalb
explosionsgefährdeter Bereiche mit der
Stromversorgung verbinden bzw. von der
Stromversorgung trennen.
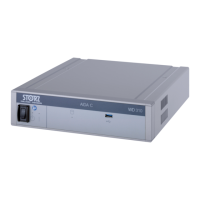
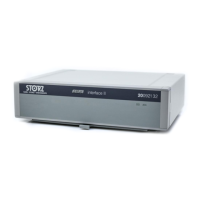
Die weitere ,Verkabelung‘ des
Schnittstellengerätes INTERFACE II mit
KARL STORZ AIDA
®
control und OR1™ control
entnehmen Sie bitte den Anschlussplänen auf
Seite 9 und Seite 10.
Set the unit on a flat surface.
The unit is equipped with a connector for
attaching a ground line.
The unit’s ground line should be installed by a
qualified electrician.
Connect the AC adapter to the socket and
the mains power supply.
Warning:
Only connect or disconnect the
adapter and the mains power supply
outside areas where the danger of
explosion exists.
For the further ‘connections’ from the interface
device INTERFACE II to the
KARL STORZ AIDA
®
control and OR1™ control
please see the connection diagrams on pages 9
and 10.
Coloque el equipo sobre una superficie plana.
EI equipo está provisto de un un dispositivo de
enchufe para la conexión equipotencial.
Haga llevar a cabo la conexión a tierra por un técni-
co experto en la materia.
Conecte la fuente de alimentación al conector
y a la red eléctrica.
Cuidado:
Conecte o desconecte el
enchufe a/de la red de alimentación de
corriente únicamente en sectores que no
estén expuestos a peligro de explosión.
El “cableado” ulterior del aparato de interfaz
INTERFACE II con KARL STORZ AIDA
®
control y OR1™ control lo encontrará en los pla-
nos de conexión en las págs. 9 y 10.