STUDER Innotec
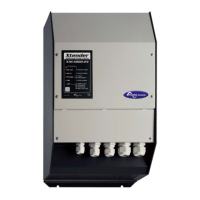
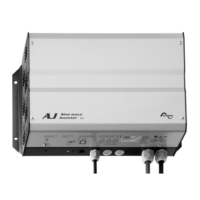
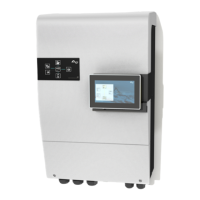
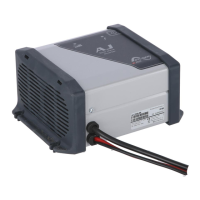
Xtender
User manual V.3.2.0 17
An additional earthing terminal (15) is present between the two fastening screws at the
bottom of the unit. It can be used instead of a connection on the input terminals of the
device, particularly when cable cross-sections used at the output do not allow the use of
a three-wire cable (live, earth and neutral) through the conduit glands of the
connection cables of the input and output (AC IN and AC OUT), or when the earthing of
one of the poles of the battery. PE required using same or greater cross-sections than the
battery cable.
4.5.7
Connecting the AC supply sources
The Xtender is intended to be supplied by alternative voltage sources such as the public grid or a
generator. Check that the rated voltage of the source corresponds to the rated voltage (34) of the
Xtender specified on the type plate (fig. 3b).
The source must be connected to the input terminals marked “AC INPUT” (13) with sufficient wire
section, depending on the power output of the source, and protected by a protection device of
the appropriate calibre. This will be at the maximum equal to the current I AC in max (35) specified
on the type plate (fig. 3b). The terminals are marked in the following way:
N = neutral, L = live
= protective earth (connected to the enclosure of the device).
4.5.8
Wiring auxiliary contacts
These contacts are reversing contacts that are potential-free. The admissible currents and voltages
for these contacts are 16 A: 250 VAC/24VDC or 3 A: 50 VDC max. The representation of the contact
near the terminals corresponds to the status of the contact in idle mode (light indicator (5) off). The
cabling of these auxiliary contracts depends solely on the application and cannot be described in
this manual.
The factory-set functions for these 2 auxiliary contacts are covered in the chapter 6.2.10 – p.24.
4.5.9
Connecting the communications cables
The Xtender is equipped with a pair of RJ45/8 connectors that allow information transfer via a
communication bus for different consumer types which have the proprietary protocol of Studer
Innotec. In this network all parties in the network are connected in series (chain).
The length of the communication bus cable must not exceed 300 m.
In a system comprising a single Xtender, the connection of the RCC-02 or RCC-03 may be
conducted without stopping the Xtender (hot plug).
The communication bus will be used to interconnect other Xtender inverters in the case of a multi-
unit application or to connect other types of users who have the proprietary protocol of Studer
Innotec. In these cases, the installation must be switched off using the main “ON/OFF” button (1) to
connect the units via the communication bus.
The 2 switches for the communication bus termination, “Com. Bus" (4) both remain in
position T (terminated) except when both
connectors are in use. In this case, and only in
this case, both must be placed in the O open position. If one of the two connectors is not
in use, the two termination switches (14) will be in position T.
4.5.10
Connecting the temperature sensor (BTS-01)
The temperature sensor, BTS-01 is supplied with a 3 m cable fitted with RJ11/6-type plugs. It may be
connected or disconnected at any time (including when the device is in use) using the
corresponding socket (2) marked “Temp. Sens.” on the Xtender. Plug the connectors into the
socket (2) until they click in. The temperature sensor sleeve may simply be stuck onto the battery or
directly next to it. The temperature sensor will be recognised automatically and the correction
made immediately.