(Mar, 2012)
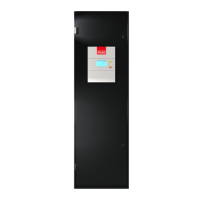
Compact CWE Series Installation, Operation & Maintenance Manual
ir Technology Systems, Inc.
10. Loosen the steam hose clamp(s) and pull the
steam hose off vertically.
11. Using a fl at head screwdriver, press the tab on
the cable tie to release it. Lift the cylinder straight
up to disengage it from the humidifi er.
12. Place the new cylinder on the side mounting slots
within the unit, ensuring the cylinder mounting
stubs are seated properly.
13. Replace the cylinder plugs on the pins, ensuring
the white sensor plug goes on the single pin,
which is offset from the others.
14. Ensure the plugs are secured on the pins. If
the plugs are loose, they may be temporarily
squeezed together, however, the plugs must
be replaced since a loose plug could generate
enough heat to melt and destroy the plug.
15. Replace the steam hose and tighten the
clamp(s).
16. Push the “On-Off-Drain” switch to the “On”
position.
17. Replace the cover on the electric box and turn
the main power disconnect switch to the On
position.
18. Turn on the water supply to the humidifi er.
19. Turn the A/C unit On by pressing the Enter key
on the E² controller.
20. Readjust the humidity to the desired setpoint.
If the humidifi er is to be shut down for an extended
period, always drain the cylinder fi rst. Follow the
above steps (1 through 8) ensuring the “On-Off-
Drain” switch is in the Off position. Failure to do this
will drastically shorten the cylinder life.
4-4
4.3.1.4 Filter Replacement
The air fi lters are accessed from inside the cabinet.
To change the fi lters, open the front doors of the cabi-
net. For upfl ow units, the fi lters are located behind
the air intake grilles in the front doors. For downfl ow
units, the fi lters are located at the top where the label
“FILTER ACCESS” appears. Remove the old fi lters
from the trays. Insert the new fi lter(s) ensuring the
directional airfl ow arrows on the fi lters are correct,
then close the front doors.