95
168
12,5
132
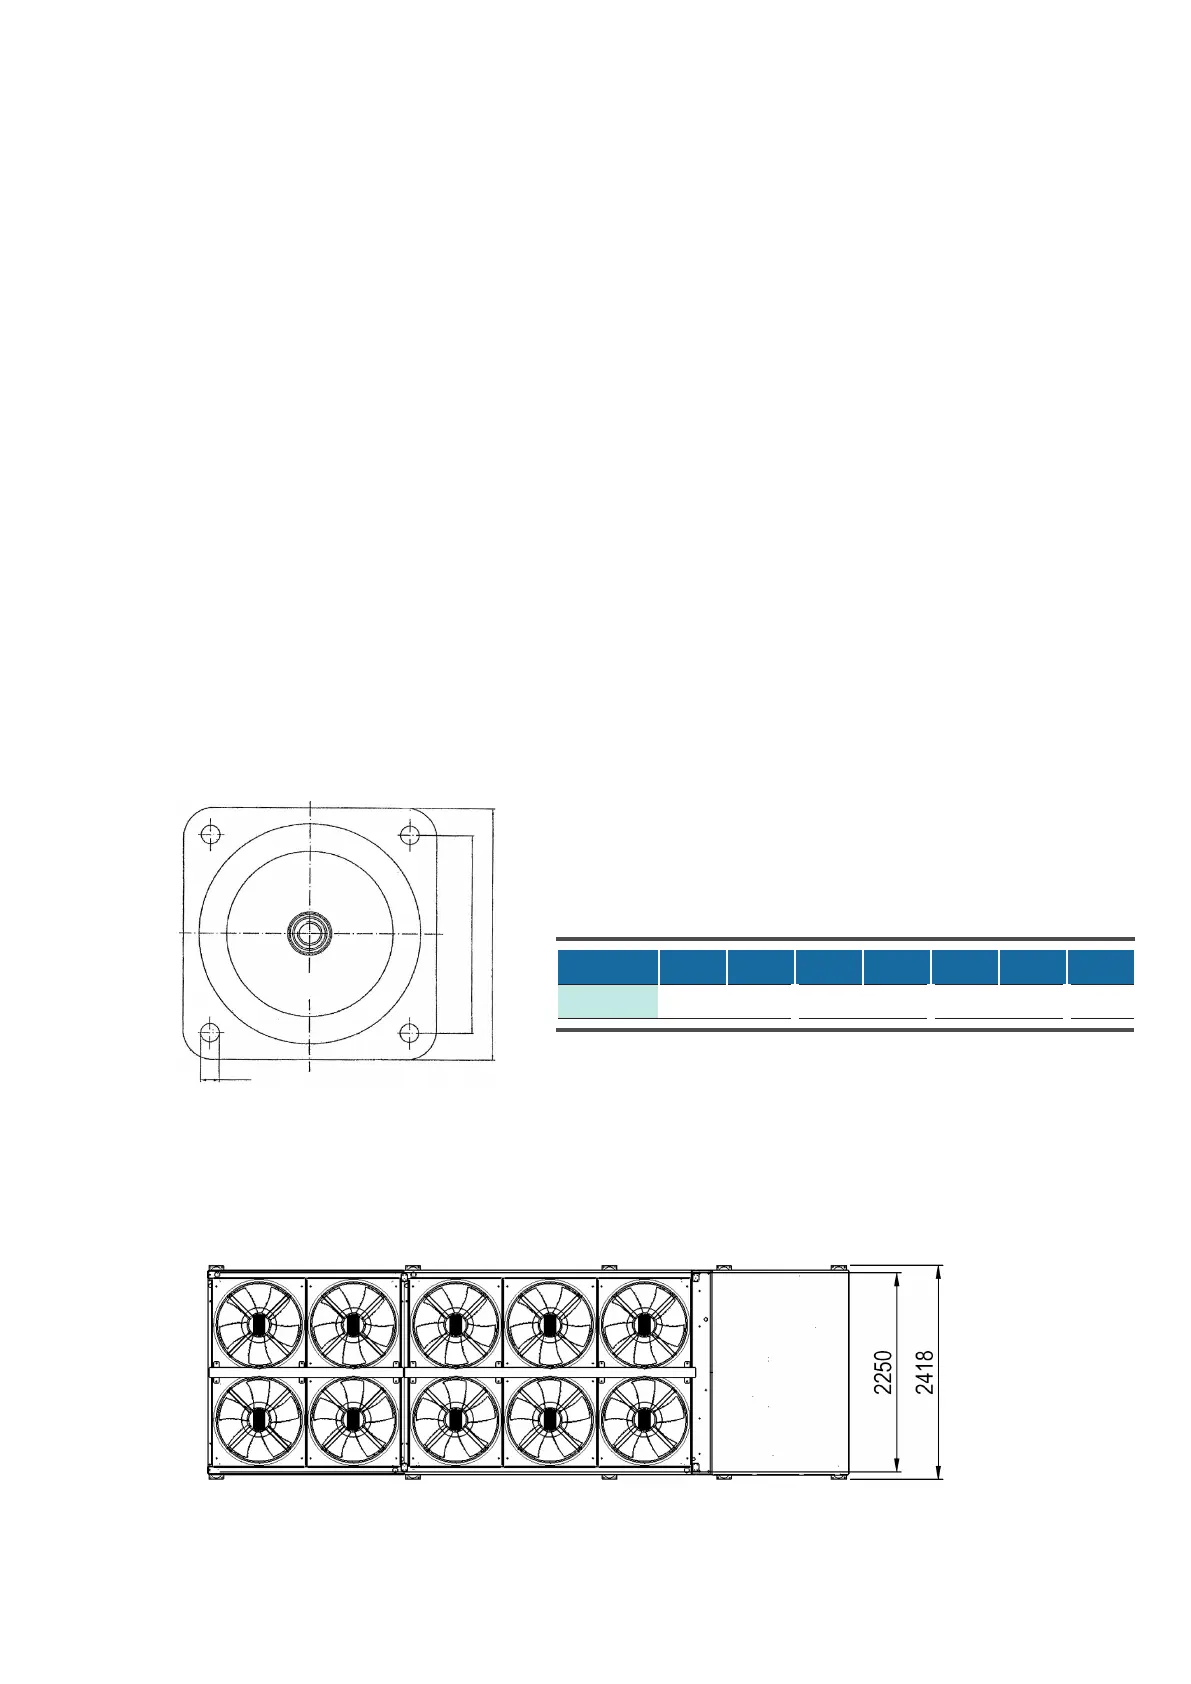
Baugröße 1½ 2 2½ 3 3½ 4 5
Anzahl 10 12 14 16
© STULZ GmbH – all rights reserved EN/09.2019/G41
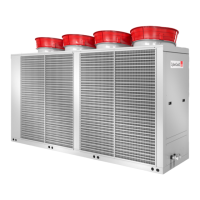
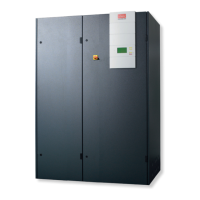
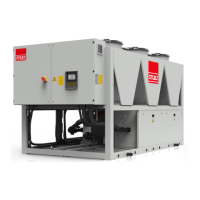
cybercool 2 screw original insTrUcTions
11.1 Option anti vibration mount
Base plate of anti-vibration mount
• Drill the xing holes for the anti-vibration mounts on the support frame, on which the chiller will be posi-
tioned according to the drawings below and the drawings in chapter 5.2 "Weights on the supports".
• It is not necessary to x each anti-vibration mount onto the support frame. But in any case, the four corner
mounts should be screwed on.
The anti-vibration mounts protrude the lateral dimensions of the chiller by 59 mm.
How to install the anti-vibration mounts in ve steps:
1. drill the xing holes on the support frame.
2. mount the anti-vibration mounts at the chiller.
3. place the chiller on the support frame.
4. possibly ne-tune the anti-vibration mounts
5. x some anti-vibration mounts on the support frame.
11. Options
Number of anti-vibration mounts per unit size
Size
Number
Example: unit size 2