44
Editor to the marker that was selected, choose “Apply”. If you wish to overwrite every
marker in the Job with every element exactly as it appears in the Advanced Editor, choose
“Apply To All”.
The same goes for exiting the Advanced Editor. When prompted to save changes to the
page (marker), “Yes” will save the changes to the individual marker, while “Yes to All” will
overwrite every marker in the Job.
At the left side of the toolbar along the top of the workspace, you will find buttons to insert
each type of element: Text, Barcode, 2D Barcode, Image, followed by the Rectangle, Line,
and Circle shapes.
Adding elements is as simple as clicking the appropriate icon, then positioning the element
within the marker by clicking and dragging it. The image above shows the blue bounding
box for the text element on the marker.
By right-clicking on an element, you can open a context menu that includes many different
options, one of which is the element’s Properties.
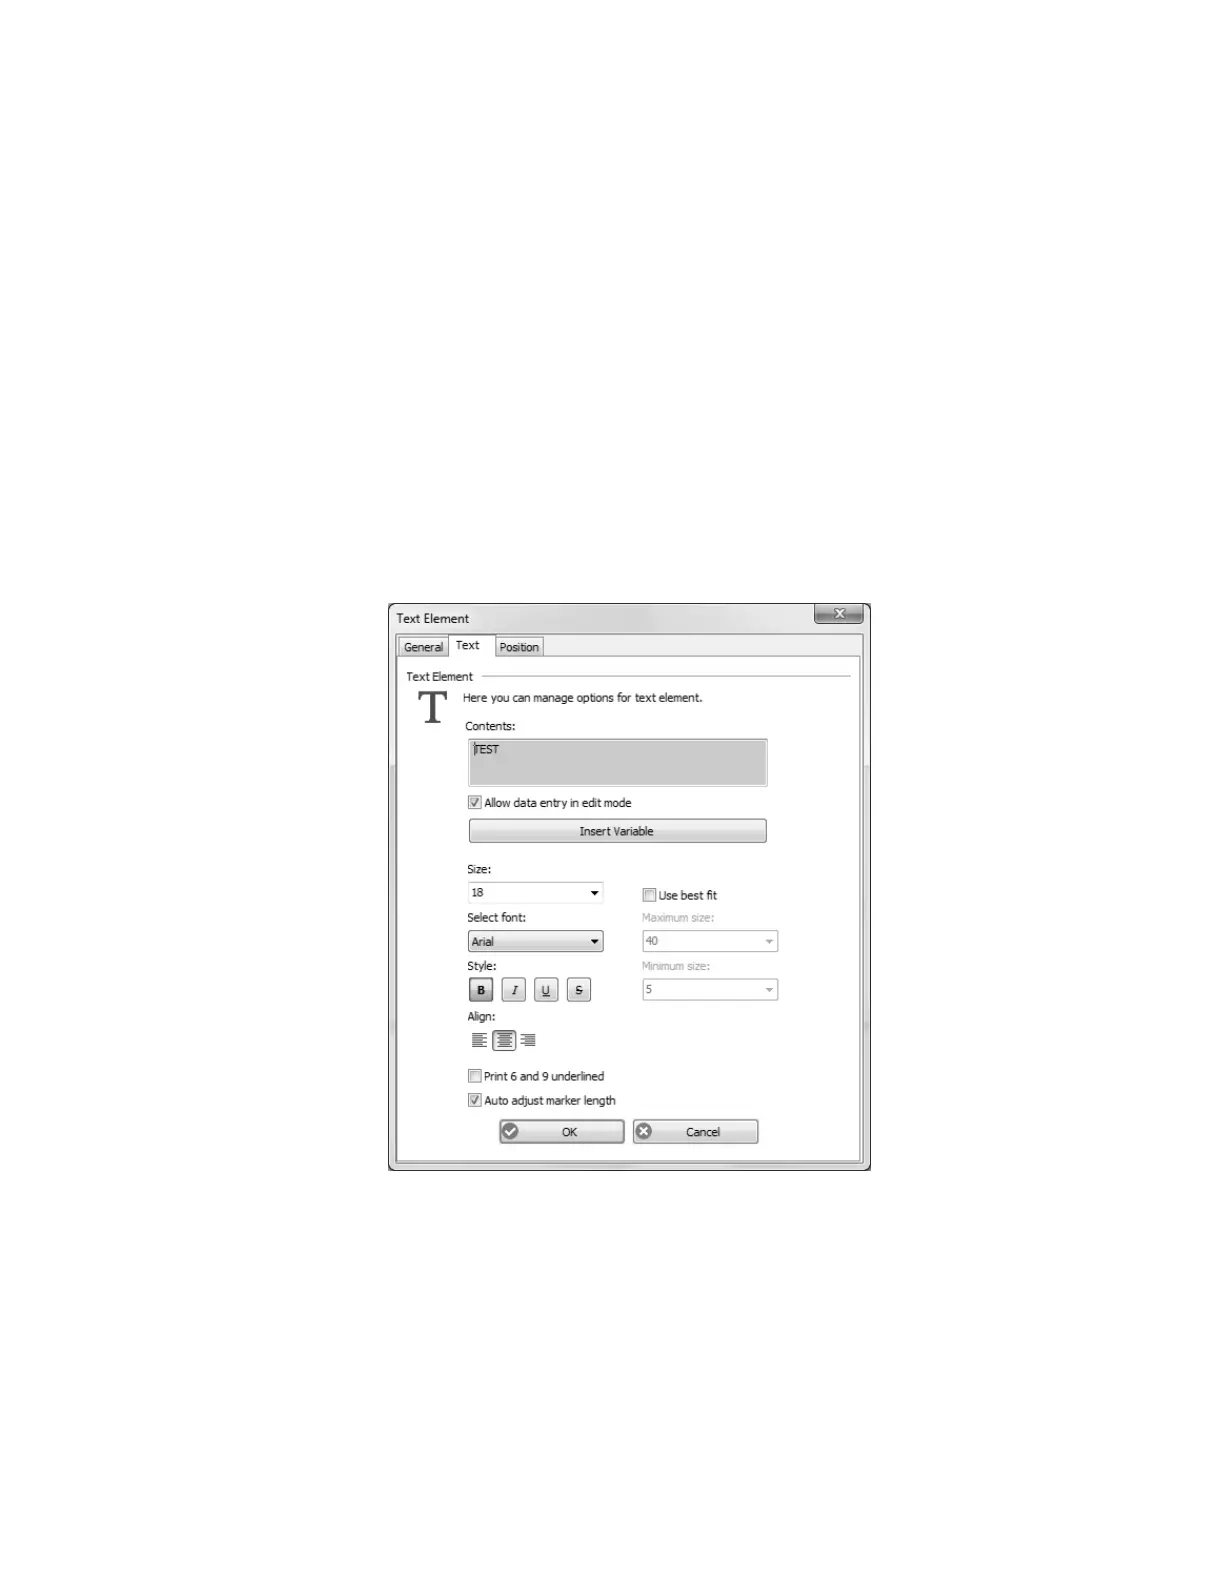
The Properties window for an element within the Advanced Editor opens up every aspect of
the element for you to modify as desired. For a Text Element, you’re able to change the
text, font, font size, style, and alignment, among other attributes.