10 • Questions? Call or Text +1-801-658-0015
Orion
™
mPulse User Manual
last longer in case there is a small leak in the tubing. This is also a good safety practice. If the tube becomes
dislodged shielding gas could ll the room and displace oxygen, which can lead to suocation. Argon is heavier
than air and will ll the room from the bottom upward. If you experience a large shielding gas leak, open all of the
doors and windows in the room.
SHIELDING GAS TANK AND REGULATOR SETUP
The following instructions are specic for a Sunstone argon regulator. Other regulators
may operate dierently. Consult instructions that may have come with other regulators.
• Ensure that your shielding gas tank is securely fastened to a stationary point near the
welding area.
• Turn the argon regulator dial (not to be confused with the main argon tank valve) COUN-
TERCLOCKWISE (closed) until it is fully backed out, meaning the dial becomes loose, to
prevent over-pressurization of the line.
• Screw the gas regulator onto the shielding gas tank and tighten fully using a wrench.
• If not already done, insert one end of the included ¼” OD gas tubing into the gas port on
the back of the power supply. Tug gently on the tube to verify a tight t.
• Connect the other end of the gas tubing to the gas regulator.
• Open the gas tank at the main valve slowly. The dials attached to the regulator should
respond as the valve is opened. The right dial should measure and show pressure inside
the tank; the dial on the left, which measures pressure in the hose, should remain at zero
(when the regulator dial is fully backed out).
• Slowly turn the regulator dial CLOCKWISE until the dial on the left shows gas pressure
between 7-10 liters per second.
Microscope Tips
The Orion mPulse microscope has been designed to
provide maximum visual clarity, eye protection, and
ease of use. One challenge using the microscope is
getting used to bringing the workpiece to the welding
electrode while looking through the microscope. This is
an easy challenge to overcome.
To begin, follow the suggested practices below while
the welder is paused. While the welder is in paused, it
will not make a weld when the workpiece touches the
electrode.
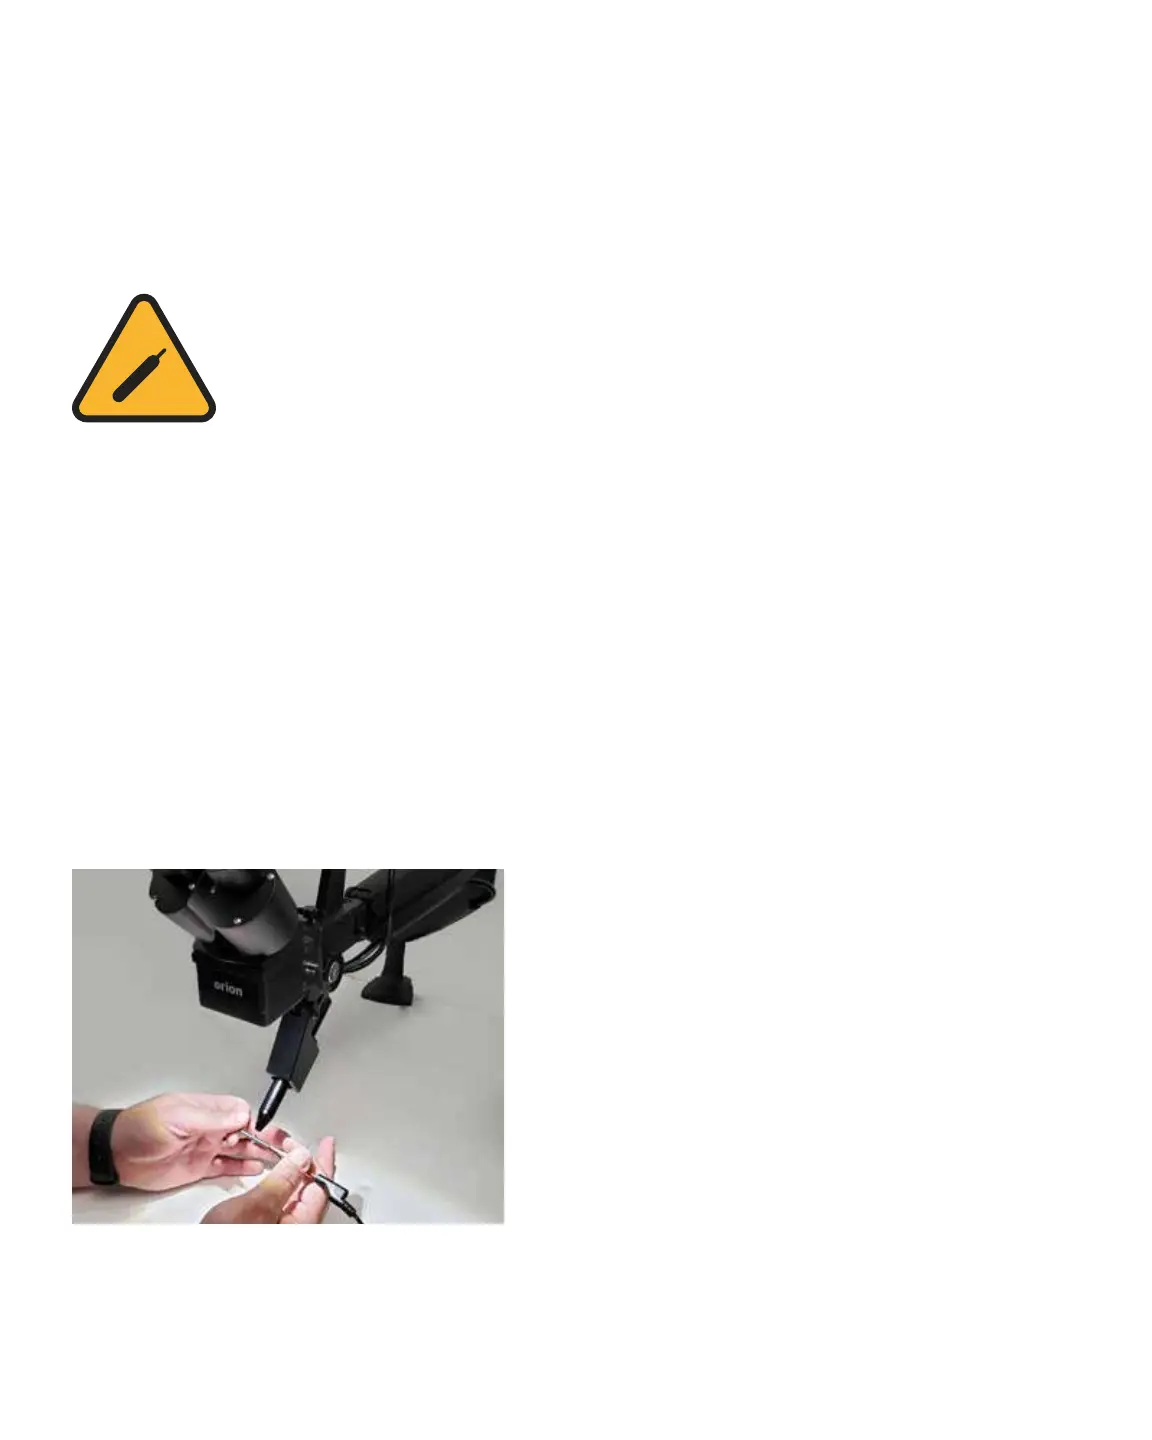
• Rest your hands on the table and position
the workpiece close to the welding electrode
before looking into the microscope.
Figure 10.1. Rest your hands on the table and position the
workpiece close to, but not touching the electrode., Then
look through the microscope.