20 21
※ 4.2 Mounting(Standard bracket)
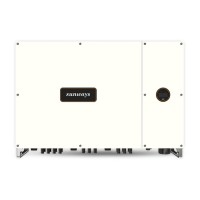
① Use the wall bracket as the template to mark the position of 5 holes on the wall. See
Figure 4-5 for details:
Figure 4-5 Marking hole position using installation bracket
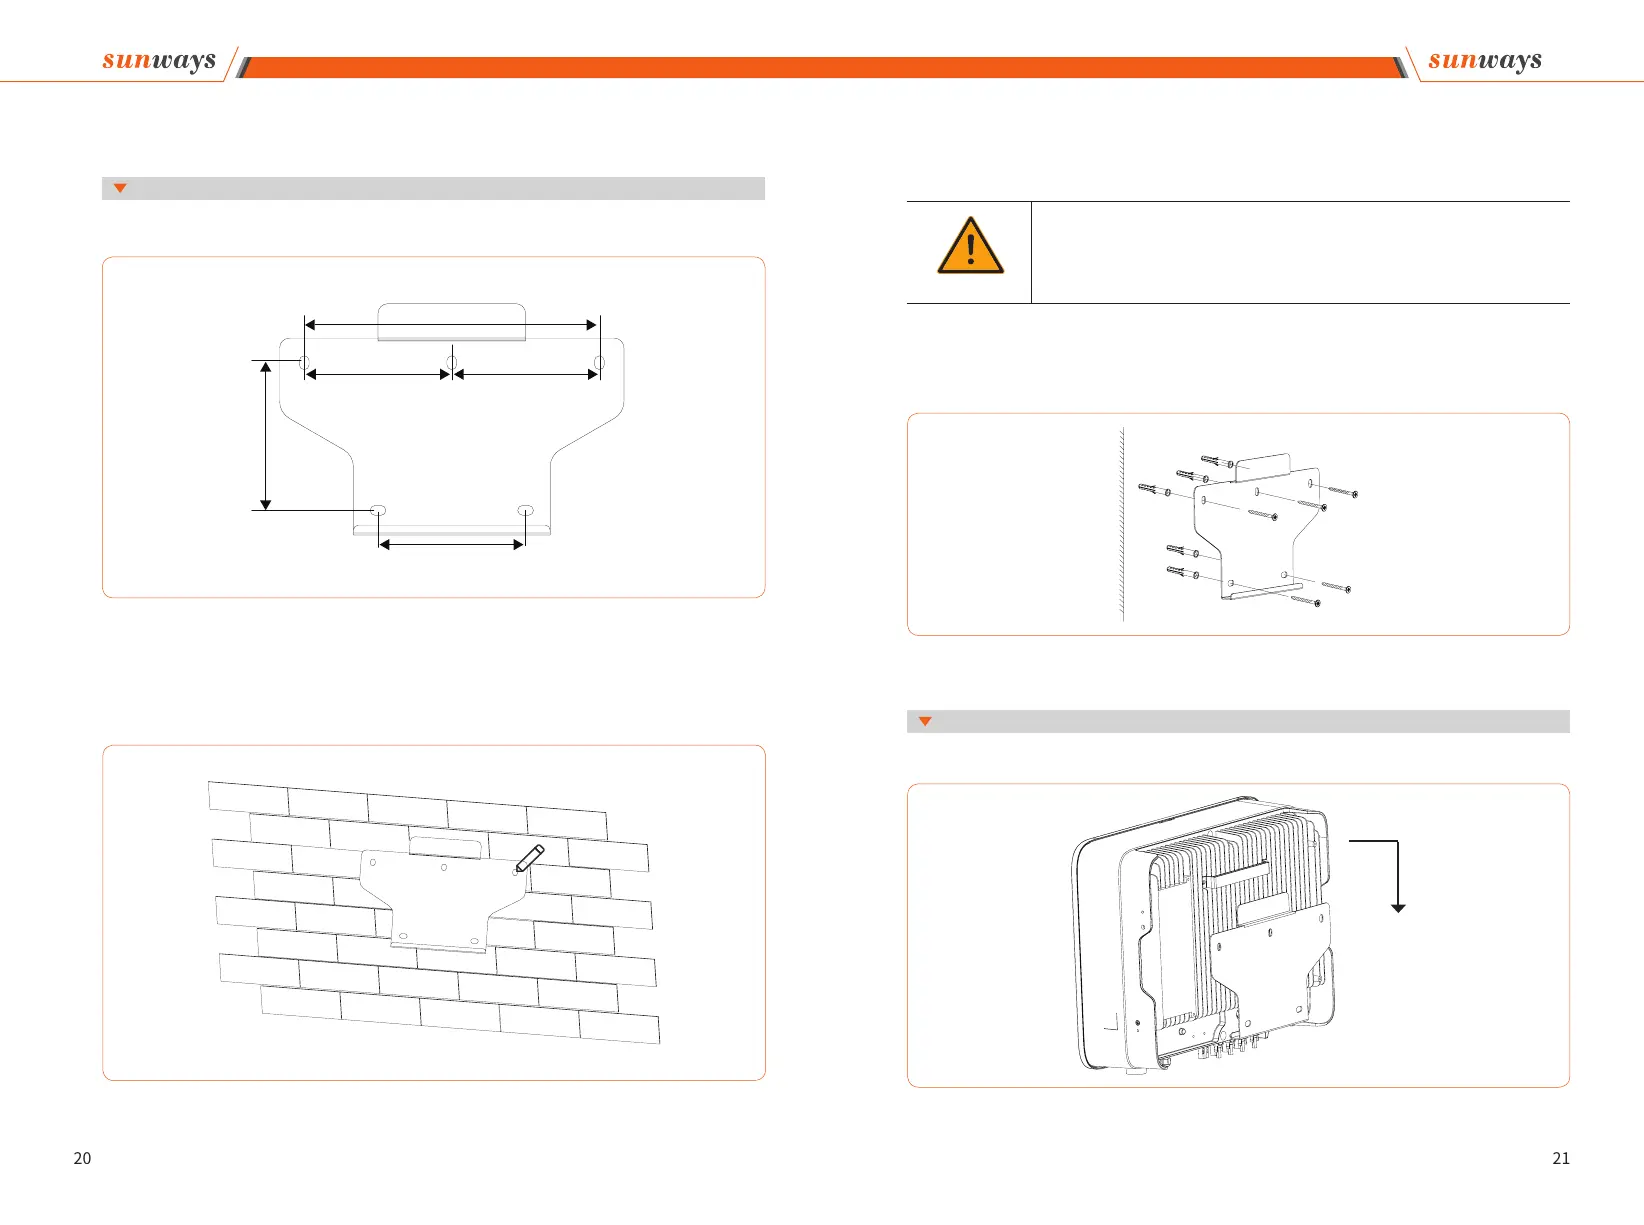
Figure 4-4 Dimensions of wall bracket
4.2.1 Wall bracket installation
Dimensions of wall bracket, see Figure 4-4:
150mm
300mm
150mm
150mm150mm
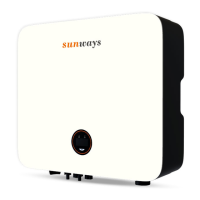
Figure 4-6 Fixing the wall bracket
② Use an electrical driller with 10mm diameter bit to drill 5 holes in the wall with 80mm
depth.
③ Insert the expansion tubes into the holes and tighten them, then x the bracket onto
the wall with expansion screws by using a cross screwdriver, as shown in Figure 4-6:
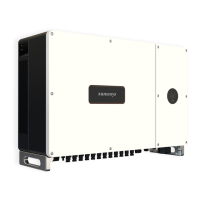
Lift the inverter, hang the back rail on the xed wall bracket carefully. See Figure 4-7 for details:
Figure 4-7 Mounting the inverter
Warning
Before drilling, make sure to avoid any buried water tube and electric wires in the wall.
4.2.2 Mounting the inverter
4 Installation 4 Installation