Chapter 6: Advanced Chassis Setup
6-19
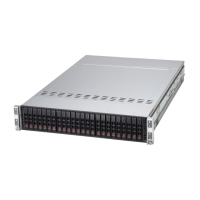
Figure 6-18. Chassis Drive Tray
Installing a Drive into the Hard Drive Tray
The drives are mounted in drive carriers to simplify their installation and removal
1. Remove the screws (4) holding connecting the drive tray the carrier.
2. Remove the tray from the carrier.
3. Install a new drive into the carrier with the printed circuit board side facing
down so that the mounting holes align with those in the carrier.
4. Secure the hard drive by tightening all four screws.
5. Use the open handle to replace the drive carrier into the chassis. Make sure
to close the drive carrier handle.
Dummy Drive
Hard Drive Carrier
Caution: Enterprise level hard disk drives are recommended for use in Supermicro
chassis and servers. For information on recommended HDDs, visit the Supermicro
 Loading...