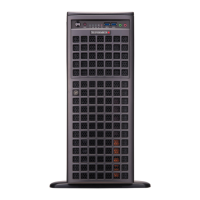
SuperServer 7089P-TR4T User's Manual
66
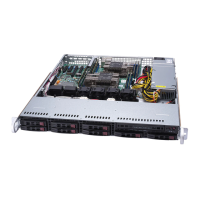
Hard Drive Carrier Indicators
Each hard drive carrier has two LED indicators: an activity indicator and a status indicator. In
RAID congurations, the status indicator lights to indicate the status of the drive. In non-RAID
congurations, the status indicator remains o. See the table below for details.
Hard Drive Carrier LED Indicators
LED State/Condition Indication
Blue Blinking Drive activity
Red Solid on Drive failure
Installing a Hard Drive into a Drive Carrier
1. Insert a drive into the carrier with the PCB side facing down and the connector end
toward the rear of the carrier.
2. Align the drive in the carrier so that the mounting holes of both are aligned. Note that
there are holes in the carrier marked "SAS" or “SATA” to aid in correct installation.
3. Secure the drive to the carrier with four screws as illustrated above. Use the four M3
at-head screws included in the HDD bag of the accessory box. Note that the screws
used to secure the dummy drive to the carrier cannot be used to secure the hard drive.
4. Insert the hard drive and drive carrier into its bay, the release handle will retract.
5. Using the thumb, push against the upper part of the hard drive handle. Push the hard
drive into the hard drive bay as illustrated below, until the hard drive clicks into the
locked position.
 Loading...