25
Chapter 2: Maintenance and Component Installation
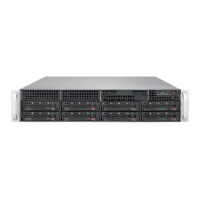
4. Return the drive tray assembly into the chassis, aligning the tabs of the tray with the
slots in the chassis. Secure the tray to the chassis support bracket with the screws
previously set aside.
5. Attach the cable SATA connector and to the motherboard connector. This cable carries
both the SATA signal and the SATA power.
6. Reinstall the chassis cover and power up the system.