25
Chapter 2: Installation
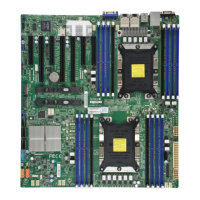
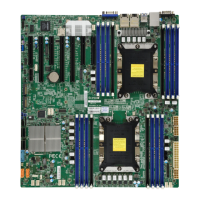
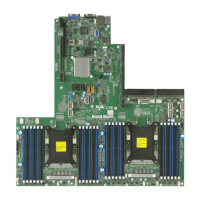
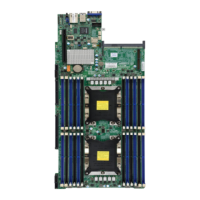
2.3 Processor and Heatsink Installation
Warning: When handling the processor package, avoid placing direct pressure on the label
area of the CPU or CPU socket. Also, improper CPU installation or socket misalignment can
cause serious damage to the CPU or motherboard which may result in RMA repairs. Please
read and follow all instructions thoroughly before installing your CPU and heatsink.
Notes:
• Always connect the power cord last, and always remove it before adding, removing, or
changing any hardware components. Please note that the processor and heatsink should
be assembled together fi rst to form the Processor Heatsink Module (PHM), and then install
the entire PHM into the CPU socket.
• When you receive a motherboard without a processor pre-installed, make sure that the
plastic CPU socket cap is in place and that none of the socket pins are bent; otherwise,
contact your retailer immediately.
• Refer to our website at www.Supermicro.com for CPU support updates.
• Please follow the instructions given in the ESD Warning section on the fi rst page of this
chapter before handling, installing, or removing system components.
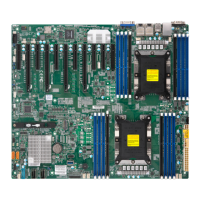
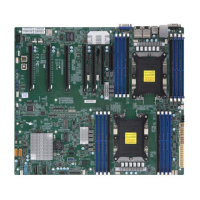
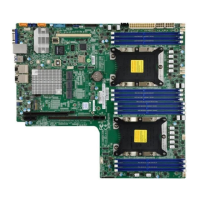
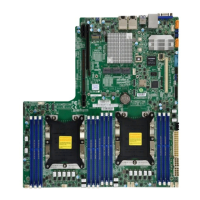
Intel Xeon Scalable-SP and 2nd Gen Intel Xeon Scalable-SP
Processors
Note: All graphics, drawings, and pictures shown in this manual are for illustration only.
The components that came with your system may or may not look exactly the same
as those shown in this manual.
 Loading...