INSTALLATION
23
© 2018 Rodan Enterprises LLC t/a SureShade®
ATF Installation Guide
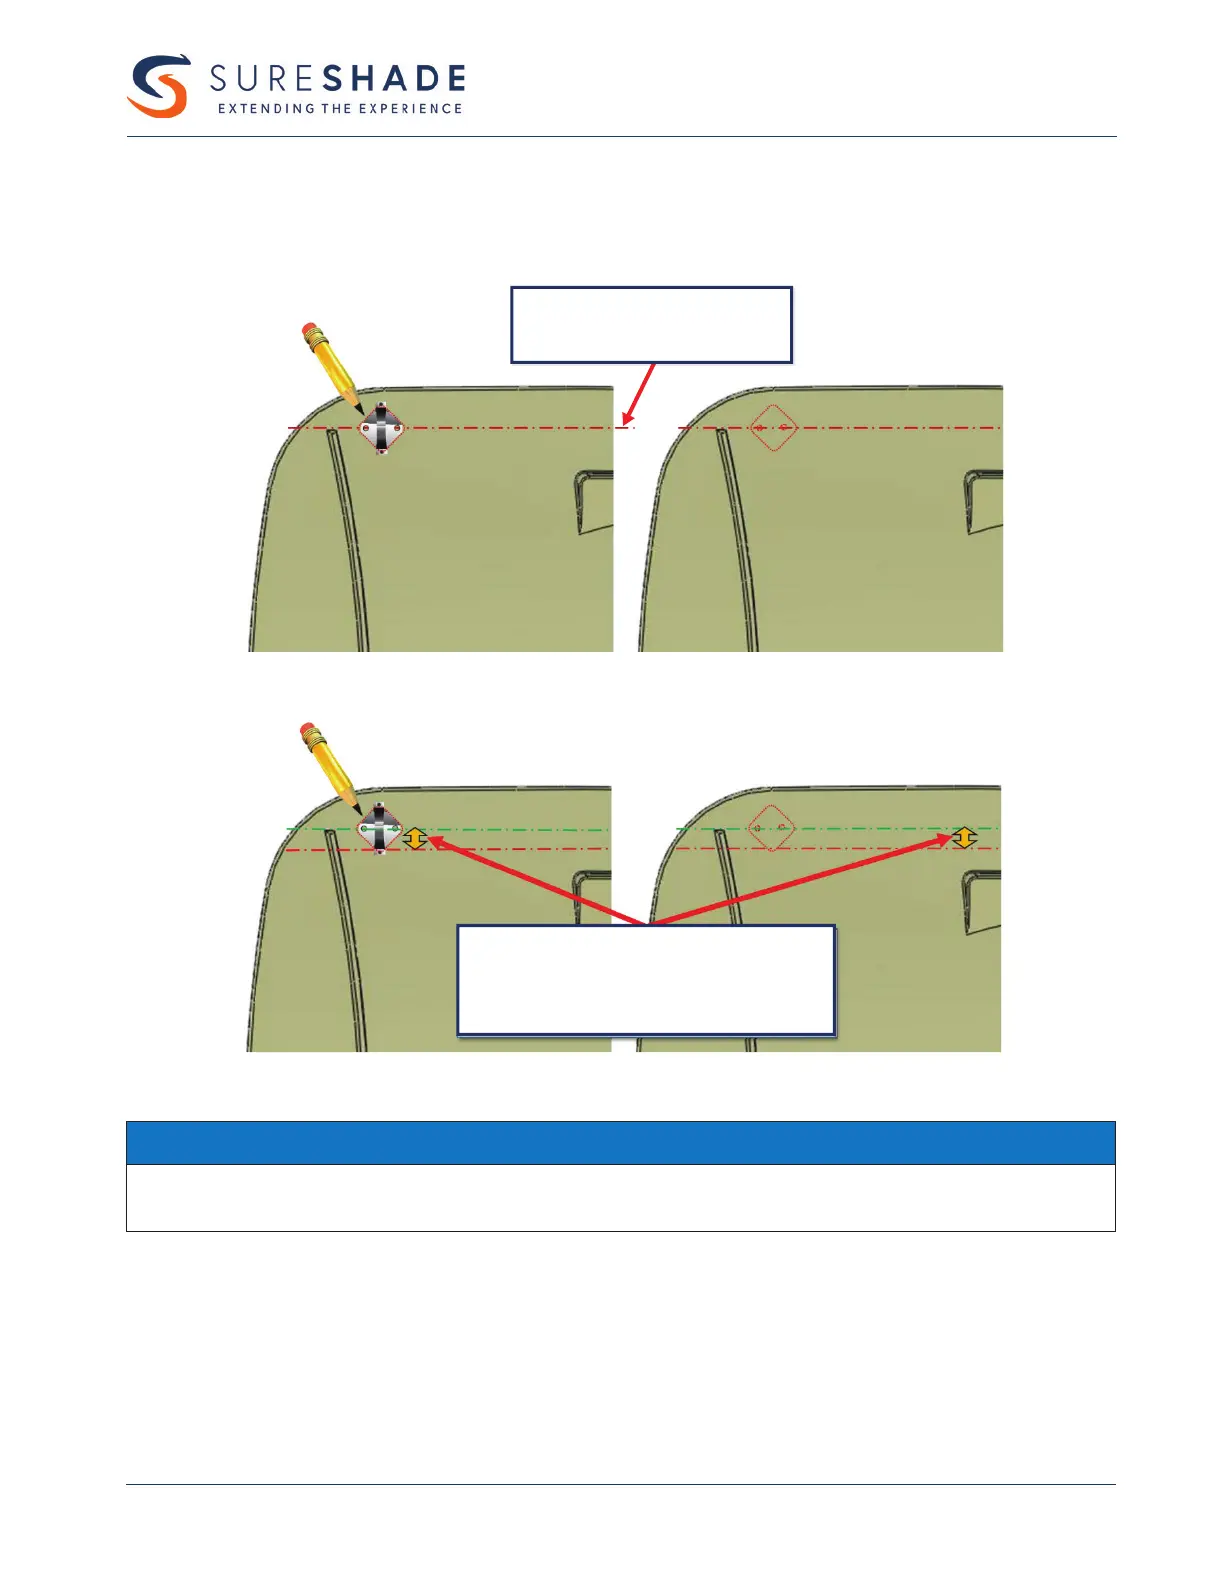
G. Carefully remove actuator from mounting clamps. Ensure mounting clamps are in marked location
and mark holes for drilling. (See Figures 11 and 12.)
For flat surface mount,
mounting holes are directly
on shade centerline.
Figure 11 – Flat Surface Mount
For tops with curvature, use distance from
shade centerline to the marked mounting
hole location to aid in placing remaining
mounting clamps.
Figure 12 – Curved Surface Mount
NOTICE
Re-measure and ensure placement of mounting clamps for both sides are clear of any obstructions and measurements are correct
before drilling holes.
H. Drill the two marked holes for each of the mounting clamps.
• For ȵ at surface mount, drill straight down.
• For curved surface mount, drill on an angle perpendicular to surface. (See Figures 9A and 10A.)