8
7
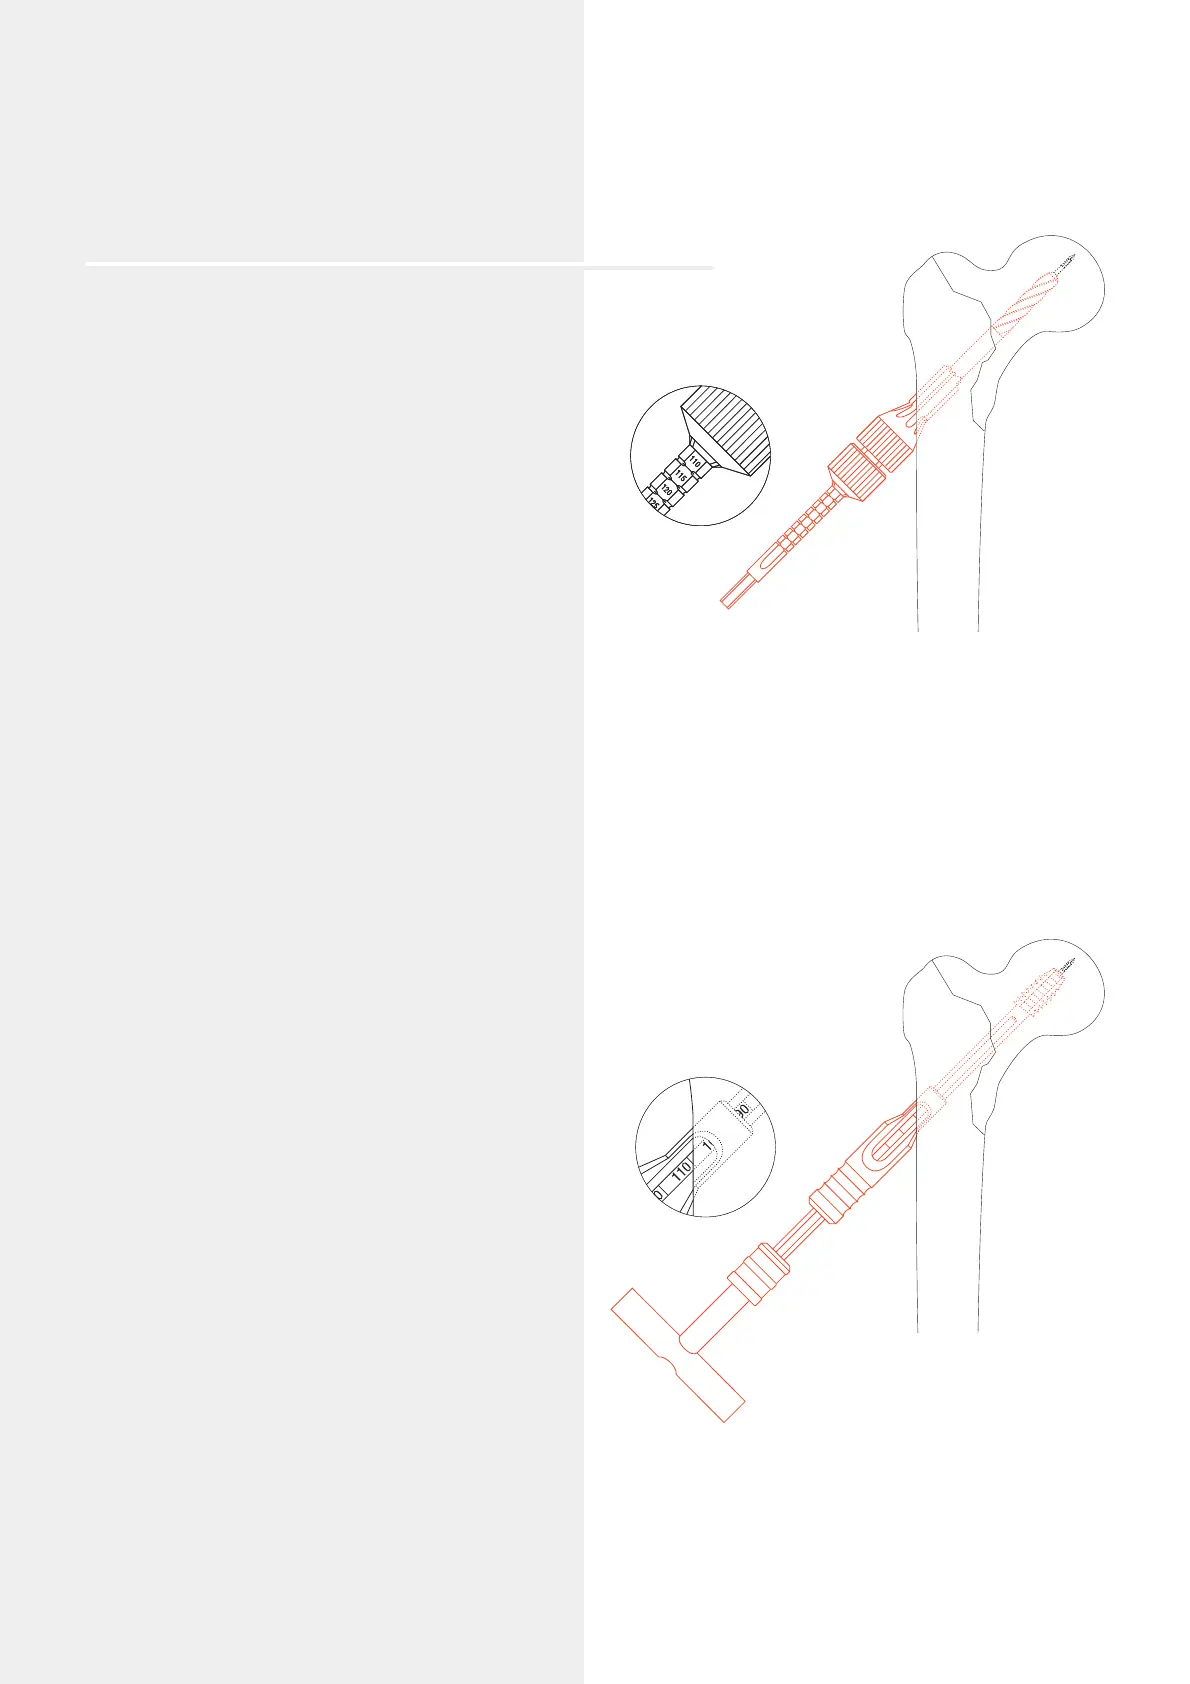
Reaming
Assemble the DHS triple reamer: Slide the DHS Reamer
(338.110 or 338.440) over the Drill Bit 8.0 mm (338.100)
until it clicks into place at the selected mark (in this
example at 110 mm). The reaming depth can be adjusted
in 5 mm increments. Secure the reamer by tightening
the Knurled Nut (338.120).
Adjust the reaming depth on the DHS Triple Reamer
(338.130). The appropriate reaming depth is 10 mm less than
the measured length of the guide wire (in this example
120 mm – 10 mm = 110 mm).
Ream the screw channel until the tip of the reamer is 10 mm
in the subchondral part of the femoral head.
The length of the appropriate DHS/DCS screw is identical
to the reaming depth (in this example 110 mm).
Notes: While reaming, ensure that the guide wire
does not bend. Bending the guide wire can result in incorrect
placement of the DHS plate and DHS/DCS screw.
If the guide wire is pulled out during reaming it must be
replaced. Push the short DHS Centering Sleeve (338.180) into
the drill hole and insert a DHS/DCS screw with the shaft
foremost into the centering sleeve. The guide wire can now
easily be reinserted back in its original position.
Remove the DHS triple reamer.
Option
In case of hard bone, tap the thread using the DHS/DCS
Tap (388.170) and the short DHS/DCS Centering Sleeve
388.180). Tap the thread until the selected depth in the small
window of the centering sleeve reaches the lateral cortex
(in this example 100 mm).
Note: The DHS/DCS tap may not be used in osteoporotic
bone.