33
34
Customer Service Toll Free: 833.3TACTILE (833.382.2845)
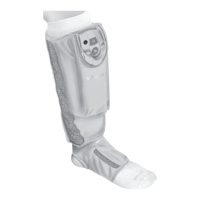
FLEXITOUCH PLUS with ComfortEase
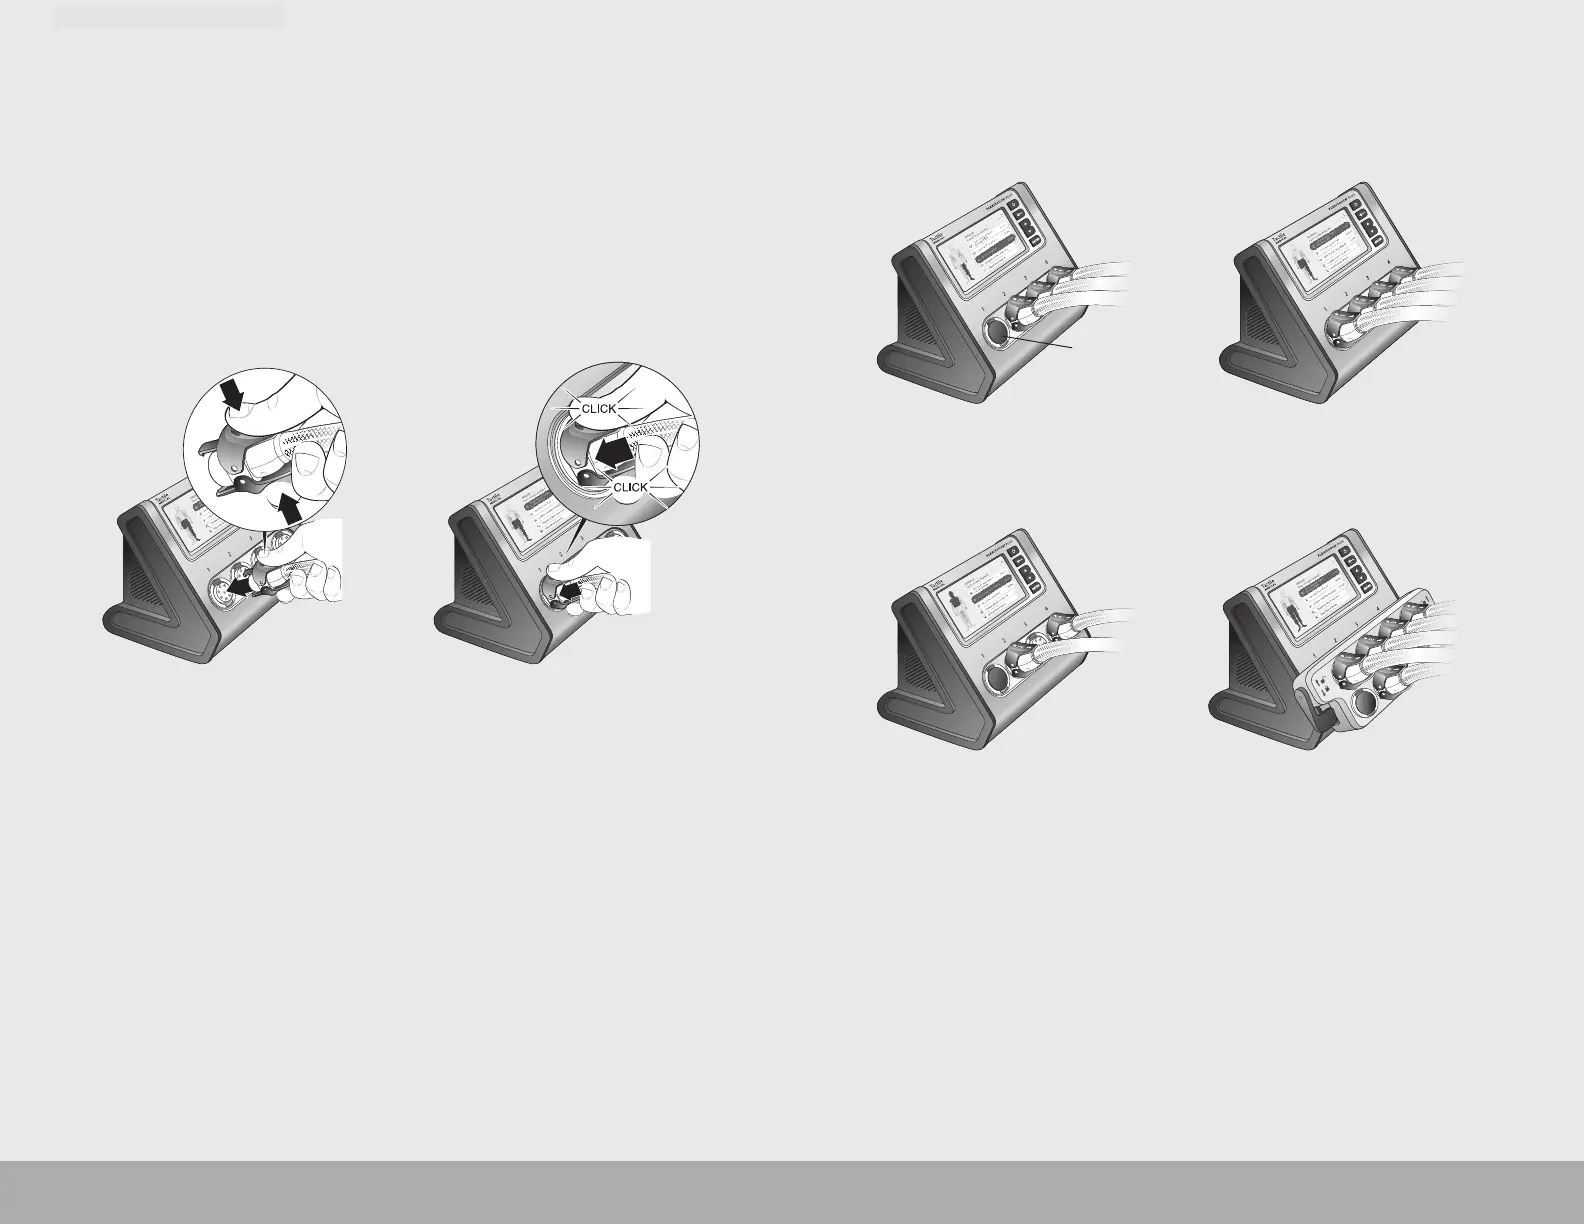
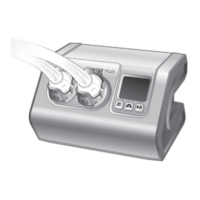
2. Line up the numbered latch with the port on the corresponding
controller unit (Figure 4.2.d.).
3. Push the numbered latch forward onto the controller unit until
you hear a “click.” This is how you will know each latch is properly
connected. You may hear two clicks: one for the top and one for
the bottom latch (Figure 4.2.e.).
NOTE: If the numbered latch is pushed very forcefully into the controller
port, you may not hear a “click” sound.
Figure 4.2.d. Corresponding
Hose Connector with
Controller Unit Connector
Figure 4.2.e. Properly
Connecting the Latches
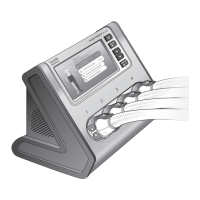
4. Repeat these steps for all connectors required for your
prescribed treatment (Figures 4.2.f., 4.2.g., 4.2.h., 4.2.i.
and 4.2.j.).
Figure 4.2.h. Fully Attached Hose
Connectors when Head and
Neck Treatment is Prescribed
Figure 4.2.i. Fully Attached Hose
Connectors when Bilateral Port
Adapter is Attached for
Lower Extremity Treatment
Figure 4.2.f. Fully Attached Hose
Connectors when Full Leg and
Arm-Shoulder Treatments are Prescribed
Do not remove
port cap(s)
Figure 4.2.g. Fully Attached Hose
Connectors when both Extremity and
Core Treatment are Prescribed