35
36
Customer Service Toll Free: 833.3TACTILE (833.382.2845)
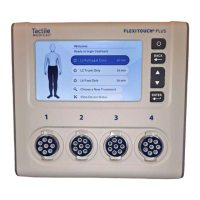
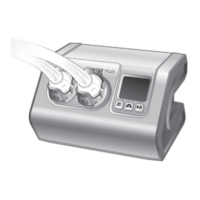
FLEXITOUCH PLUS with ComfortEase
NOTES:
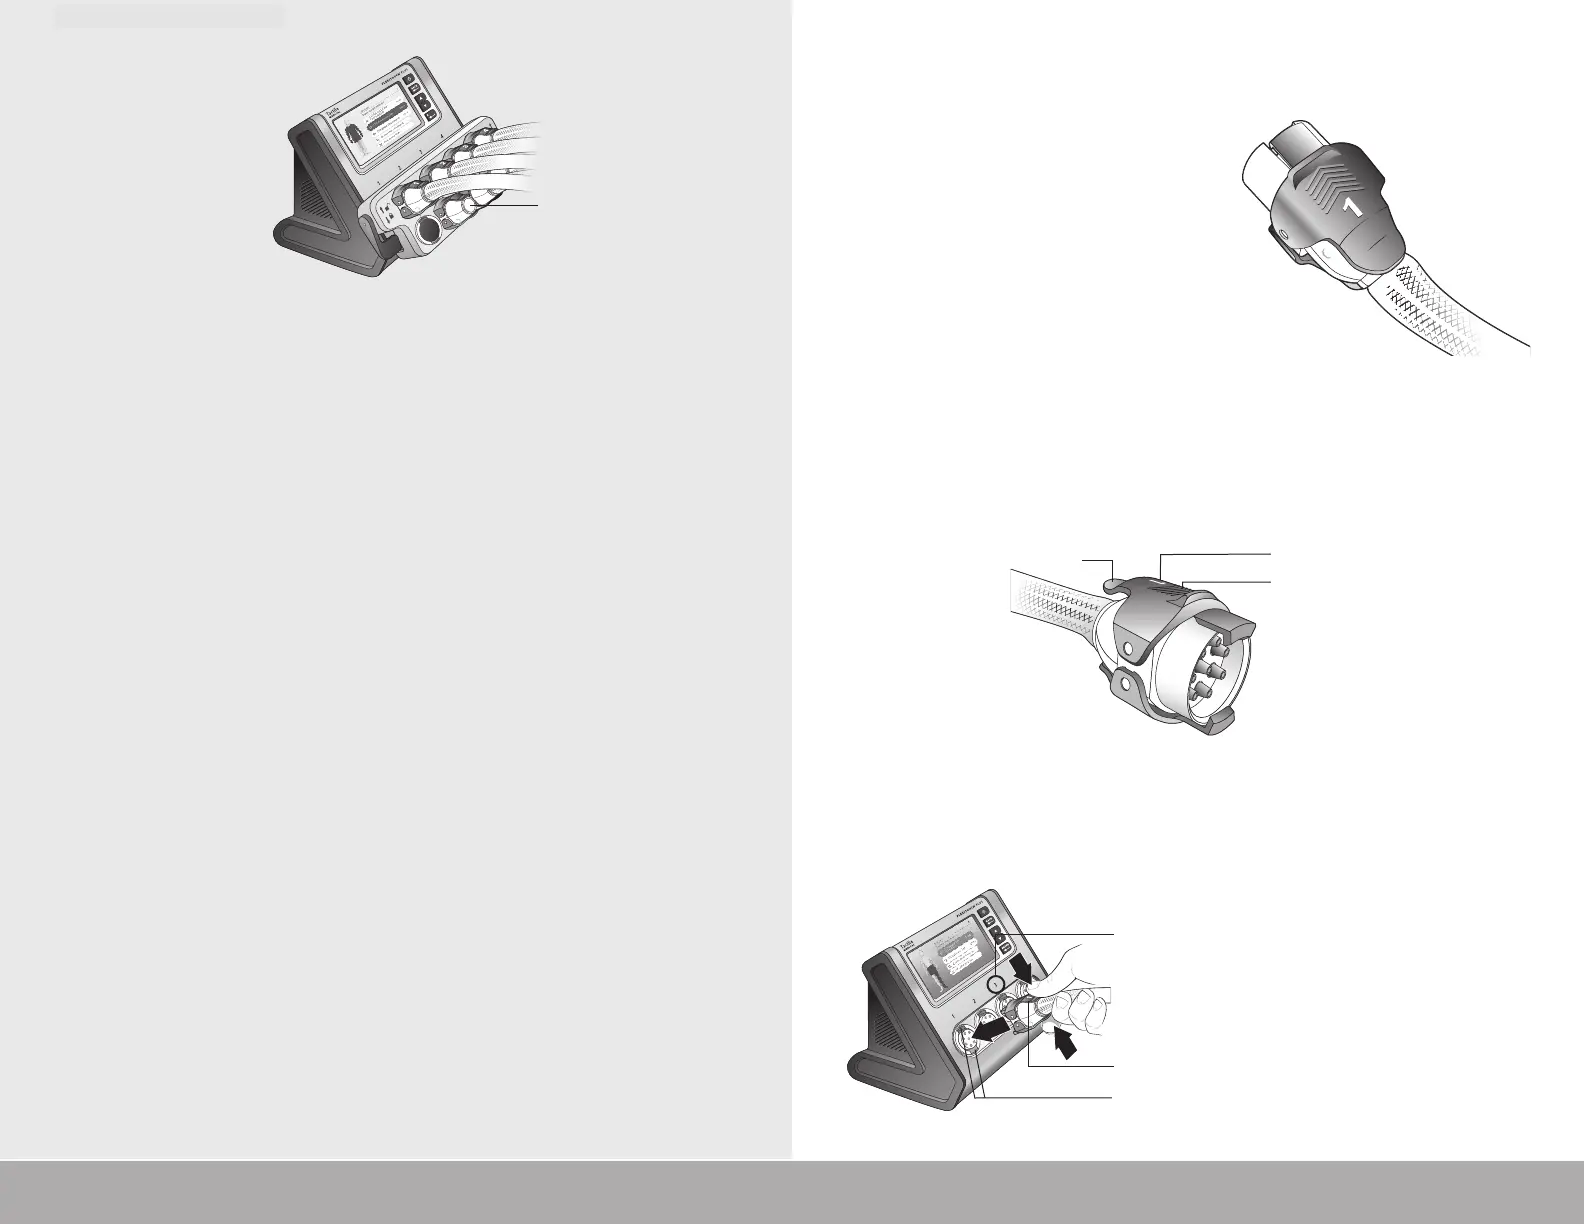
Holding the back of the controller unit may help to stabilize the unit as
you attach the latch connectors. If you are having trouble connecting
the latches, try connecting the bottom latch rst then tipping the top
latch into place.
You may see black numerical markings through the tubing. This is
normal and does not aect performance.
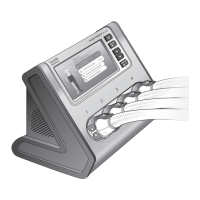
Figure 4.2.j. Fully Attached Hose Connectors when Bilateral Port
Adapter is Attached for Upper Extremity Treatment
4.3 Connecting Your Flexitouch Plus Hoses to the
Controller Unit – Ridged Style
The Flexitouch Plus has ridges on
the connectors (Figure 4.3.a.).
TOP
Figure 4.3.b.
Hose Connector
BOTTOM
Ridges
Tab
Numbered Latch Connector
Figure 4.3.c.
Corresponding Hose
Connector with Controller
Unit Connector
Numbered Controller
Unit Connector
Controller Unit Notch
Numbered Latch
Connector
Figure 4.3.a. Flexitouch Plus
Connector: Ridged Style
1. Hold the hose connector by the tabs on the back of the latch,
making sure the numbers are facing up (Figure 4.3.b.).
2. Gently squeeze the tabs to widen the front end of the hose
connector.
3. Align the numbered latch with the notch on the corresponding
controller unit notch (Figure 4.3.c.).
Port Cover