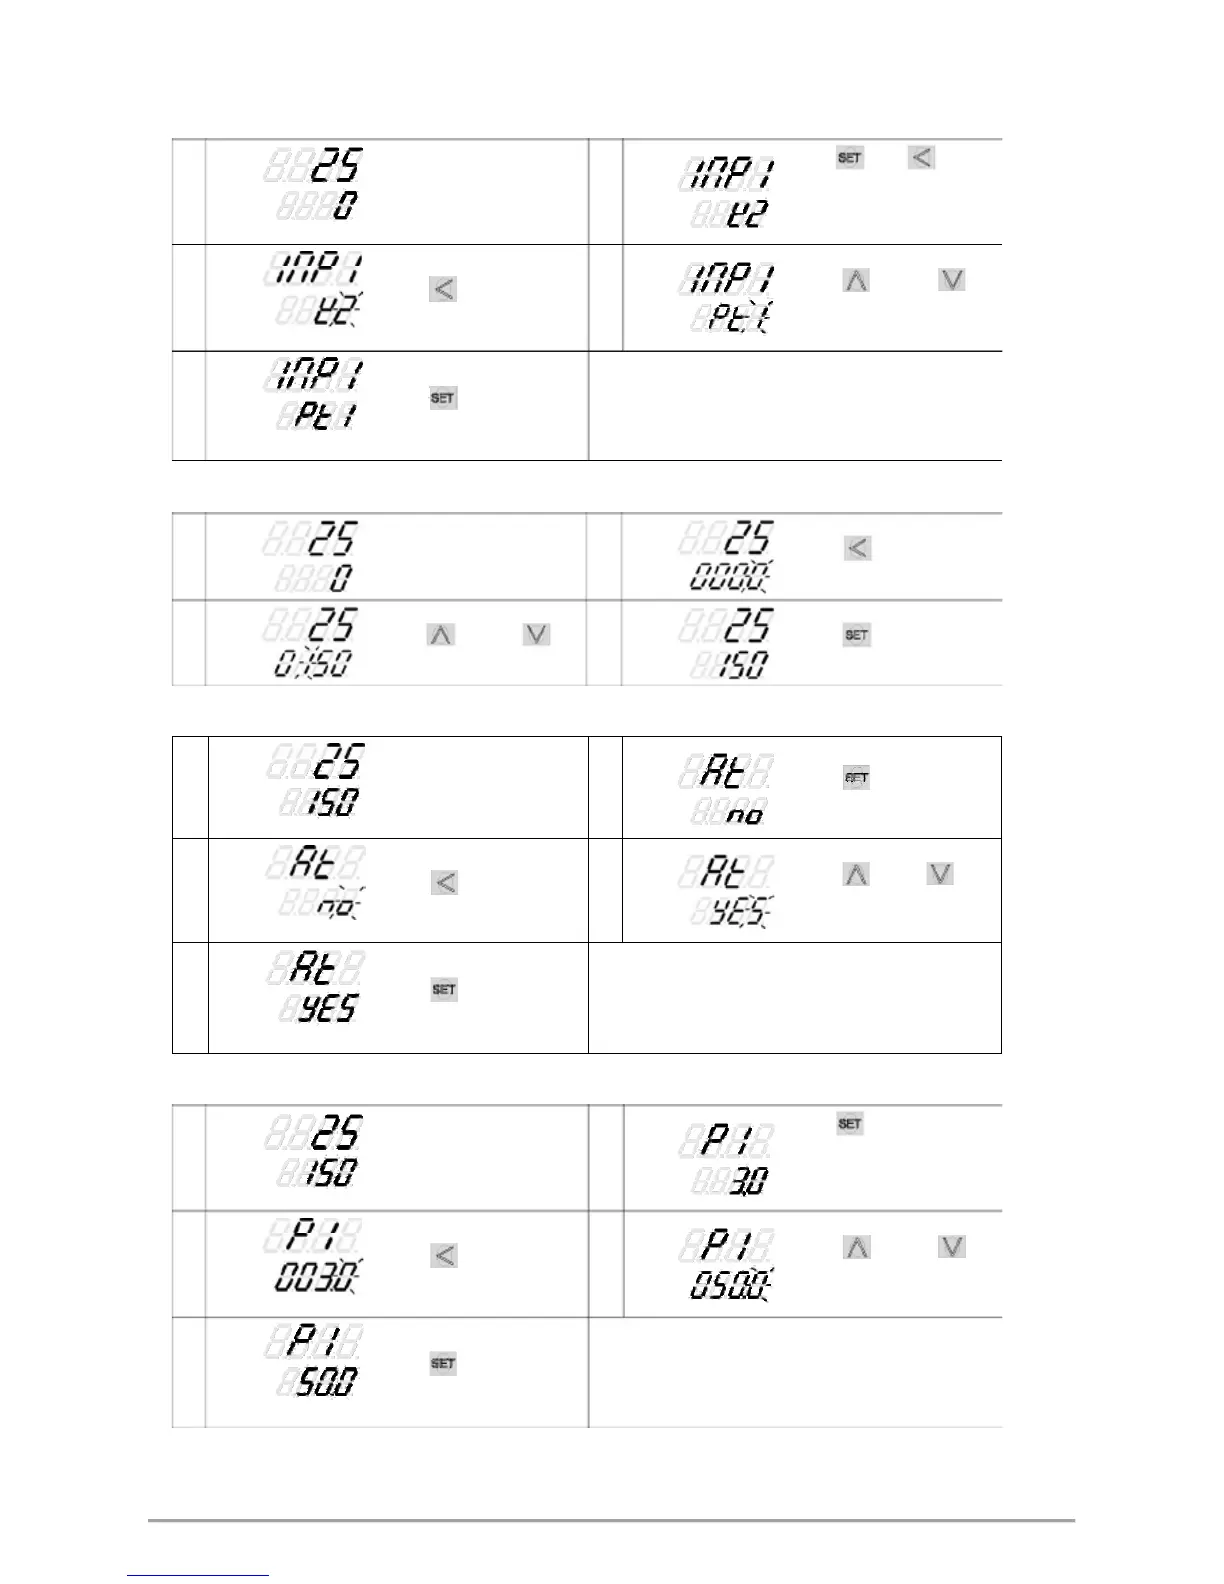
9. Basic Function Setting
9.1 Input Type Setting
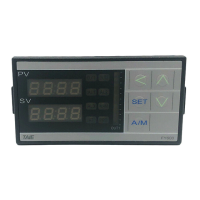
PV
PV
Hold key +
key 3
seconds, to enter LEVEL_3
1.
SV
gniwohs yalpsid reppu .2 .no-rewop retfa yalpsiD
SV “INP1” with lower display
showing current input type.
PV
Press key the lower
PV
Press key and
3.
dednetni eht retne ot yek .4
SV
display flashes.
SV
input type.
PV
Modify input type needs to interchange of jumper location,
5.
Press key to store new
SV
and it needs to recalibration for linear input type change.
value of INP1.
Please refer to chapter 15. “Input type modification”.
9.2
SV Value Setting
1.
PV
Display after power-on. 2.
PV
When key is pressed,
SV
the lower display flashes.
SV
3.
PV
Press key and
4.
PV
Press
key to store new
key to adjust set value.
value of SV.
SV
SV
9.3
Auto Tuning Execution
PV
PV
Press key until show
1.
Display after power-on. 2.
SV
“AT”。
SV
PV
PV Press key or key
When key is pressed,
3.
SV
gninut otua tceles ot .4
the lower display flashes.
SV execution or not.
PV
When auto tuning AT LED lamp lit and start to output,
5.
Press key to store new
SV
through a few circles to get new PID value with the precise
value of AT.
control, if finished the AT LED will be lamp off.
9.4
PID Value Setting
PV
PV
Hold key 3 seconds,
then entering into LEVEL_2
1.
SV
Display after power-on. 2.
upper display showing “P1”,
SV with lower display show
current P1 value.
PV
When key is pressed,
PV
Press key and
3.
1P dednetni eht tes ot yek .4
SV
the lower display flashes.
SV
value.
PV
5.
SV
Press key to store new By the same procedure, use the same ways to set integral
value of P1.
value(I1) and derivative value(D1).
17 FY/FU operation manual