TN-2776h-AN www.taitradio.com Page 10 of 16
6. Attach a new O-ring to each of the six screws and use the Torx T8
driver to position the six screws in the back of the chassis.
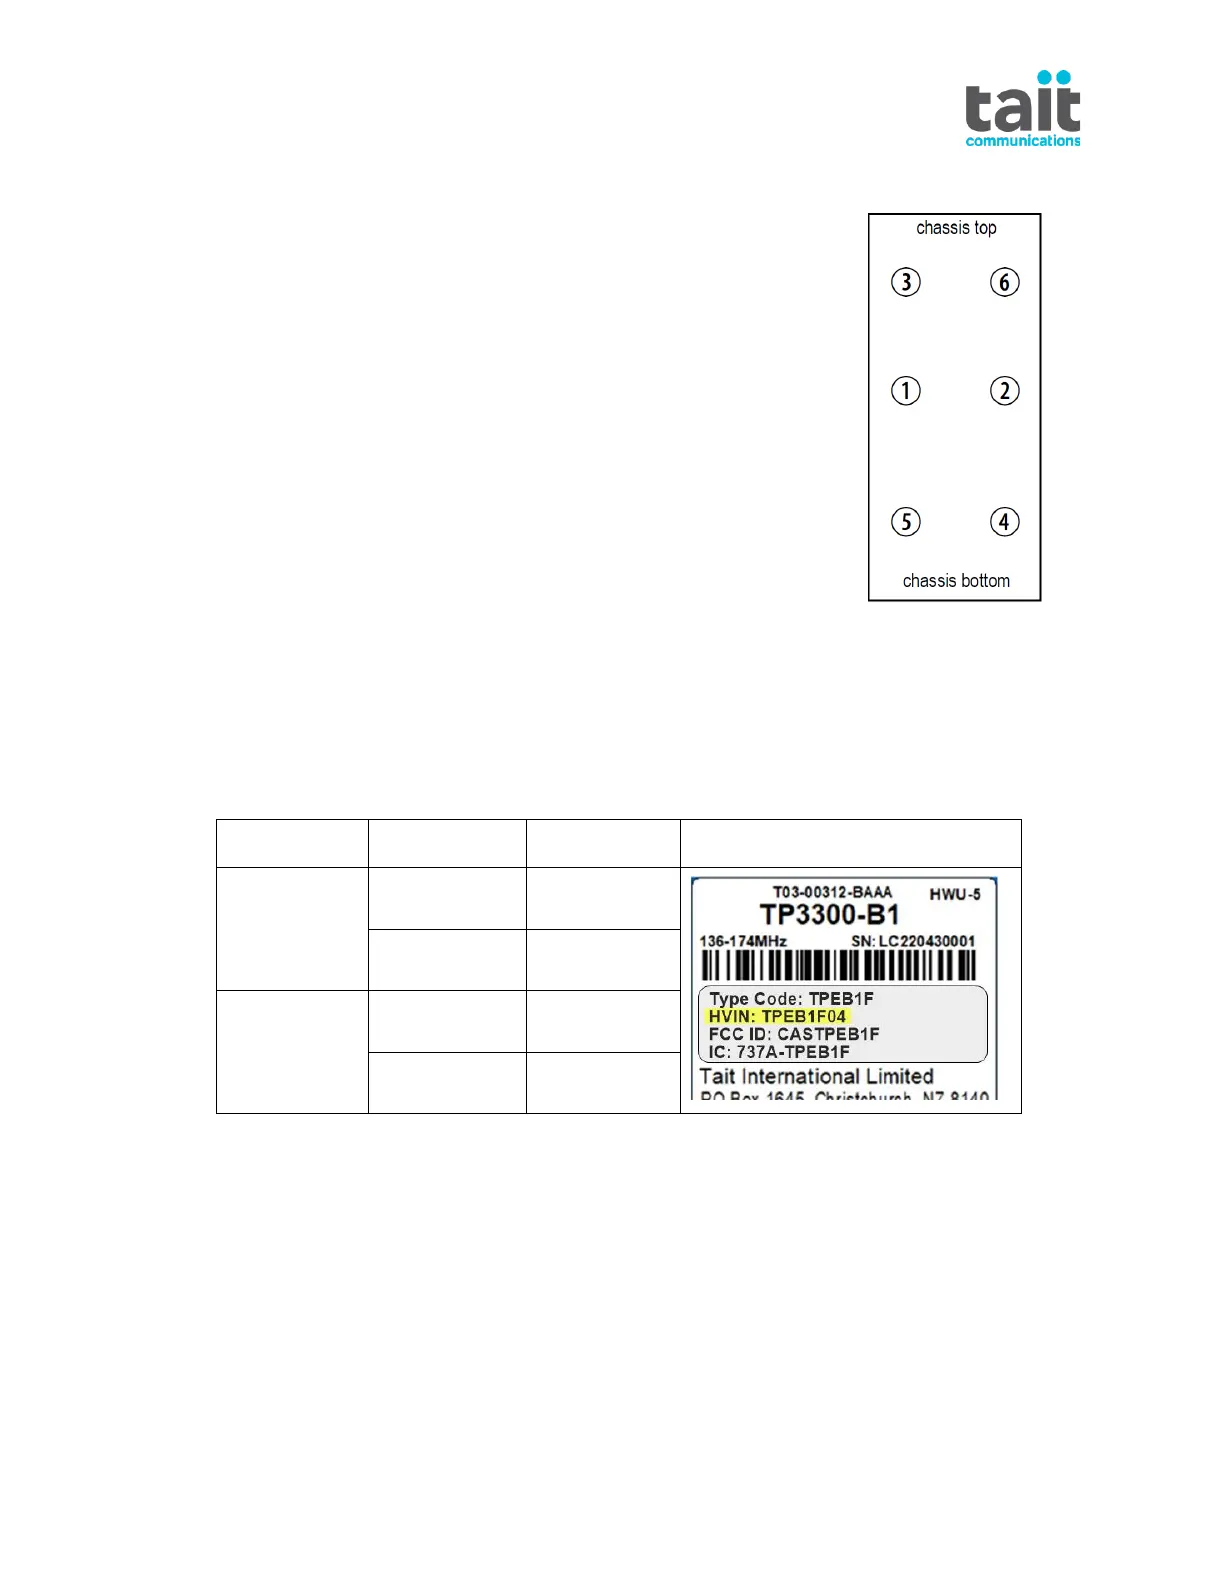
7. Working in a star sequence (as shown right) to fasten the screws
that secure the chassis to the front cover.
Torque to 0.3 N•m (2.5 lbf.in).
8. Screw the antenna clockwise into the antenna ring, turning the
antenna clockwise. Make sure that the antenna is firmly seated.
For users in Canada only:
Applies to: TP3300-B1 or TP3350-B1 Series 2 radio (serial numbers LC214530001 or
later)
If the panel change includes a change of keypad e.g., from 0-Key to 4-Key, a new HVIN
label is required. Please contact your local Tait dealer for this additional label.
Pressure Testing
If IP ratings are important to the customer, pressure test the radio before opening the radio and
again after reassembling the radio. Complete tasks in the following order:
Pressure Test Equipment
If pressure testing is necessary, make sure that you are equipped to perform the testing or can
arrange to send the radio for testing at a regional Tait office.