OPERATING PROCEDURES
6-5
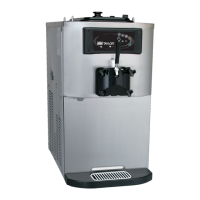
Models C709 & C717
Operating Procedures
6
Model C717 Freezer Door Assembly
The assembly of the C717 freezer door is different from
the C709 freezer door. Please follow the appropriate
instructions for your machine.
1. Before assembling the freezer door, check the
following for any nicks, cracks, or signs of wear: the
door bearings, door gaskets, draw valves, O-rings,
and all sides of the door assembly, including the
inside of the draw valve bores. Replace any
damaged parts.
2. Place the door gaskets into the grooves on the back
of the freezer door.
Figure 6-18
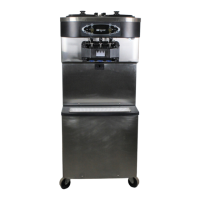
3. Slide the front bearings over the baffle rods. The
flanged edges should be against the door. Do not
lubricate the gaskets or bearings.
Figure 6-19
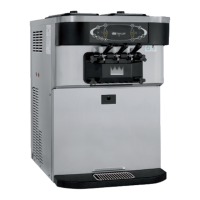
4. Insert the baffle rods through the beaters in the
freezing cylinders. With the door seated on the
freezer studs, install the handscrews with the longer
ones on top. Tighten equally in a crisscross pattern to
make sure the door is secured.
Figure 6-20
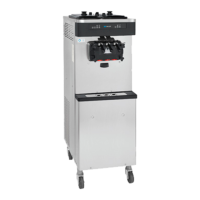
5. Slide the three O-rings into the grooves of each
standard draw valve. Slide the H-ring and O-ring into
the grooves of the center draw valve. Lubricate the
H-ring and O-rings.
Figure 6-21
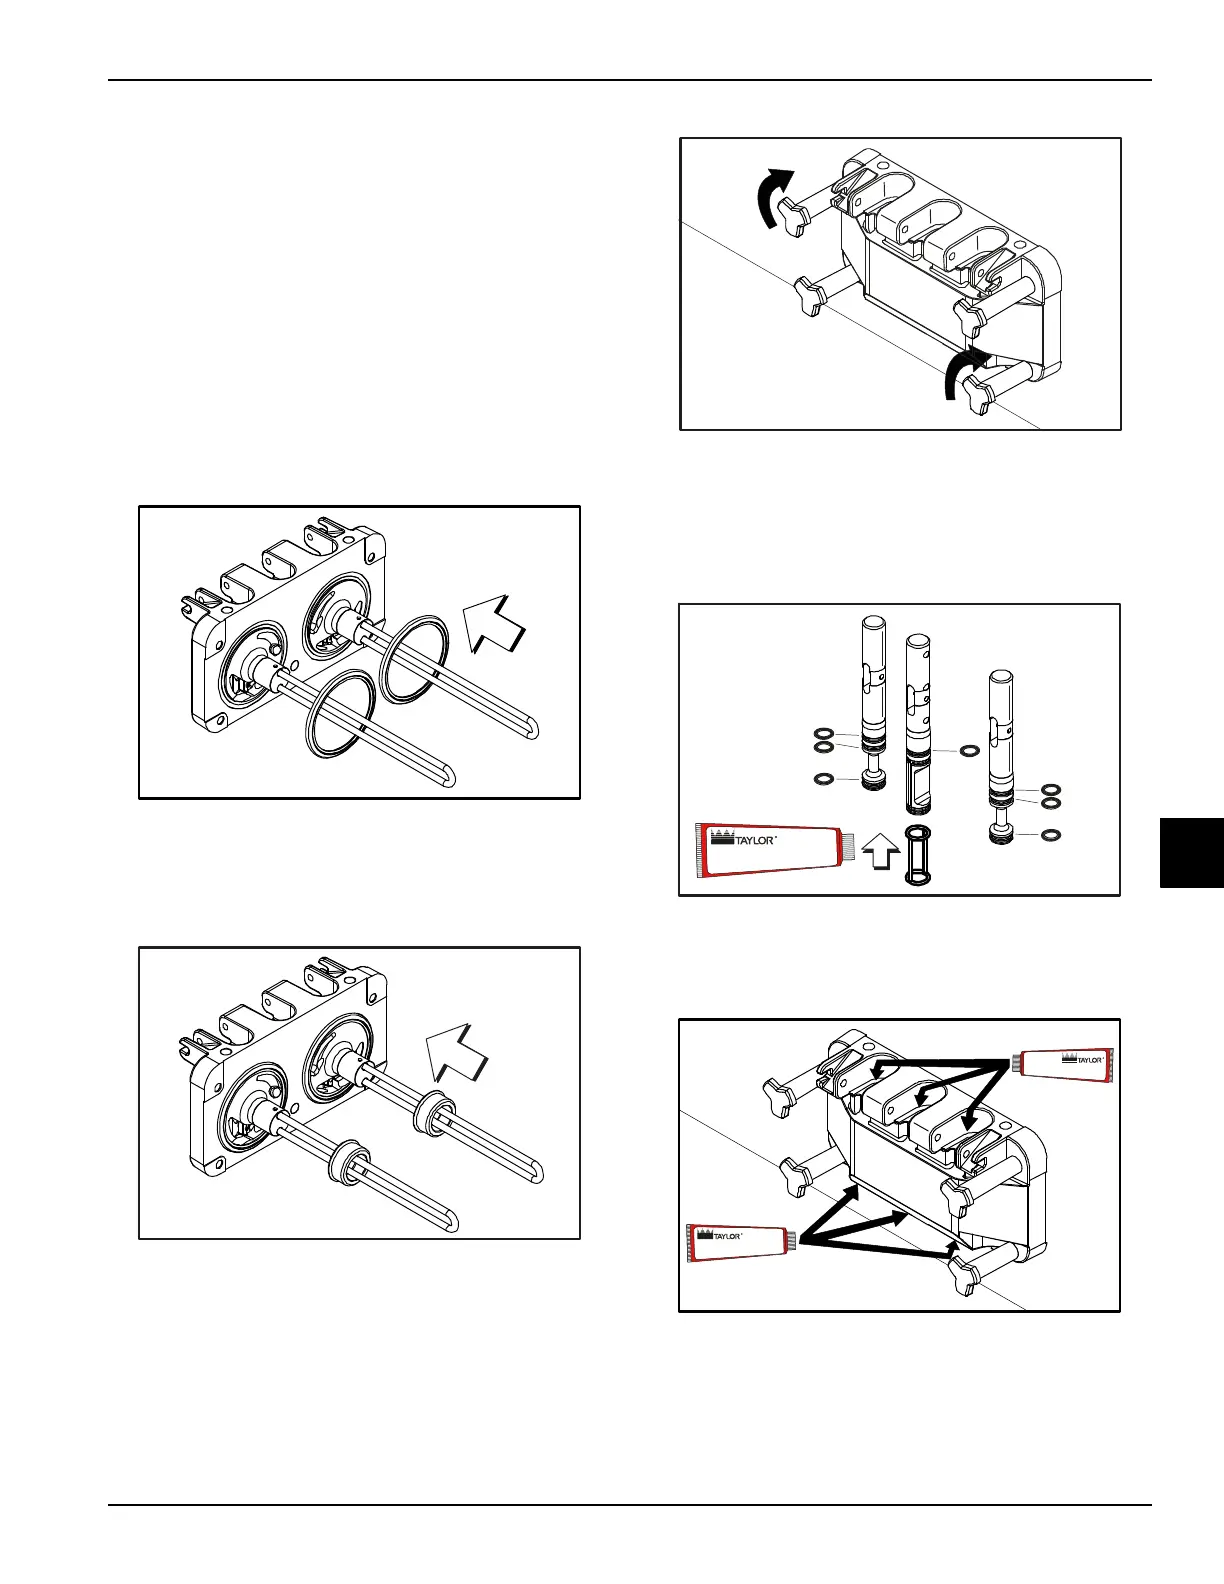
6. Lubricate the inside of the freezer door spouts, top
and bottom.
Figure 6-22
10513
Apply the appropriate
Taylor approved food safe lubricant.
HP
101533
Apply the appropriate
Taylor approved food safe lubricant.
HP
Apply the appropriate
Taylor approved food safe lubricant.
HP