18
Controls and Systems
Models QS12/QS24
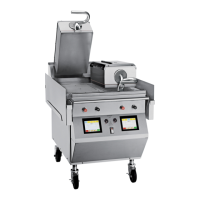
Step 8
Lower the upper cook surface into the COOK position.
Figure 10
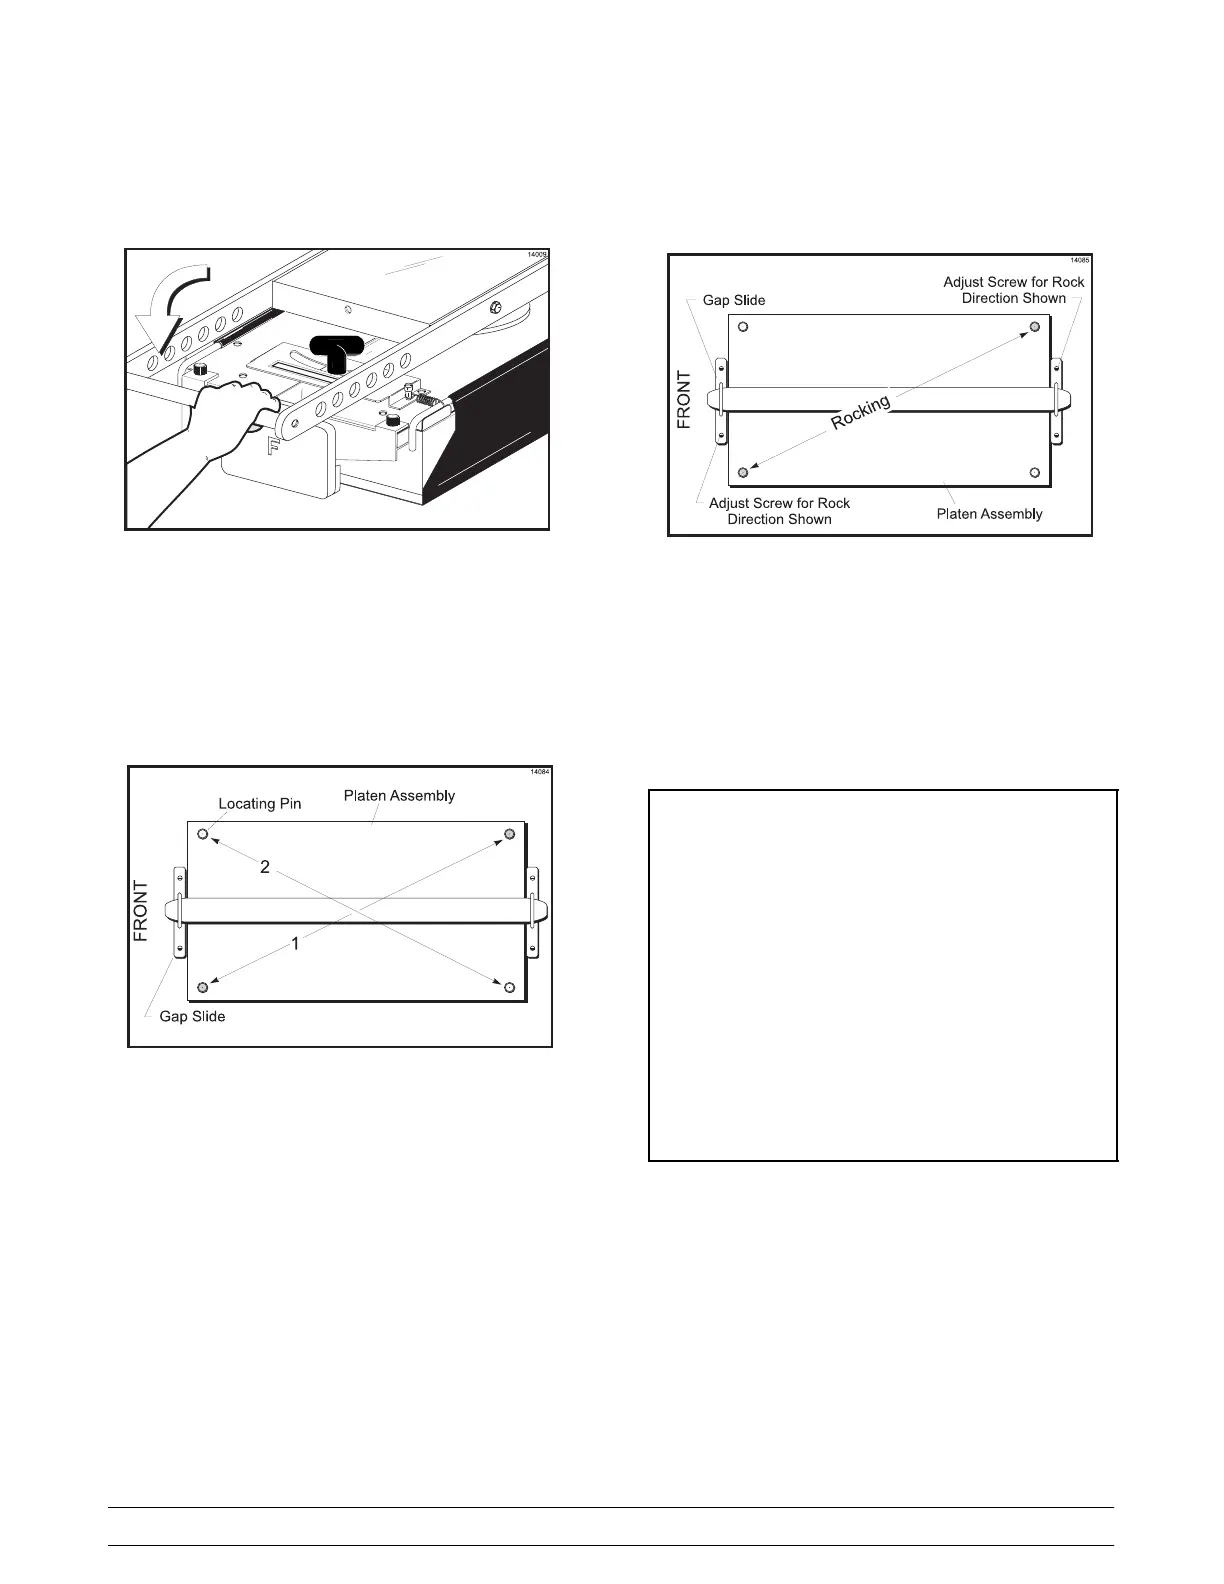
Step 9
Wearing proper protection, attempt to rock the cook
surface assembly. Apply pressure on the locating pins
at opposite corners to each other as shown in
Figure 11.
Figure 11
Note: Failure to wear proper protection could result in
injury.
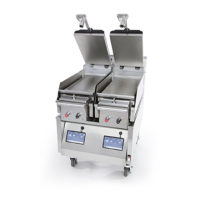
Step 10
If the unit rocks, split t he adjustment for gap pins
across the uneven corners, as shown in Figure 12.
Figure 12
Step 11
After adjusting, verify the unit for stability.
Step 12
If all adjustments on the cook surface are correct, and
no rocking occurs, tighten the two screws located on
the side of the front and rear gap slides to lock all
adjustments from moving.
It is highly recommended that the gap
slides and the gap slide retainers be
removed at least weekly for cleaning these
parts and the cook surface shroud behind
these parts.
These parts are easily removed by
removing the locating pins and holding
both parts, because they are not attached
together, and pulling them from the cook
surface.
Take the gap slides to the sink for
cleaning. (Be sure to re-install the gap
slides as they were removed, i.e., “F”
front.)
 Loading...